Polycom RMX 2000 Hardware Guide
Replacing the Power Supply Module
A single supply unit powers the RMX 2000. Use the following procedure to replace a Power Supply:
Please verify the type of power supply used on your RMX 2000. Do not insert a different type of power supply than the current type installed on your system.
1Ensure that the power switch on the RMX 2000 is turned OFF (O) and that the power cords are disconnected from the MCU.
2Unscrew the captive screws on the front panel of the RMX 2000 that secure the Power Supply unit.
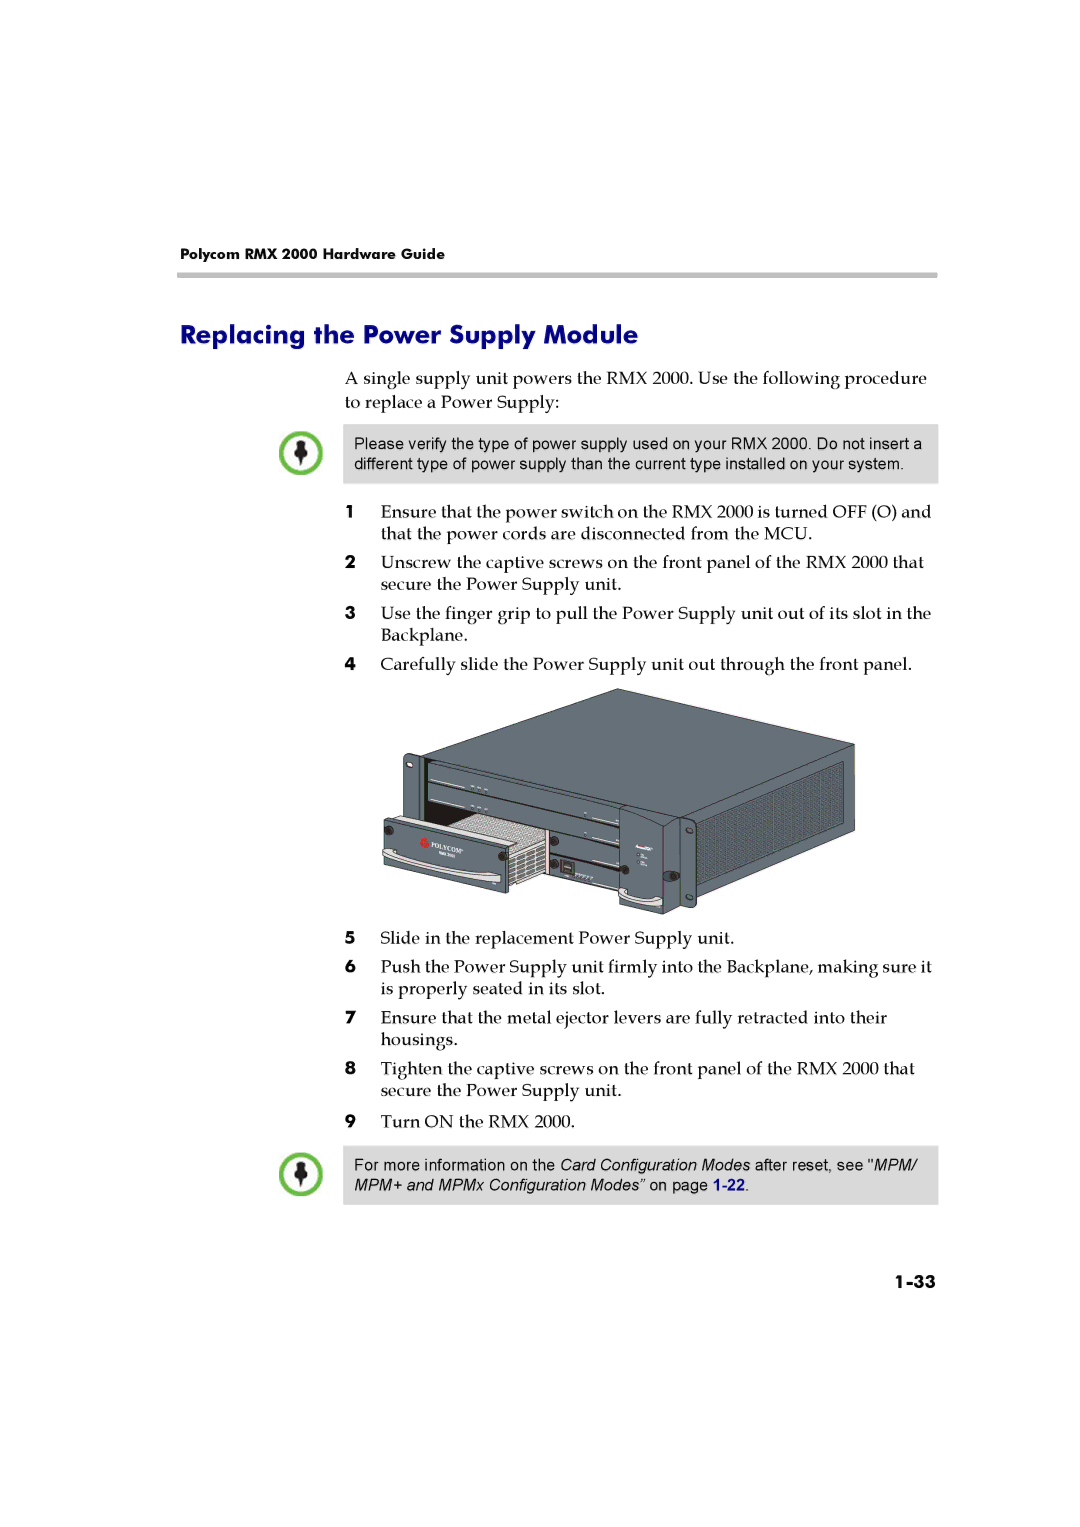
3Use the finger grip to pull the Power Supply unit out of its slot in the Backplane.
4Carefully slide the Power Supply unit out through the front panel.
5Slide in the replacement Power Supply unit.
6Push the Power Supply unit firmly into the Backplane, making sure it is properly seated in its slot.
7Ensure that the metal ejector levers are fully retracted into their housings.
8Tighten the captive screws on the front panel of the RMX 2000 that secure the Power Supply unit.
9Turn ON the RMX 2000.
For more information on the Card Configuration Modes after reset, see "MPM/
MPM+ and MPMx Configuration Modes” on page