Polycom RMX 2000 Hardware Guide
The blue HS LEDs on the MPM/MPM+/MPMx card and the Control
Unit start flashing and the power on cycle for the card is initiated:
—The card’s resources are added to the system resources list
—The number of available ports on the RMX is increased to the current CFS license level
—Port usage is
When the power on cycle of the MPM/MPM+/MPMx card is completed, the blue HS LEDs will turn OFF. The green RDY LED on the MPM/MPM+/MPMx card switches on and remains lit.
Replacing a RTM ISDN Card
The RTM ISDN card can only be used with software version 3.0 or higher.
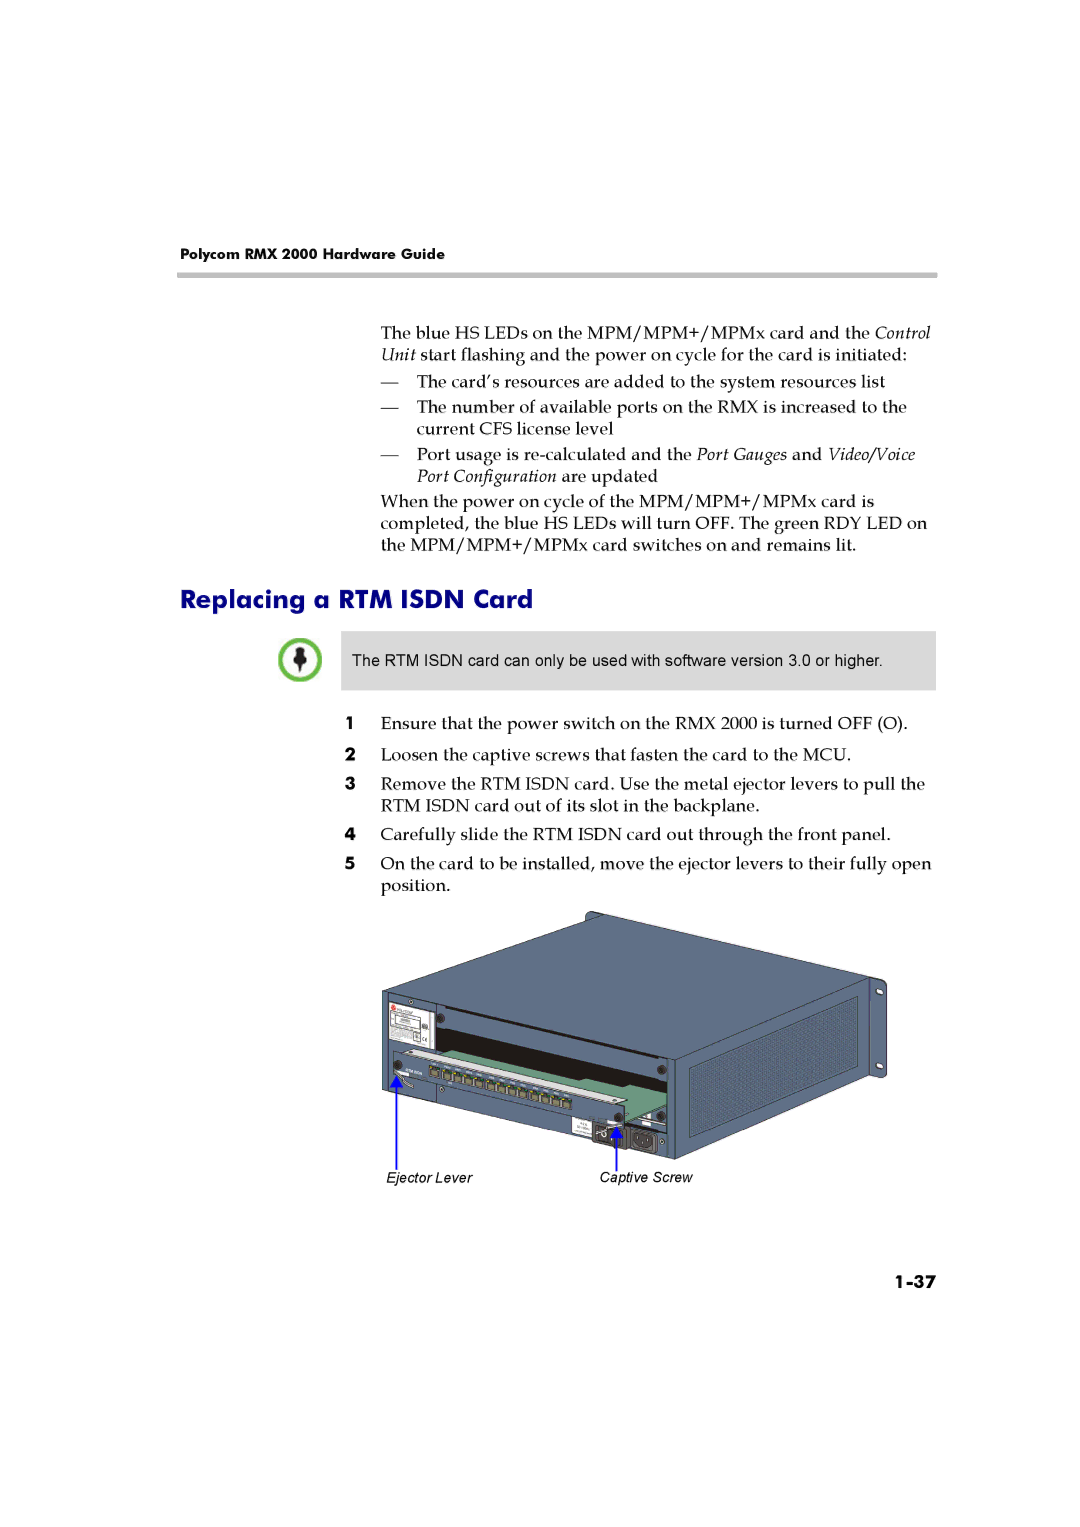
1Ensure that the power switch on the RMX 2000 is turned OFF (O).
2Loosen the captive screws that fasten the card to the MCU.
3Remove the RTM ISDN card. Use the metal ejector levers to pull the RTM ISDN card out of its slot in the backplane.
4Carefully slide the RTM ISDN card out through the front panel.
5On the card to be installed, move the ejector levers to their fully open position.
|
|
|
| |
|
|
|
| |
Ejector Lever | ||||
| Captive Screw | |||