Enabling orDisabling CallerID for Each Line
While viewing a line settings status, press SELECT to view the line settings options for that line. Scroll ▼ to EDITCALLER ID? Line 2 of the display will show the current Caller ID status for that line. Press SELECT again.
Use ▲▼ to change Caller ID status. When the desired status displayed press SELECT again.
Editing Line-In-Use Voltage Threshold
While
While viewing a line settings status, press SELECT to view the line settings options for that line. Scroll ▼ to
Use ▲▼ to scroll through
Restoring Factory Default Settings forEach Line
All factory default settings can be restored at once for each line. Make sure you wish to restore ALLfactory settings before proceeding with this feature.
While viewing a line settings status, press SELECT to view the line settings options for that line. Scroll ▼ to RESTORE DEFAULT LINE SETTINGS? Press SELECT again.
If you are sure you wish to restore all line settings, press SELECT again.
SoundPoint Pro Desktop Conference Phone Operation
System Settings Directory
The System Settings Directory allows you to view status
▼Setting the Time of Day
▼Setting the LCD Contrast
▼Setting Repetitive Redial Parameters
▼Selecting and Setting Telephone Number
▼Editing Flash Timing; Restoring Default Flash Timing
▼Restoring System Factory Default Settings
Entering the System Settings Directory
Press SELECT to view the Main Menu options, scroll ▼ to SYSTEM SETTINGS. Press SELECT again to enter the System Configuration Directory.
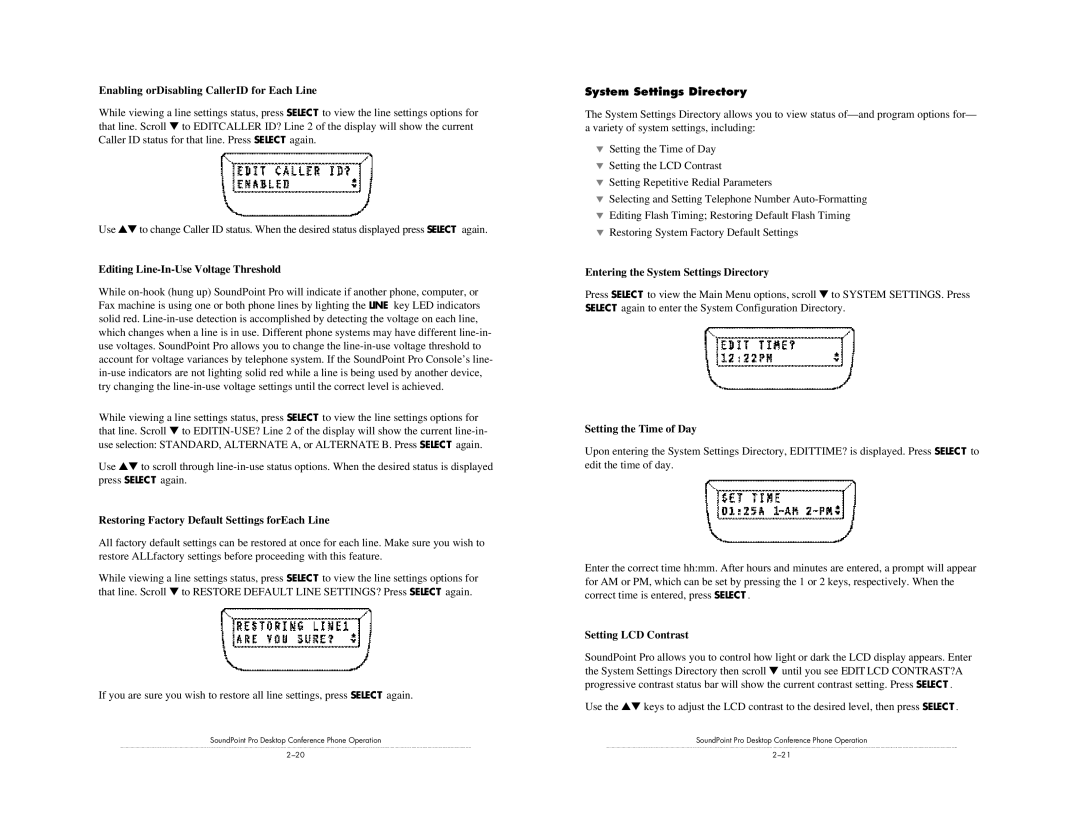
Setting the Time of Day
Upon entering the System Settings Directory, EDITTIME? is displayed. Press SELECT to edit the time of day.
Enter the correct time hh:mm. After hours and minutes are entered, a prompt will appear for AM or PM, which can be set by pressing the 1 or 2 keys, respectively. When the correct time is entered, press SELECT .
Setting LCD Contrast
SoundPoint Pro allows you to control how light or dark the LCD display appears. Enter the System Settings Directory then scroll ▼ until you see EDIT LCD CONTRAST?A progressive contrast status bar will show the current contrast setting. Press SELECT .
Use the ▲▼ keys to adjust the LCD contrast to the desired level, then press SELECT .
SoundPoint Pro Desktop Conference Phone Operation