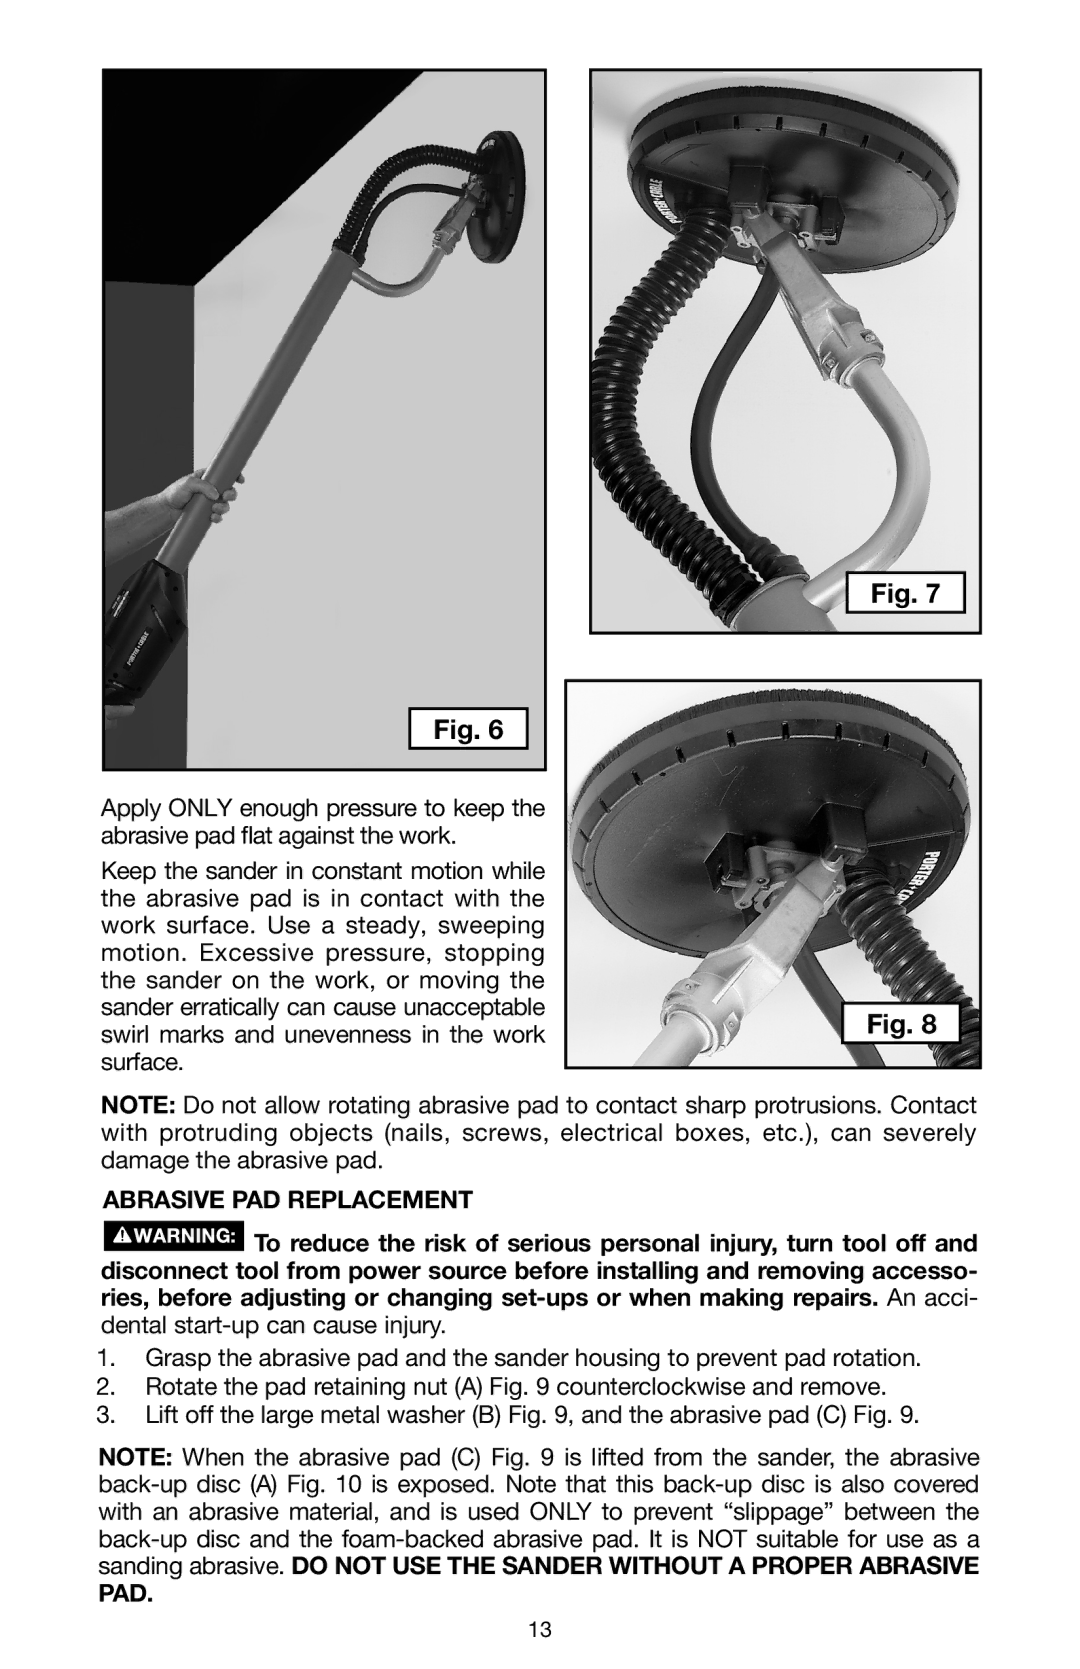
Fig. 6
Apply ONLY enough pressure to keep the abrasive pad flat against the work.
Keep the sander in constant motion while the abrasive pad is in contact with the work surface. Use a steady, sweeping motion. Excessive pressure, stopping the sander on the work, or moving the sander erratically can cause unacceptable swirl marks and unevenness in the work surface.
Fig. 7
Fig. 8
NOTE: Do not allow rotating abrasive pad to contact sharp protrusions. Contact with protruding objects (nails, screws, electrical boxes, etc.), can severely damage the abrasive pad.
ABRASIVE PAD REPLACEMENT
![]() To reduce the risk of serious personal injury, turn tool off and disconnect tool from power source before installing and removing accesso- ries, before adjusting or changing
To reduce the risk of serious personal injury, turn tool off and disconnect tool from power source before installing and removing accesso- ries, before adjusting or changing
1.Grasp the abrasive pad and the sander housing to prevent pad rotation.
2.Rotate the pad retaining nut (A) Fig. 9 counterclockwise and remove.
3.Lift off the large metal washer (B) Fig. 9, and the abrasive pad (C) Fig. 9.
NOTE: When the abrasive pad (C) Fig. 9 is lifted from the sander, the abrasive
PAD.
13