ASSEMBLY
NOTE: This tool is shipped completely assembled. No assembly time or tools are required.
ABRASIVE DISC SELECTION
An abrasive disc is already included with the Drywall Sander. For details on the type of grit, refer to the packaging. Higher grit number corresponds to a smoother finish.
![]() Do not attempt to use any abrasives other than those recommended by
Do not attempt to use any abrasives other than those recommended by
OPERATION
![]() To reduce the risk of serious personal injury, turn tool off and disconnect tool from power source before installing and removing acces- sories, before adjusting or changing
To reduce the risk of serious personal injury, turn tool off and disconnect tool from power source before installing and removing acces- sories, before adjusting or changing
accidental
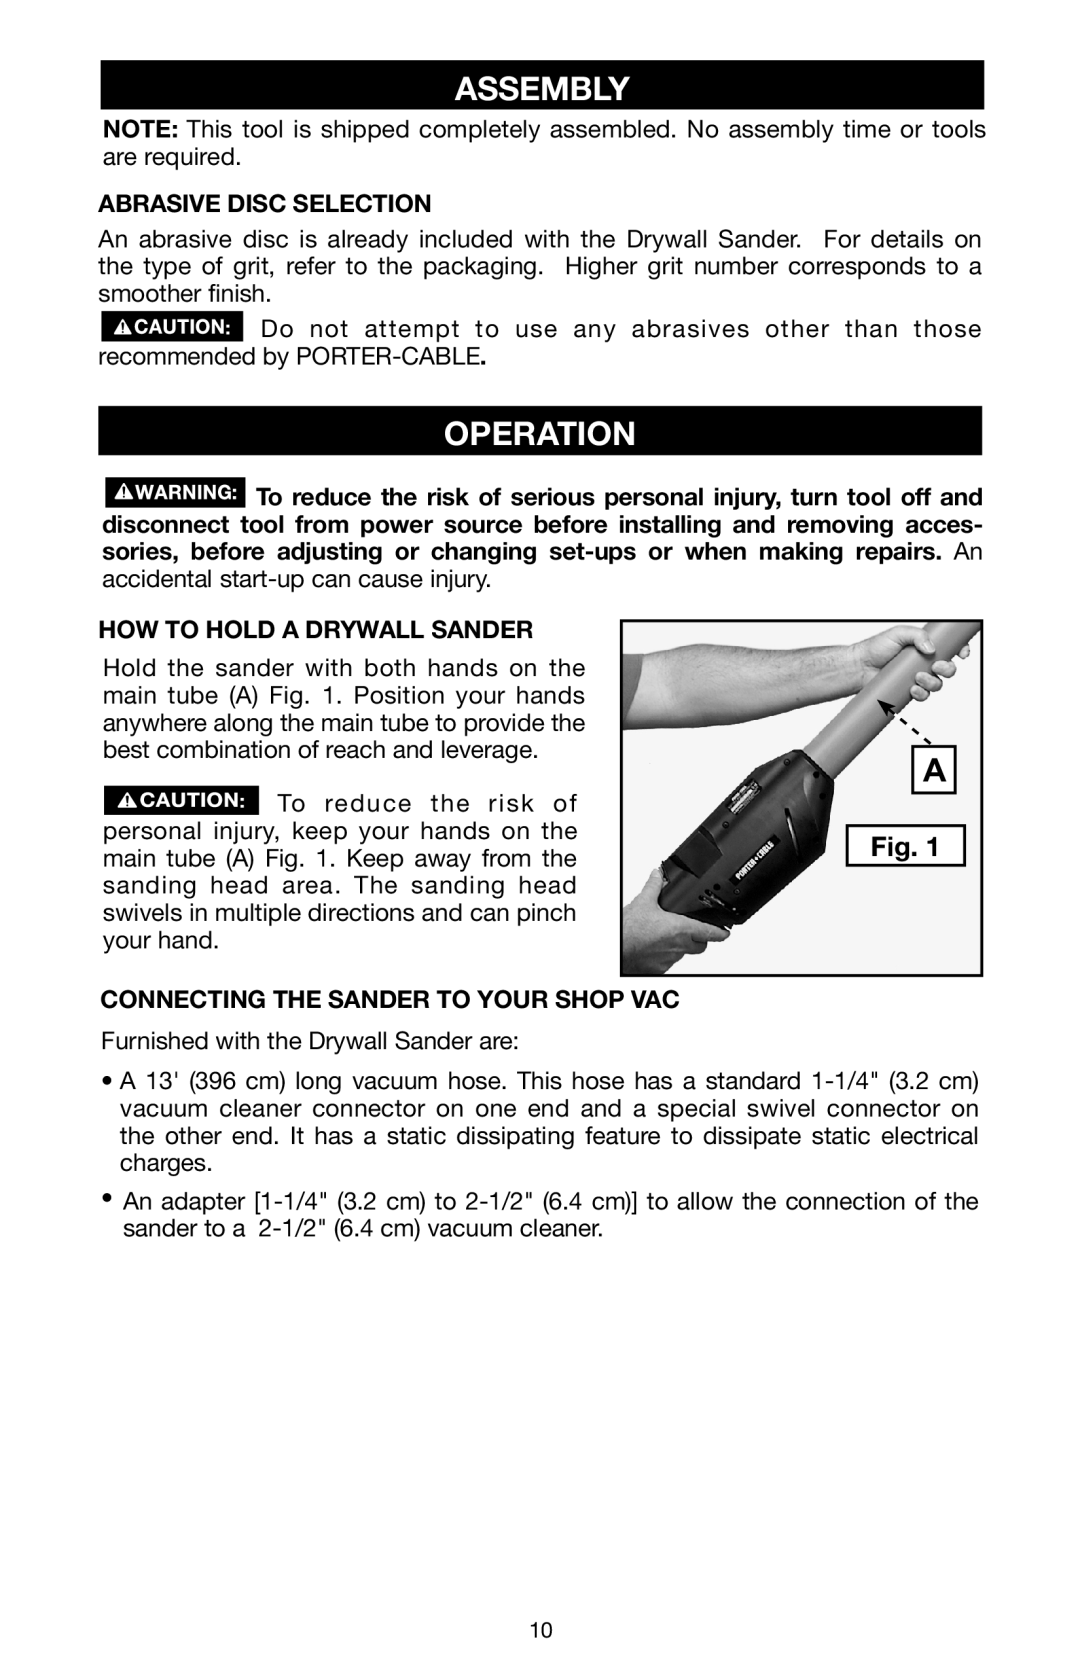
HOW TO HOLD A DRYWALL SANDER
Hold the sander with both hands on the main tube (A) Fig. 1. Position your hands anywhere along the main tube to provide the best combination of reach and leverage.
![]() To reduce the risk of personal injury, keep your hands on the main tube (A) Fig. 1. Keep away from the sanding head area. The sanding head swivels in multiple directions and can pinch your hand.
To reduce the risk of personal injury, keep your hands on the main tube (A) Fig. 1. Keep away from the sanding head area. The sanding head swivels in multiple directions and can pinch your hand.
CONNECTing the SANDER to your shop vac
Furnished with the Drywall Sander are:
A
Fig. 1
•A 13' (396 cm) long vacuum hose. This hose has a standard
•An adapter
10