115260526 specifications
The Poulan 115260526 is a versatile chainsaw that has gained popularity among both amateur and professional users for its reliability and performance. This model is designed for a variety of cutting tasks, ranging from trimming branches to felling trees. It combines a powerful engine with innovative features, making it an ideal choice for homeowners and landscapers alike.One of the standout characteristics of the Poulan 115260526 is its robust engine. The chainsaw is equipped with a 25cc, 2-stroke engine that delivers impressive power for its class. This efficient engine enables users to tackle demanding cutting chores without experiencing unnecessary fatigue. Additionally, the lightweight design of the chainsaw makes it easier to maneuver and reduces the strain on the operator during extended use.
Another key feature of the Poulan 115260526 is its Easy Start technology. This intuitive starting system reduces the effort required to start the engine, allowing users to get to work quickly without the hassle of traditional pull-start systems. The reduced resistance in the starting mechanism enhances user experience, making it suitable for those who may be less experienced with chainsaws.
Safety is always a concern when using power tools, and the Poulan 115260526 addresses this with several built-in safety features. It comes equipped with a chain brake that activates when a kickback occurs, stopping the chain instantly to reduce the risk of injury. The chainsaw also features a hand guard to protect the user’s hands while operating.
The chainsaw's cutting capability is further enhanced by its Oregon chain and bar system. The 16-inch bar length paired with a high-quality chain ensures smooth and swift cutting, allowing users to tackle tougher wood with confidence. The automatic oiling system helps maintain the chain’s performance by delivering oil to the bar and chain during operation, thus extending the life of the components.
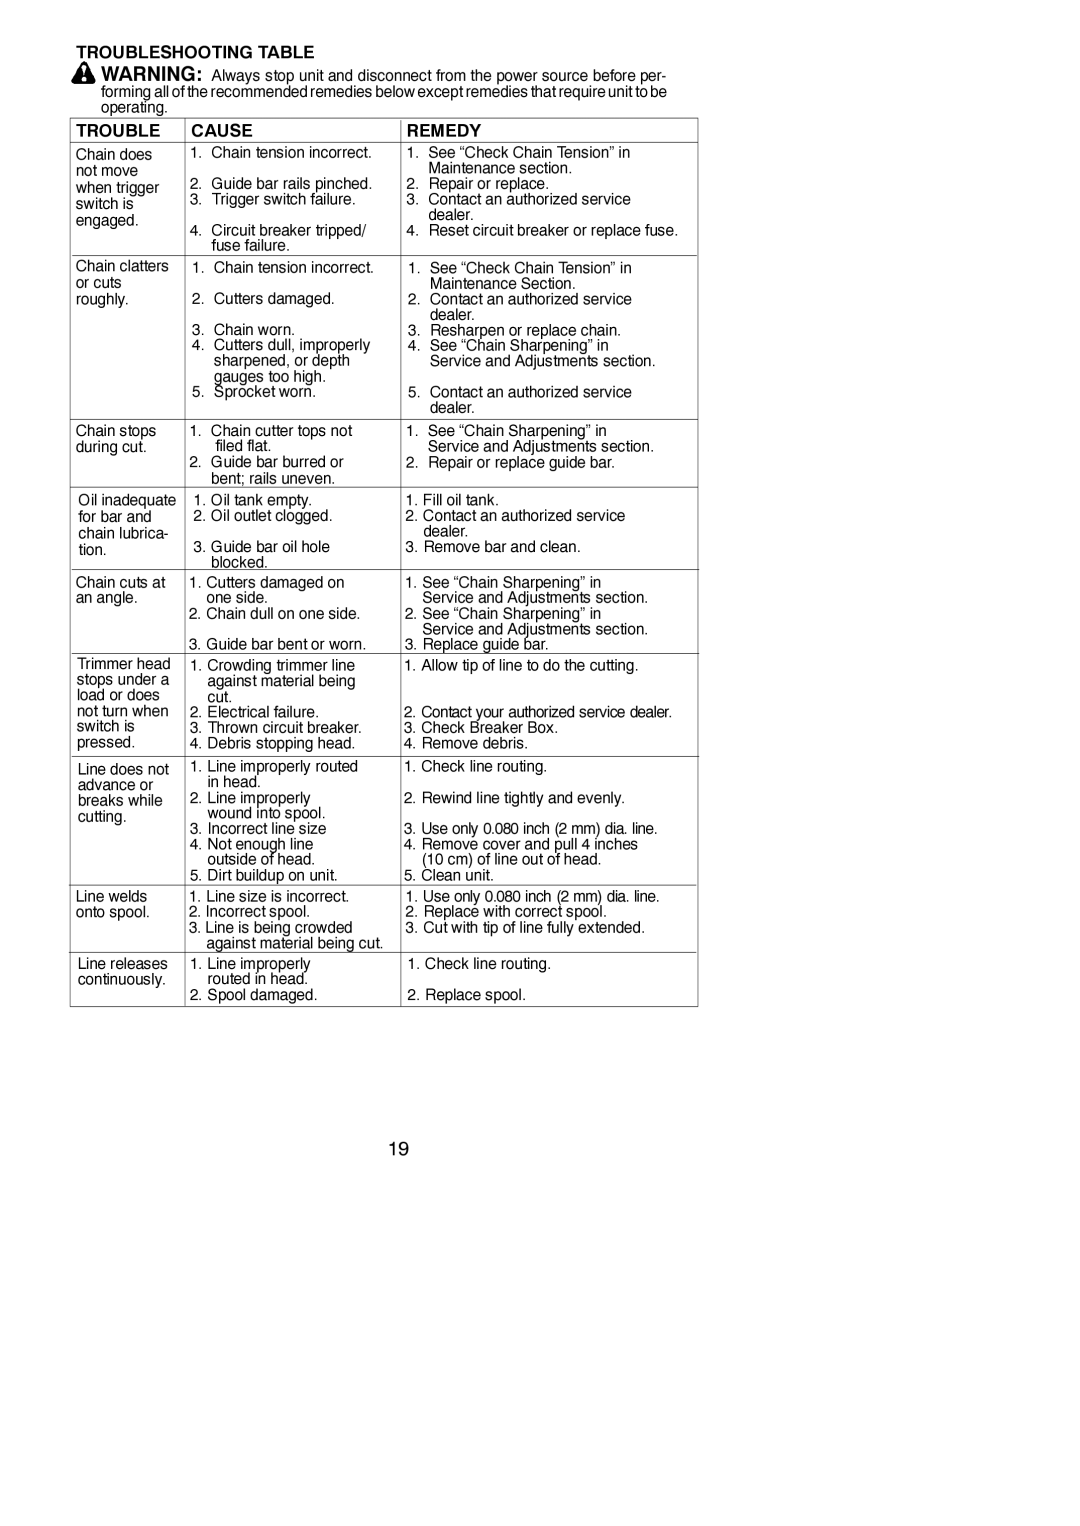
In terms of maintenance, the Poulan 115260526 is designed for easy access to critical parts, ensuring that users can swiftly perform routine checks and repairs. This practicality contributes to the chainsaw’s longevity and reliability over time.
In summary, the Poulan 115260526 stands out for its powerful yet lightweight design, user-friendly starting technology, safety features, and efficient cutting performance. These attributes make it a valuable tool for anyone looking to maintain their property or engage in landscaping projects. With the right care and maintenance, this chainsaw is sure to deliver exceptional results for years to come.
