SThis saw is equipped with a chain brake. The brake is designed to stop the chain if
kickback occurs.
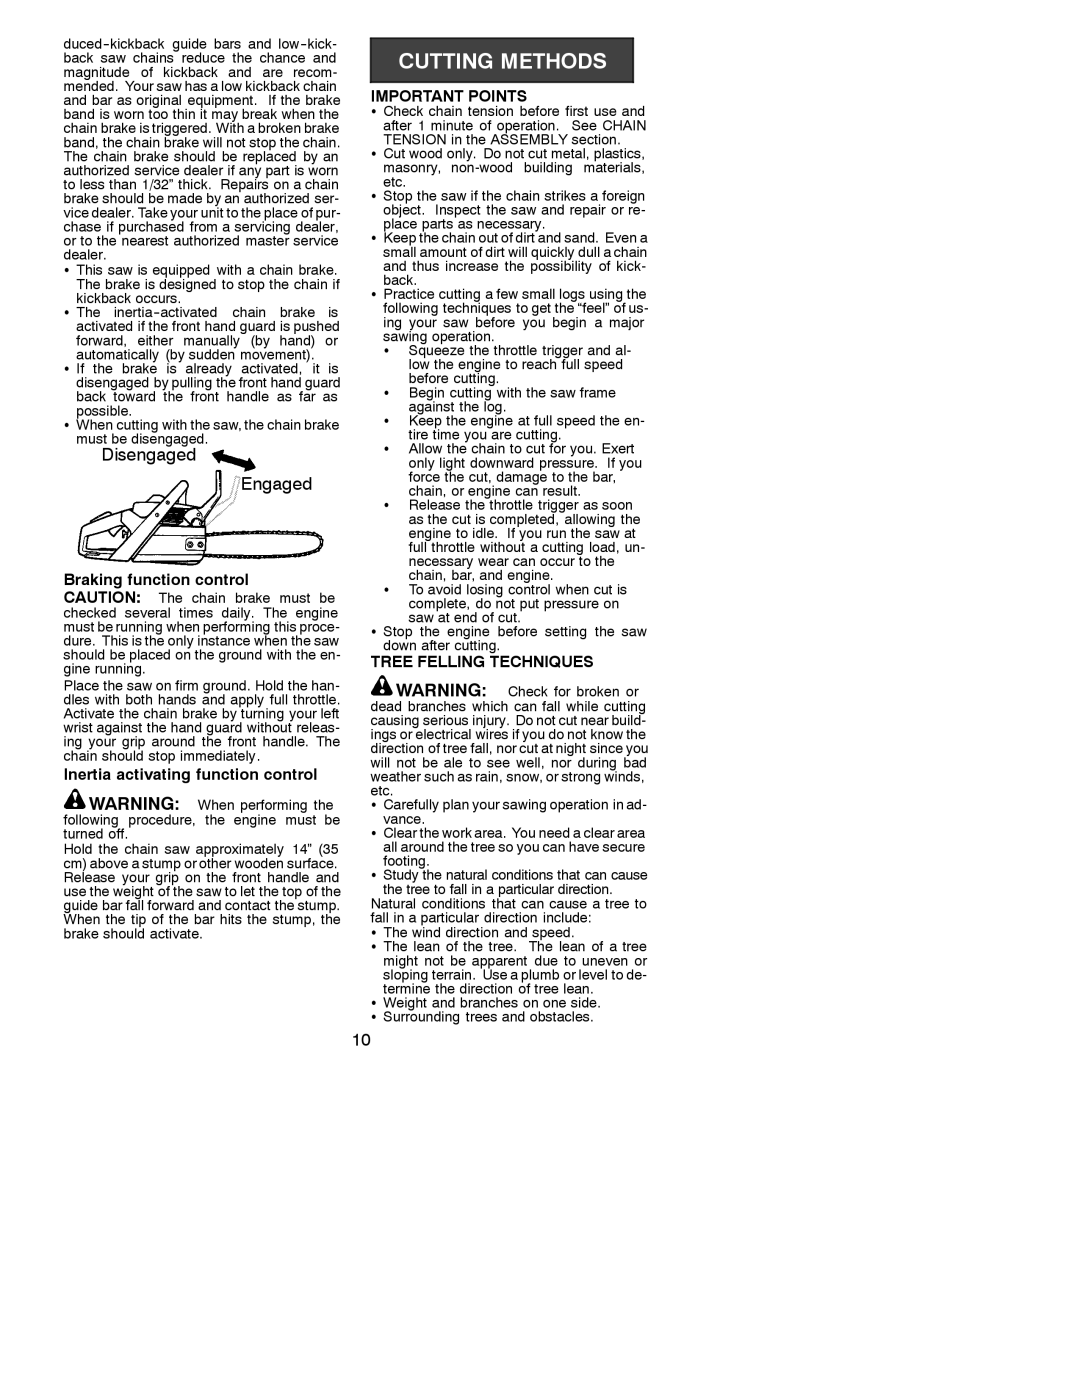
S The
S If the brake is already activated, it is disengaged by pulling the front hand guard back toward the front handle as far as possible.
S When cutting with the saw, the chain brake must be disengaged.
Disengaged
Engaged
Braking function control CAUTION: The chain brake must be
checked several times daily. The engine must be running when performing this proce- dure. This is the only instance when the saw should be placed on the ground with the en- gine running.
Place the saw on firm ground. Hold the han- dles with both hands and apply full throttle. Activate the chain brake by turning your left wrist against the hand guard without releas- ing your grip around the front handle. The chain should stop immediately.
Inertia activating function control
![]() WARNING: When performing the following procedure, the engine must be turned off.
WARNING: When performing the following procedure, the engine must be turned off.
Hold the chain saw approximately 14” (35 cm) above a stump or other wooden surface. Release your grip on the front handle and use the weight of the saw to let the top of the guide bar fall forward and contact the stump. When the tip of the bar hits the stump, the brake should activate.
IMPORTANT POINTS
SCheck chain tension before first use and
after 1 minute of operation. See CHAIN TENSION in the ASSEMBLY section.
SCut wood only. Do not cut metal, plastics, masonry,
etc.
SStop the saw if the chain strikes a foreign object. Inspect the saw and repair or re-
place parts as necessary.
SKeep the chain out of dirt and sand. Even a small amount of dirt will quickly dull a chain and thus increase the possibility of kick-
back.
SPractice cutting a few small logs using the following techniques to get the “feel” of us- ing your saw before you begin a major sawing operation.
S Squeeze the throttle trigger and al- low the engine to reach full speed before cutting.
S Begin cutting with the saw frame against the log.
S Keep the engine at full speed the en- tire time you are cutting.
S Allow the chain to cut for you. Exert only light downward pressure. If you force the cut, damage to the bar, chain, or engine can result.
S Release the throttle trigger as soon as the cut is completed, allowing the engine to idle. If you run the saw at full throttle without a cutting load, un- necessary wear can occur to the chain, bar, and engine.
STo avoid losing control when cut is complete, do not put pressure on saw at end of cut.
S Stop the engine before setting the saw down after cutting.
TREE FELLING TECHNIQUES
![]() WARNING: Check for broken or dead branches which can fall while cutting causing serious injury. Do not cut near build- ings or electrical wires if you do not know the direction of tree fall, nor cut at night since you will not be ale to see well, nor during bad weather such as rain, snow, or strong winds, etc.
WARNING: Check for broken or dead branches which can fall while cutting causing serious injury. Do not cut near build- ings or electrical wires if you do not know the direction of tree fall, nor cut at night since you will not be ale to see well, nor during bad weather such as rain, snow, or strong winds, etc.
SCarefully plan your sawing operation in ad-
vance.
SClear the work area. You need a clear area
all around the tree so you can have secure footing.
SStudy the natural conditions that can cause the tree to fall in a particular direction.
Natural conditions that can cause a tree to fall in a particular direction include:
SThe wind direction and speed.
S The lean of the tree. The lean of a tree might not be apparent due to uneven or sloping terrain. Use a plumb or level to de- termine the direction of tree lean.
SWeight and branches on one side. S Surrounding trees and obstacles.
10