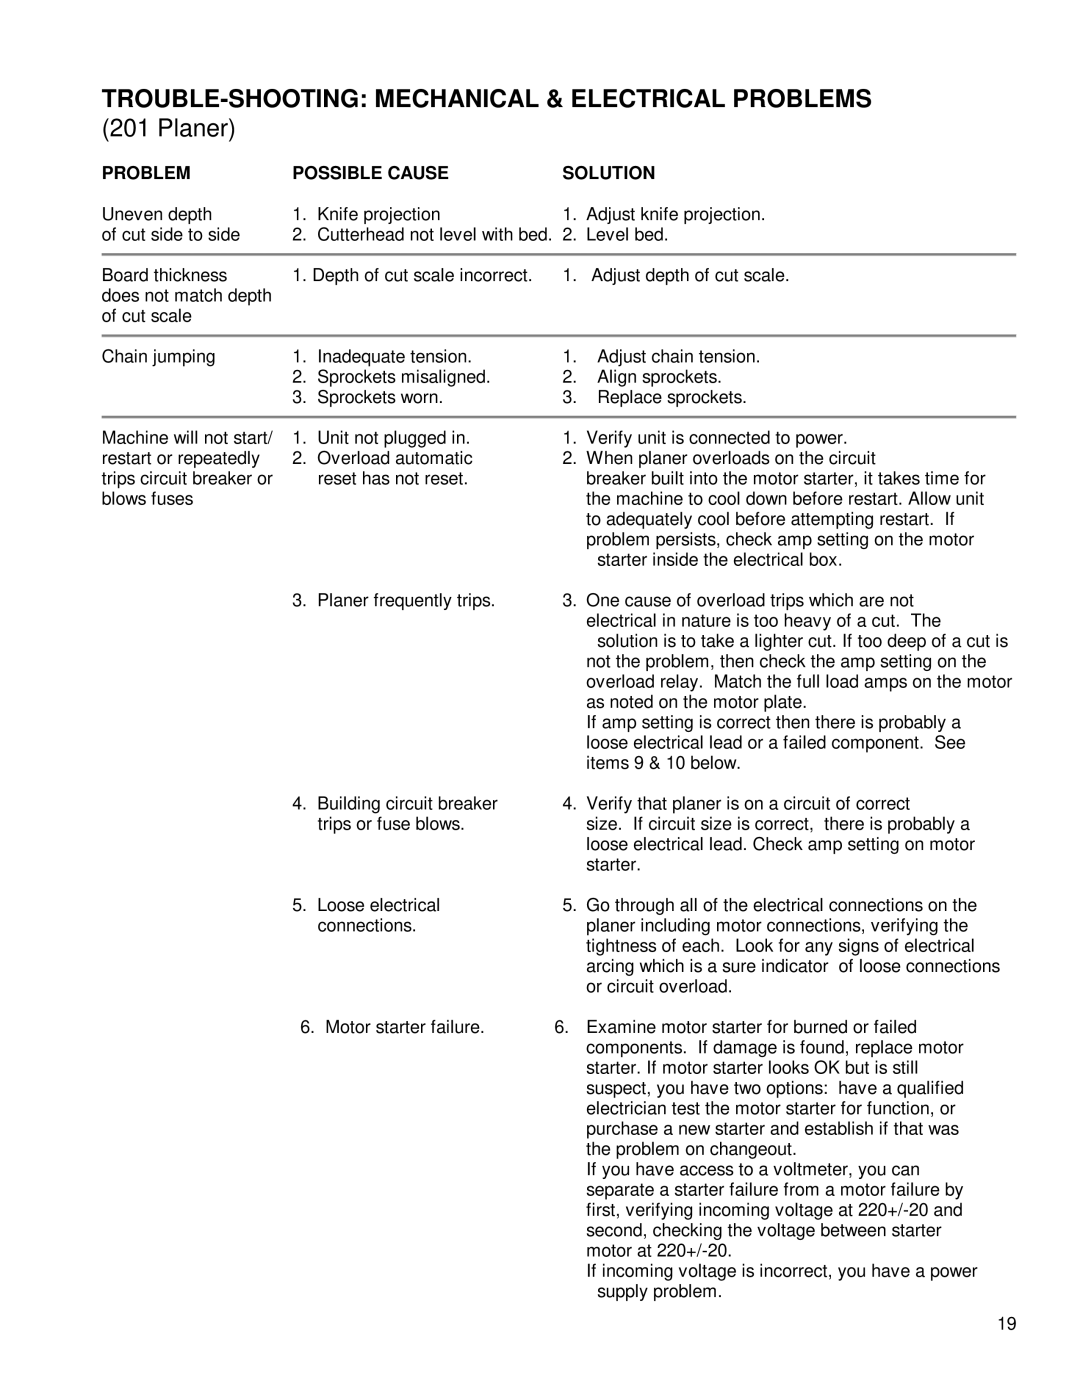
TROUBLE-SHOOTING: MECHANICAL & ELECTRICAL PROBLEMS
(201 Planer)
PROBLEM | POSSIBLE CAUSE | SOLUTION | ||
Uneven depth | 1. | Knife projection | 1. | Adjust knife projection. |
of cut side to side | 2. | Cutterhead not level with bed. | 2. | Level bed. |
|
|
|
| |
Board thickness | 1. Depth of cut scale incorrect. | 1. | Adjust depth of cut scale. | |
does not match depth |
|
|
|
|
of cut scale |
|
|
|
|
|
|
|
|
|
Chain jumping | 1. | Inadequate tension. | 1. | Adjust chain tension. |
| 2. | Sprockets misaligned. | 2. | Align sprockets. |
| 3. | Sprockets worn. | 3. | Replace sprockets. |
|
|
|
|
|
Machine will not start/ | 1. | Unit not plugged in. | 1. | Verify unit is connected to power. |
restart or repeatedly | 2. | Overload automatic | 2. | When planer overloads on the circuit |
trips circuit breaker or |
| reset has not reset. |
| breaker built into the motor starter, it takes time for |
blows fuses |
|
|
| the machine to cool down before restart. Allow unit |
|
|
|
| to adequately cool before attempting restart. If |
|
|
|
| problem persists, check amp setting on the motor |
|
|
|
| starter inside the electrical box. |
| 3. | Planer frequently trips. | 3. | One cause of overload trips which are not |
|
|
|
| electrical in nature is too heavy of a cut. The |
|
|
|
| solution is to take a lighter cut. If too deep of a cut is |
|
|
|
| not the problem, then check the amp setting on the |
|
|
|
| overload relay. Match the full load amps on the motor |
|
|
|
| as noted on the motor plate. |
|
|
|
| If amp setting is correct then there is probably a |
|
|
|
| loose electrical lead or a failed component. See |
|
|
|
| items 9 & 10 below. |
| 4. | Building circuit breaker | 4. | Verify that planer is on a circuit of correct |
|
| trips or fuse blows. |
| size. If circuit size is correct, there is probably a |
|
|
|
| loose electrical lead. Check amp setting on motor |
|
|
|
| starter. |
| 5. | Loose electrical | 5. | Go through all of the electrical connections on the |
|
| connections. |
| planer including motor connections, verifying the |
|
|
|
| tightness of each. Look for any signs of electrical |
|
|
|
| arcing which is a sure indicator of loose connections |
|
|
|
| or circuit overload. |
| 6. | Motor starter failure. | 6. | Examine motor starter for burned or failed |
|
|
|
| components. If damage is found, replace motor |
|
|
|
| starter. If motor starter looks OK but is still |
|
|
|
| suspect, you have two options: have a qualified |
|
|
|
| electrician test the motor starter for function, or |
|
|
|
| purchase a new starter and establish if that was |
|
|
|
| the problem on changeout. |
If you have access to a voltmeter, you can separate a starter failure from a motor failure by first, verifying incoming voltage at
If incoming voltage is incorrect, you have a power supply problem.
19
