GB-PLEN1 specifications
The Premier Mounts GB-PLEN1 is a state-of-the-art flat panel display mount designed to cater to both commercial and residential settings. Renowned for its innovative design and durability, this mount sets a high standard in the mounting solutions market. One of the standout features of the GB-PLEN1 is its low-profile design, which allows for an unobtrusive installation that enhances the aesthetics of any space. With a mere 1.5 inches of distance from the wall, it provides a sleek and modern look while ensuring that the display remains secure.The GB-PLEN1 accommodates a wide range of display sizes, typically ranging from 37 inches to 70 inches. This versatile compatibility ensures that users can effectively mount their preferred televisions or monitors without the hassle of finding a specific mount. This model features a universal VESA mounting pattern that simplifies installation, allowing for multiple configurations and easier setup.
One of the key technologies integrated into the Premier Mounts GB-PLEN1 is its robust construction. Built with high-quality materials, this mount is engineered to support substantial weights, ensuring that it can hold even the heaviest screens without compromising safety. With a weight capacity of up to 150 pounds, the GB-PLEN1 is designed for longevity and reliability, making it an ideal choice for both home theaters and professional environments such as conference rooms and retail displays.
The GB-PLEN1 also incorporates easy cable management solutions. This feature keeps wires and cables organized, minimizing clutter and providing a clean look to the installation. Users can enjoy an uncluttered environment, with the assurance that their cables are neatly tucked away.
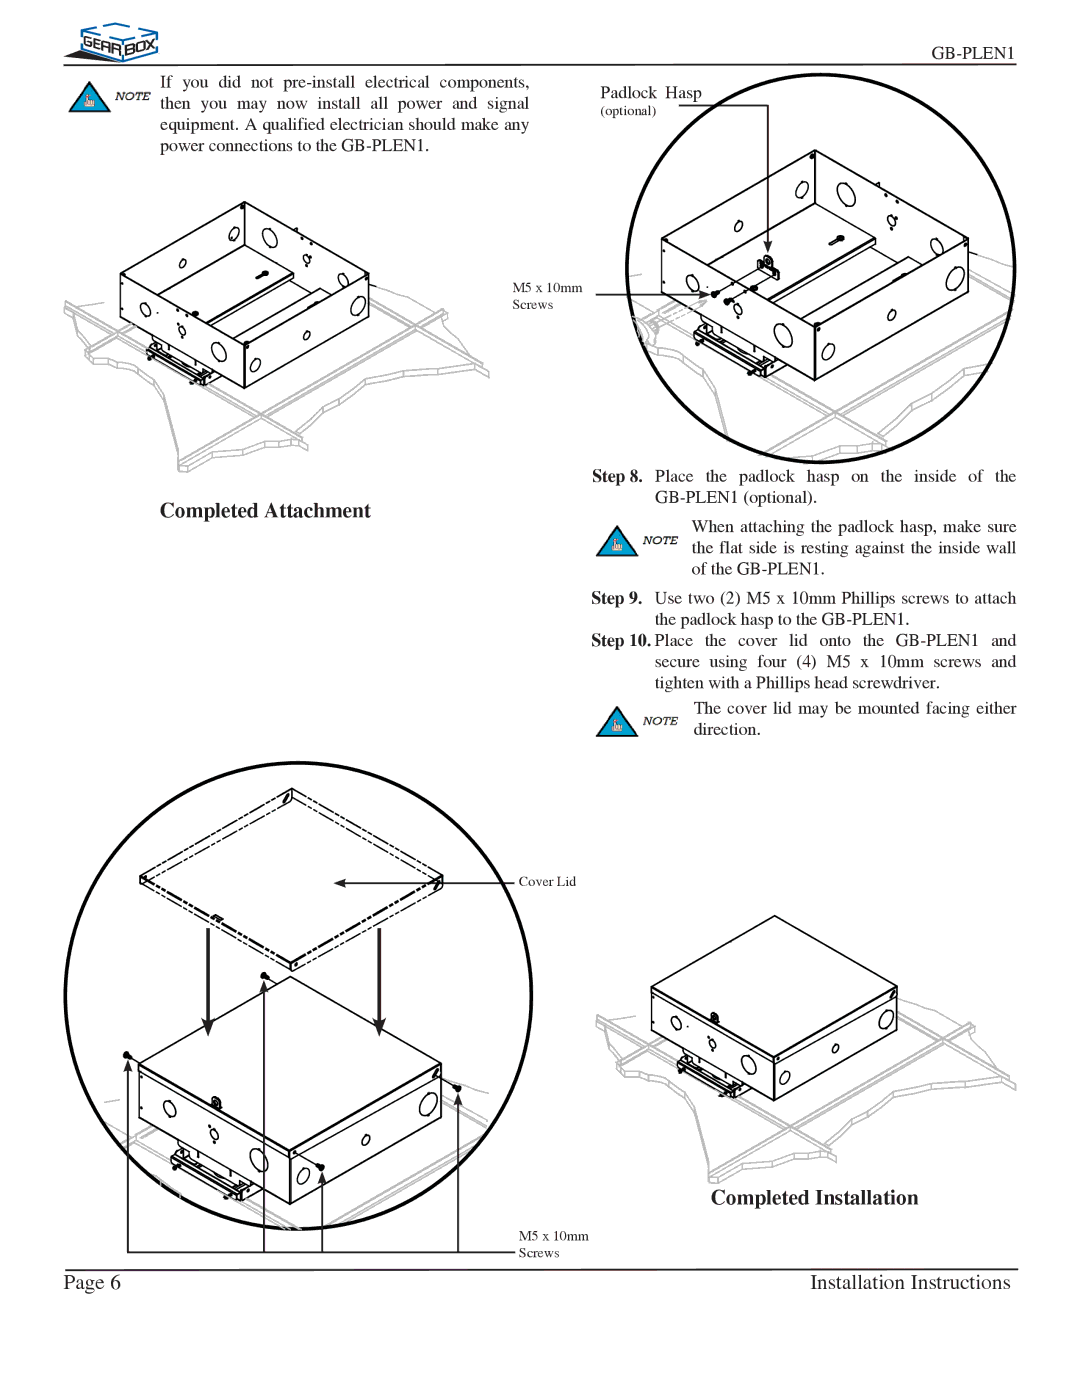
Moreover, the mount's installation process is made straightforward with the inclusion of a detailed instruction manual and all necessary mounting hardware. This user-friendly approach allows both professionals and DIY enthusiasts to achieve optimal results with minimal difficulty.
In summary, the Premier Mounts GB-PLEN1 is a leading flat panel display mount that combines innovative features, robust construction, and ease of installation, making it a top choice for anyone looking to enhance their viewing experience while maintaining a stylish and organized space.

