3.
4.Click the Have Disk button.
5.Click Browse, select your
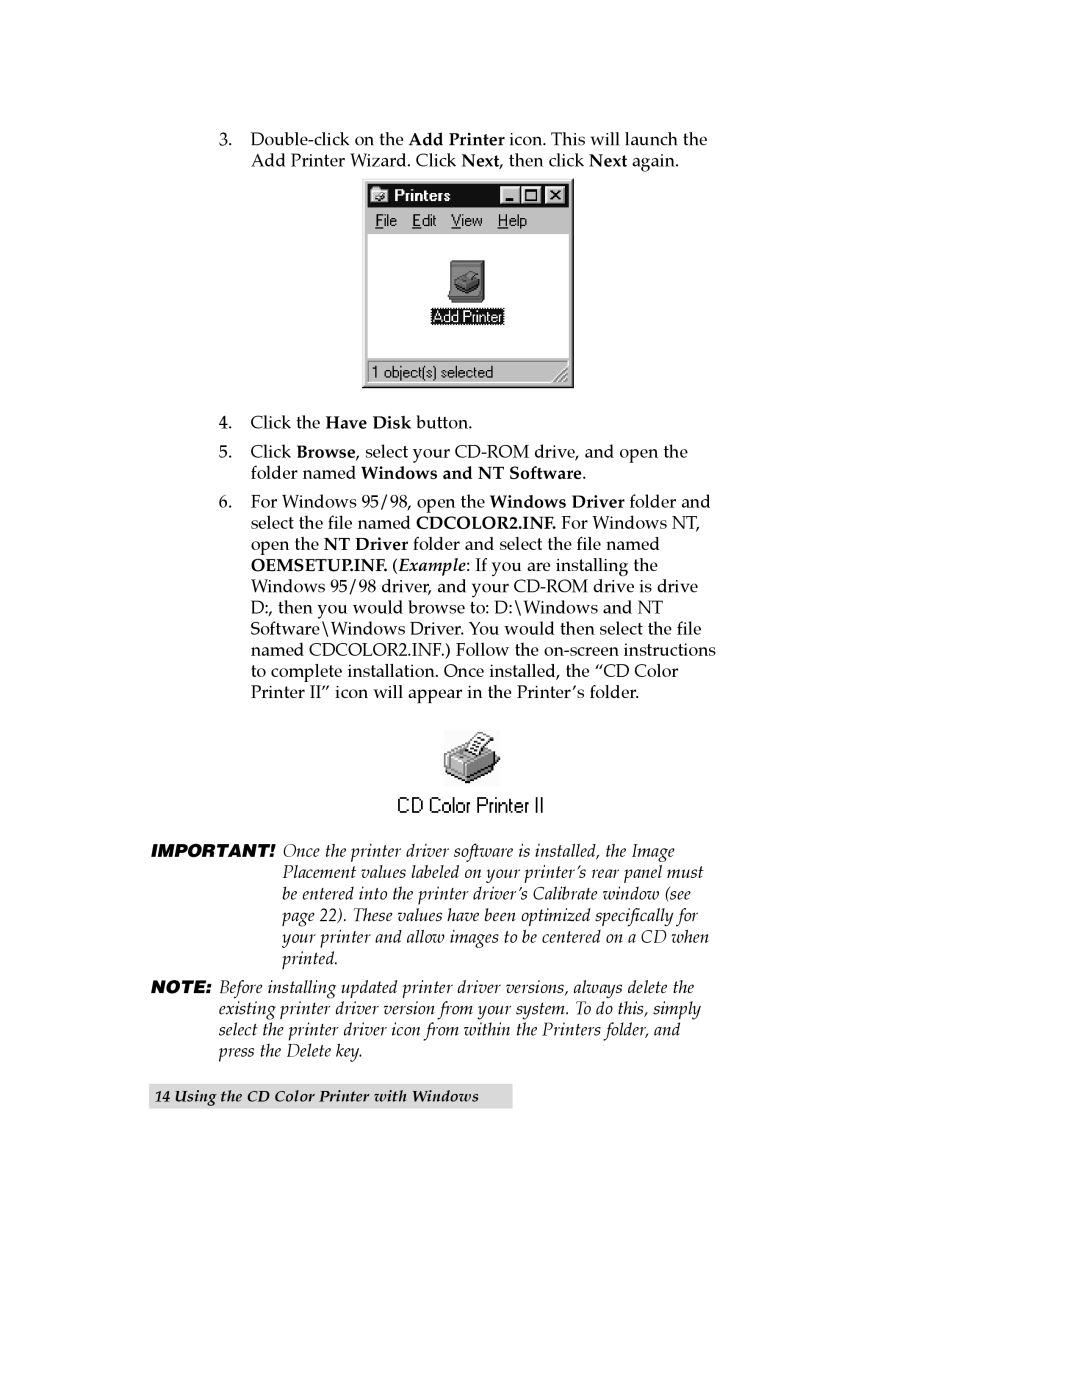
6.For Windows 95/98, open the Windows Driver folder and select the file named CDCOLOR2.INF. For Windows NT, open the NT Driver folder and select the file named OEMSETUP.INF. (Example: If you are installing the Windows 95/98 driver, and your
IMPORTANT! Once the printer driver software is installed, the Image Placement values labeled on your printerÕs rear panel must be entered into the printer driverÕs Calibrate window (see page 22). These values have been optimized specifically for your printer and allow images to be centered on a CD when printed.
NOTE: Before installing updated printer driver versions, always delete the existing printer driver version from your system. To do this, simply select the printer driver icon from within the Printers folder, and press the Delete key.