The information is retained even if the unit is turned off or the batteries are removed. To remove an entry from the list, press the right cursor key to select the entry and then press the star key. A “Delete Entry” message is displayed and pressing the SAVE function key clears the selected name and IP Address.
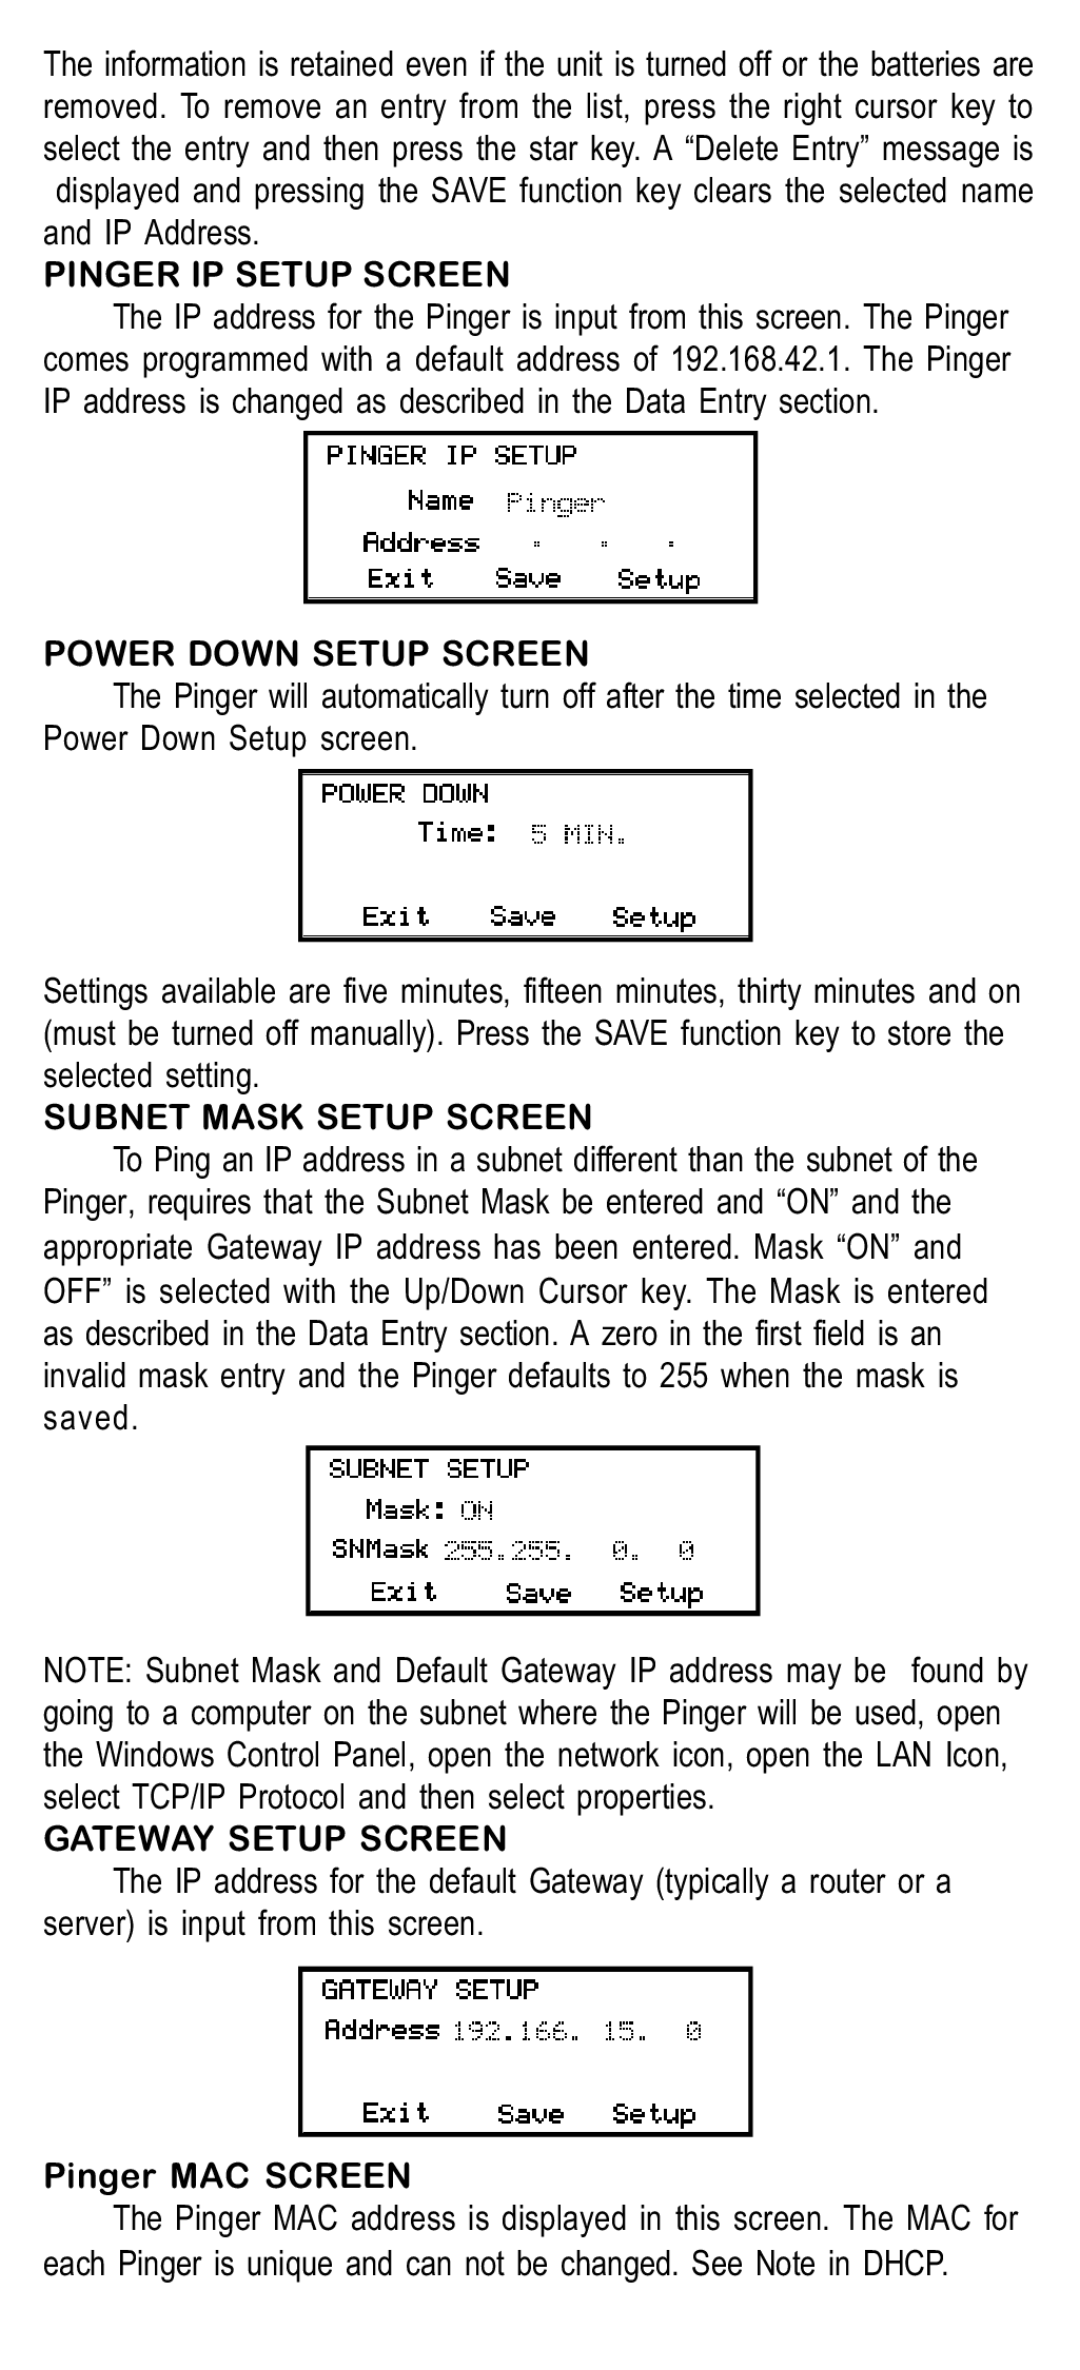
PINGER IP SETUP SCREEN
The IP address for the Pinger is input from this screen. The Pinger comes programmed with a default address of 192.168.42.1. The Pinger IP address is changed as described in the Data Entry section.
POWER DOWN SETUP SCREEN
The Pinger will automatically turn off after the time selected in the Power Down Setup screen.
Settings available are five minutes, fifteen minutes, thirty minutes and on (must be turned off manually). Press the SAVE function key to store the selected setting.
SUBNET MASK SETUP SCREEN
To Ping an IP address in a subnet different than the subnet of the Pinger, requires that the Subnet Mask be entered and “ON” and the appropriate Gateway IP address has been entered. Mask “ON” and OFF” is selected with the Up/Down Cursor key. The Mask is entered as described in the Data Entry section. A zero in the first field is an invalid mask entry and the Pinger defaults to 255 when the mask is saved.
NOTE: Subnet Mask and Default Gateway IP address may be found by going to a computer on the subnet where the Pinger will be used, open the Windows Control Panel, open the network icon, open the LAN Icon, select TCP/IP Protocol and then select properties.
GATEWAY SETUP SCREEN
The IP address for the default Gateway (typically a router or a server) is input from this screen.
Pinger MAC SCREEN
The Pinger MAC address is displayed in this screen. The MAC for each Pinger is unique and can not be changed. See Note in DHCP.