OPERATION
To test a hub or switch, connect a patch cable from the
LINK SCREEN
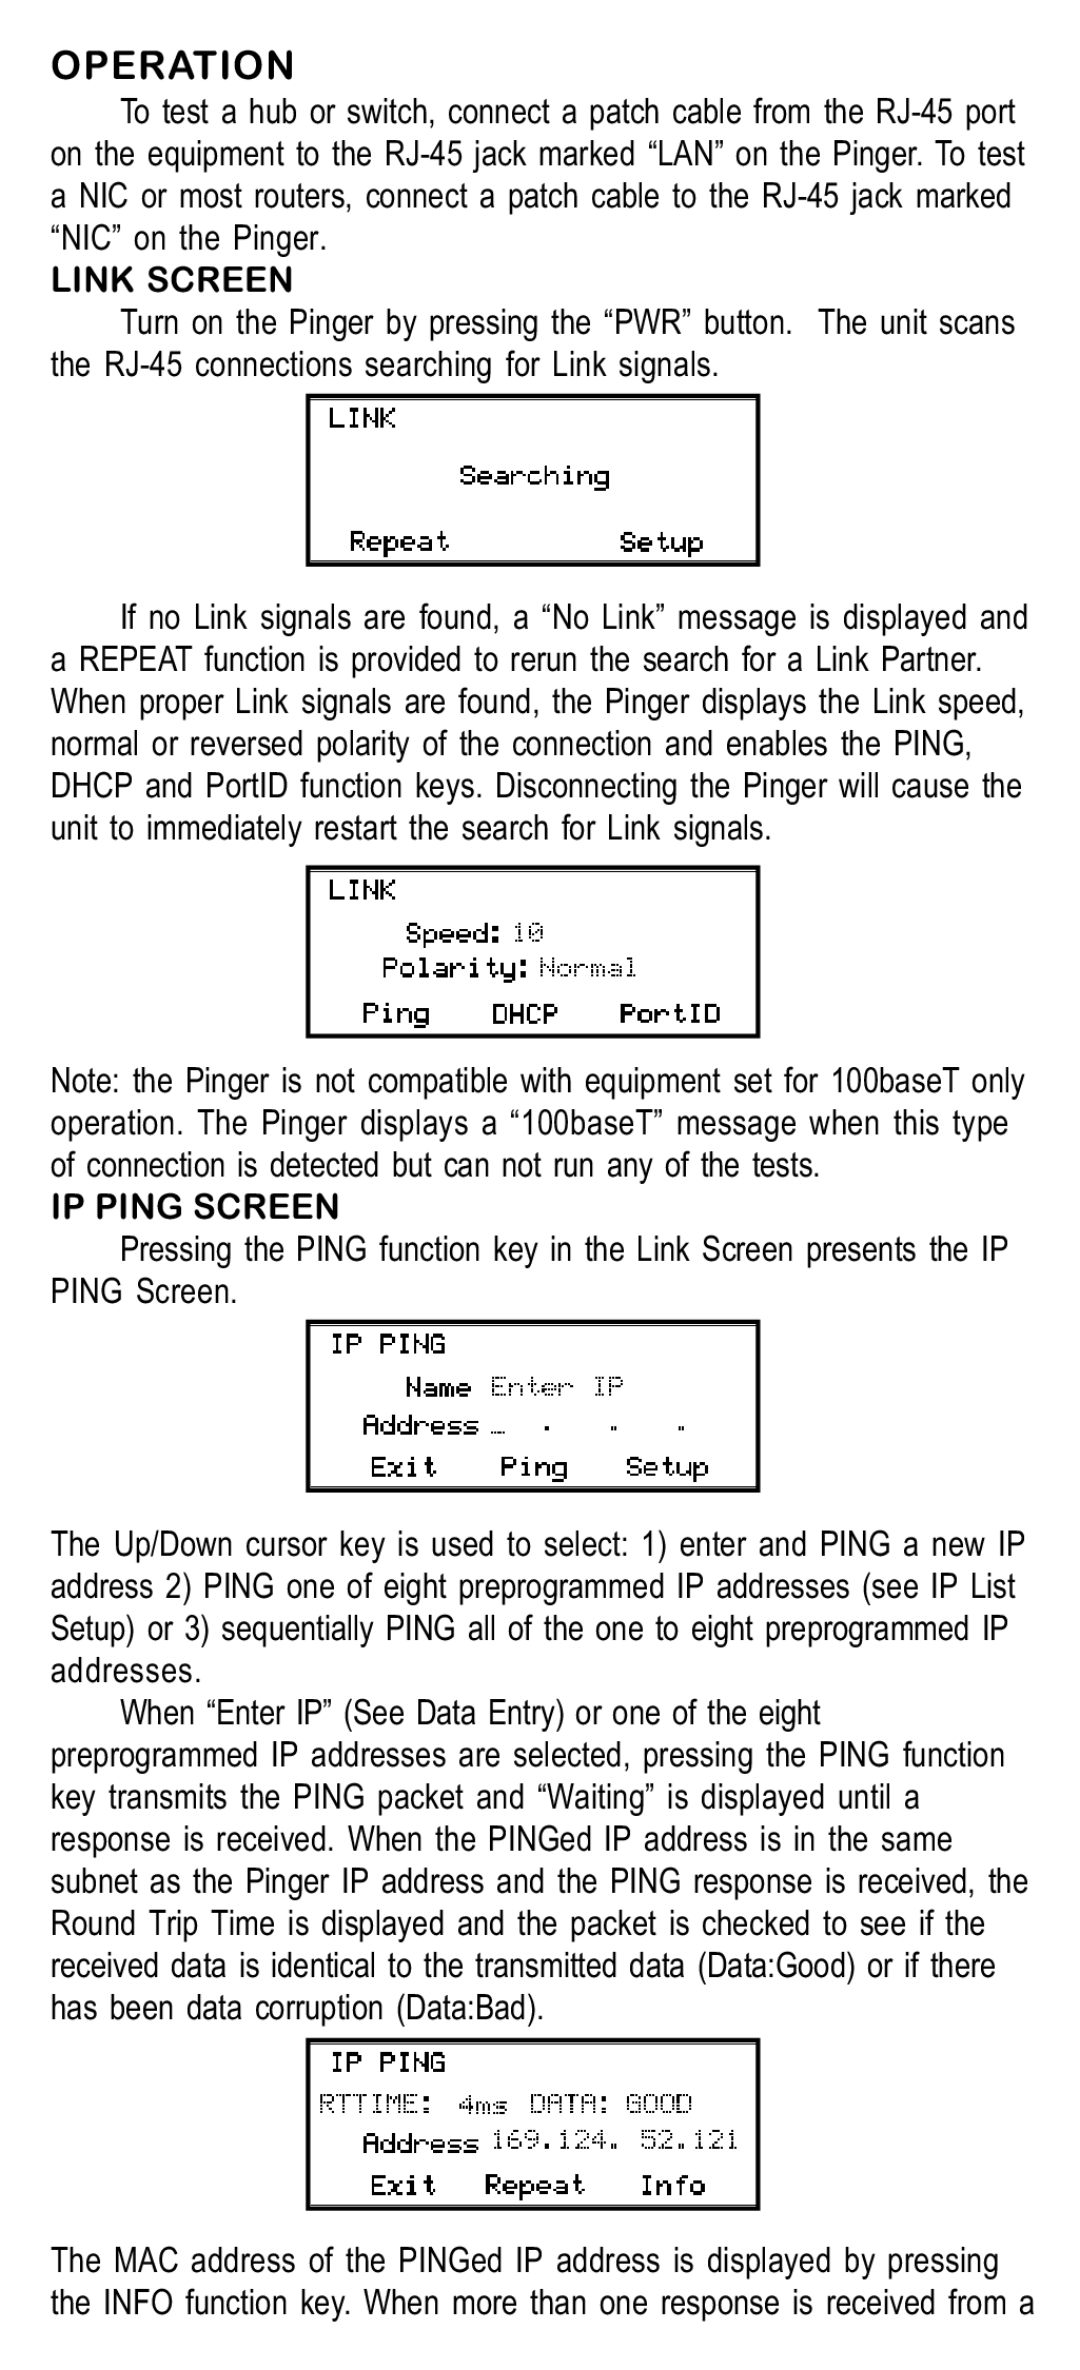
Turn on the Pinger by pressing the “PWR” button. The unit scans the
If no Link signals are found, a “No Link” message is displayed and a REPEAT function is provided to rerun the search for a Link Partner. When proper Link signals are found, the Pinger displays the Link speed, normal or reversed polarity of the connection and enables the PING, DHCP and PortID function keys. Disconnecting the Pinger will cause the unit to immediately restart the search for Link signals.
Note: the Pinger is not compatible with equipment set for 100baseT only operation. The Pinger displays a “100baseT” message when this type of connection is detected but can not run any of the tests.
IP PING SCREEN
Pressing the PING function key in the Link Screen presents the IP PING Screen.
The Up/Down cursor key is used to select: 1) enter and PING a new IP address 2) PING one of eight preprogrammed IP addresses (see IP List Setup) or 3) sequentially PING all of the one to eight preprogrammed IP addresses.
When “Enter IP” (See Data Entry) or one of the eight preprogrammed IP addresses are selected, pressing the PING function key transmits the PING packet and “Waiting” is displayed until a response is received. When the PINGed IP address is in the same subnet as the Pinger IP address and the PING response is received, the Round Trip Time is displayed and the packet is checked to see if the received data is identical to the transmitted data (Data:Good) or if there has been data corruption (Data:Bad).
The MAC address of the PINGed IP address is displayed by pressing the INFO function key. When more than one response is received from a
