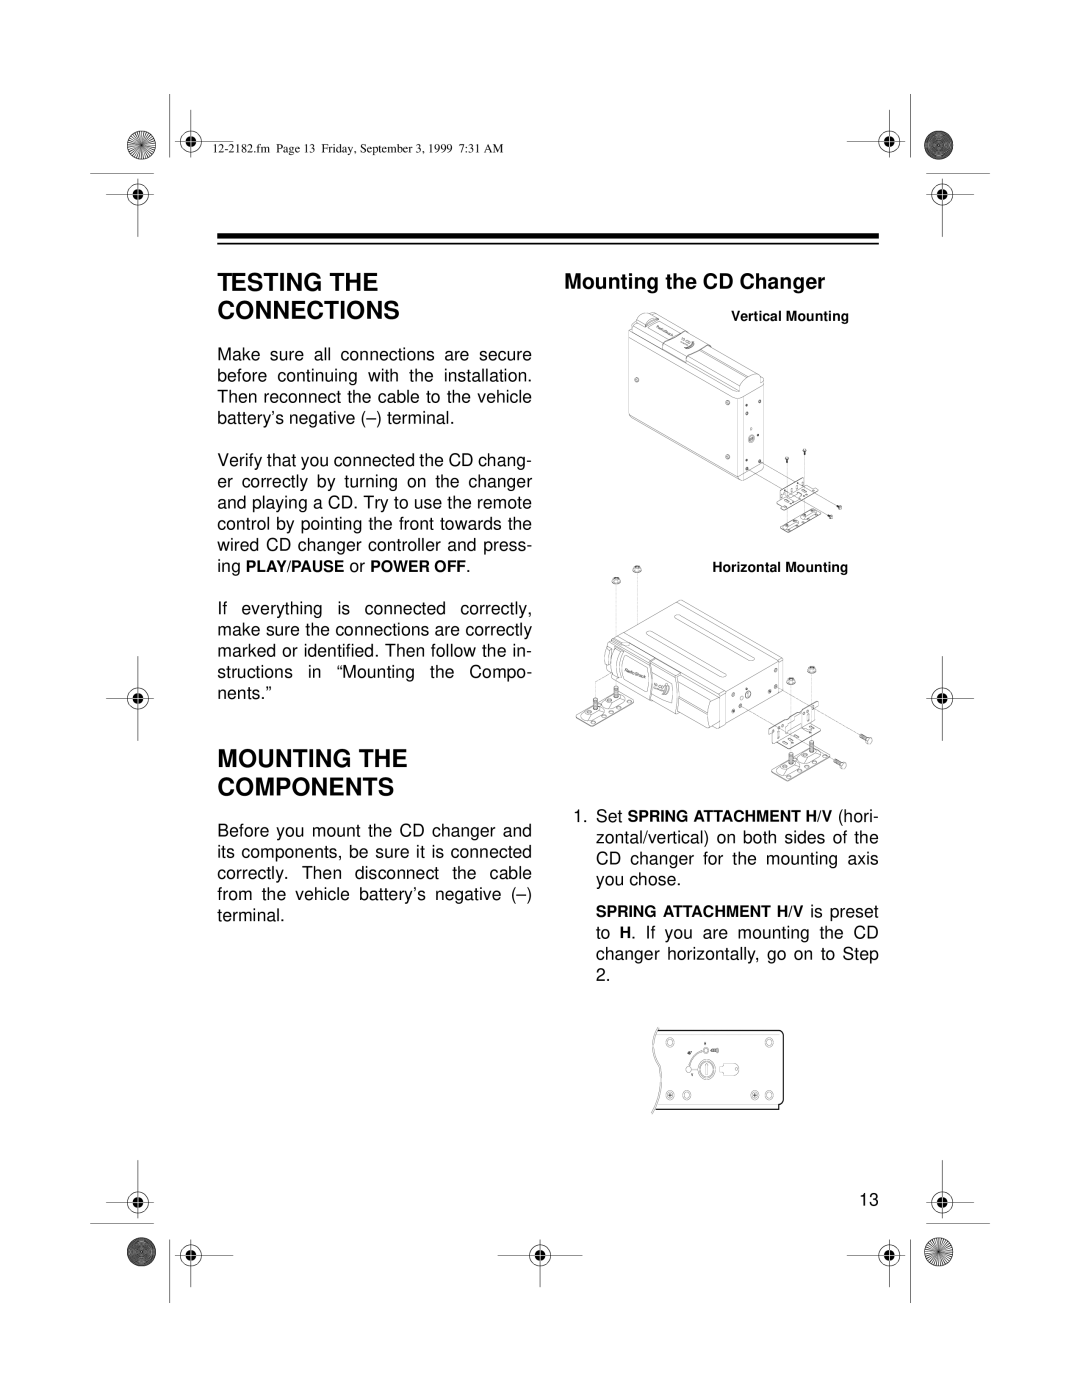
10 Disc CD Changer specifications
The Radio Shack 10 Disc CD Changer is a dynamic audio device that revolutionizes the way music enthusiasts experience their favorite albums. With a capacity to hold ten CDs, this changer offers convenience, variety, and a seamless listening experience. Designed for music lovers who appreciate the quality sound of compact discs, it remains an essential piece of equipment for any home audio setup.One of the standout features of the Radio Shack 10 Disc CD Changer is its multi-disc capacity. By allowing users to load multiple CDs at once, it eliminates the need for constant disc swapping, enabling longer listening sessions without interruption. This feature is particularly appealing for users who have extensive CD collections or enjoy hosting gatherings where a diverse range of music is desired.
The device boasts advanced digital audio technology, ensuring pristine sound quality. It incorporates a high-fidelity DAC (Digital-to-Analog Converter) that optimally processes audio signals, delivering rich, detailed sound across various genres. The clarity and depth of the audio produced by the CD changer make it a rewarding choice for audiophiles who prioritize sound quality.
The Radio Shack 10 Disc CD Changer includes features such as programmable playback, allowing users to create custom playlists directly from the device. The shuffle mode adds an element of surprise, randomly playing tracks from the loaded discs and keeping the listening experience fresh. An intuitive remote control makes it easy to skip tracks, adjust volume, and navigate playlists without leaving the comfort of your seat.
Compatibility with various audio systems is another highlight of the Radio Shack CD changer. It typically features both analog and digital outputs, ensuring seamless integration with a wide range of amplifiers and receivers. Additionally, the unit’s sleek and compact design allows it to fit easily in any entertainment center, making it a stylish addition to your décor.
Another significant characteristic is the durable construction of the CD changer. Built with quality materials, it promises longevity and reliability. Even after prolonged use, the device is designed to withstand wear and tear, maintaining consistent performance.
In conclusion, the Radio Shack 10 Disc CD Changer is an impressive audio device that combines technology and user-friendly features. With its multi-disc capacity, superior sound quality, and versatile playback options, it caters to the needs of every music lover, ensuring a delightful audio experience for years to come.

