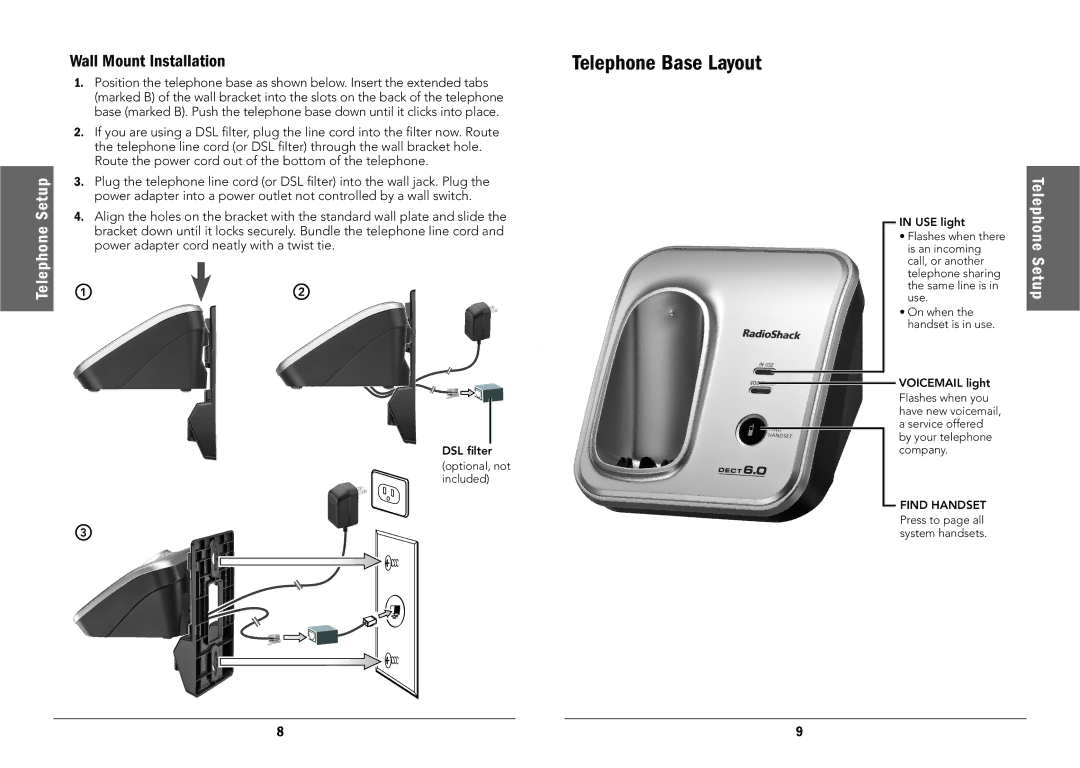
43-325, 43-326 specifications
Radio Shack has long been a renowned name in the electronics retail sector, known for providing consumers with innovative products for a range of applications. Among its line of accessories, the Radio Shack 43-326 and 43-325 are two notable products that have garnered attention for their unique features and capabilities.The Radio Shack 43-326, commonly known as the "Electronic Learning Aid," is tailored for educational purposes, providing users with an interactive platform to explore basic electronic principles. The unit is designed with an intuitive interface that enables users, especially students and hobbyists, to engage with the fundamental concepts of electronics through hands-on experiments.
One of its standout characteristics is its built-in LED indicator, which provides visual feedback during operation, allowing users to easily comprehend the functionality of various electronic components. The device supports multiple projects and comes with a detailed guide, making it easier for users to understand and assemble different circuits. Additionally, the versatile design allows for easy connectivity with various components, making it an excellent tool for learning and experimentation.
Conversely, the Radio Shack 43-325 is designed primarily for hobbyists seeking to build their own circuits or enhance existing ones. This model provides a robust array of components, including resistors, capacitors, and transistors, enabling users to tackle more complex projects than those typically addressed by the 43-326. The 43-325 serves as a comprehensive toolkit, complete with a breadboard that facilitates rapid prototyping.
One remarkable feature of the Radio Shack 43-325 is its comprehensive instructional manual, which details a wide range of project ideas and assists users in developing their skills progressively. Both products are designed with a focus on durability and ease of use, ensuring that users can confidently explore the world of electronics without the fear of damaging components.
In summary, the Radio Shack 43-326 and 43-325 serve unique roles in the electronics hobbyist community, with the former catering to educational needs and the latter focusing on advanced project development. Together, these products exemplify Radio Shack's commitment to fostering a deep understanding of electronics, ensuring that users receive both practical experience and theoretical knowledge.

