Hardware Installation | Installing the board in the system |
|
|
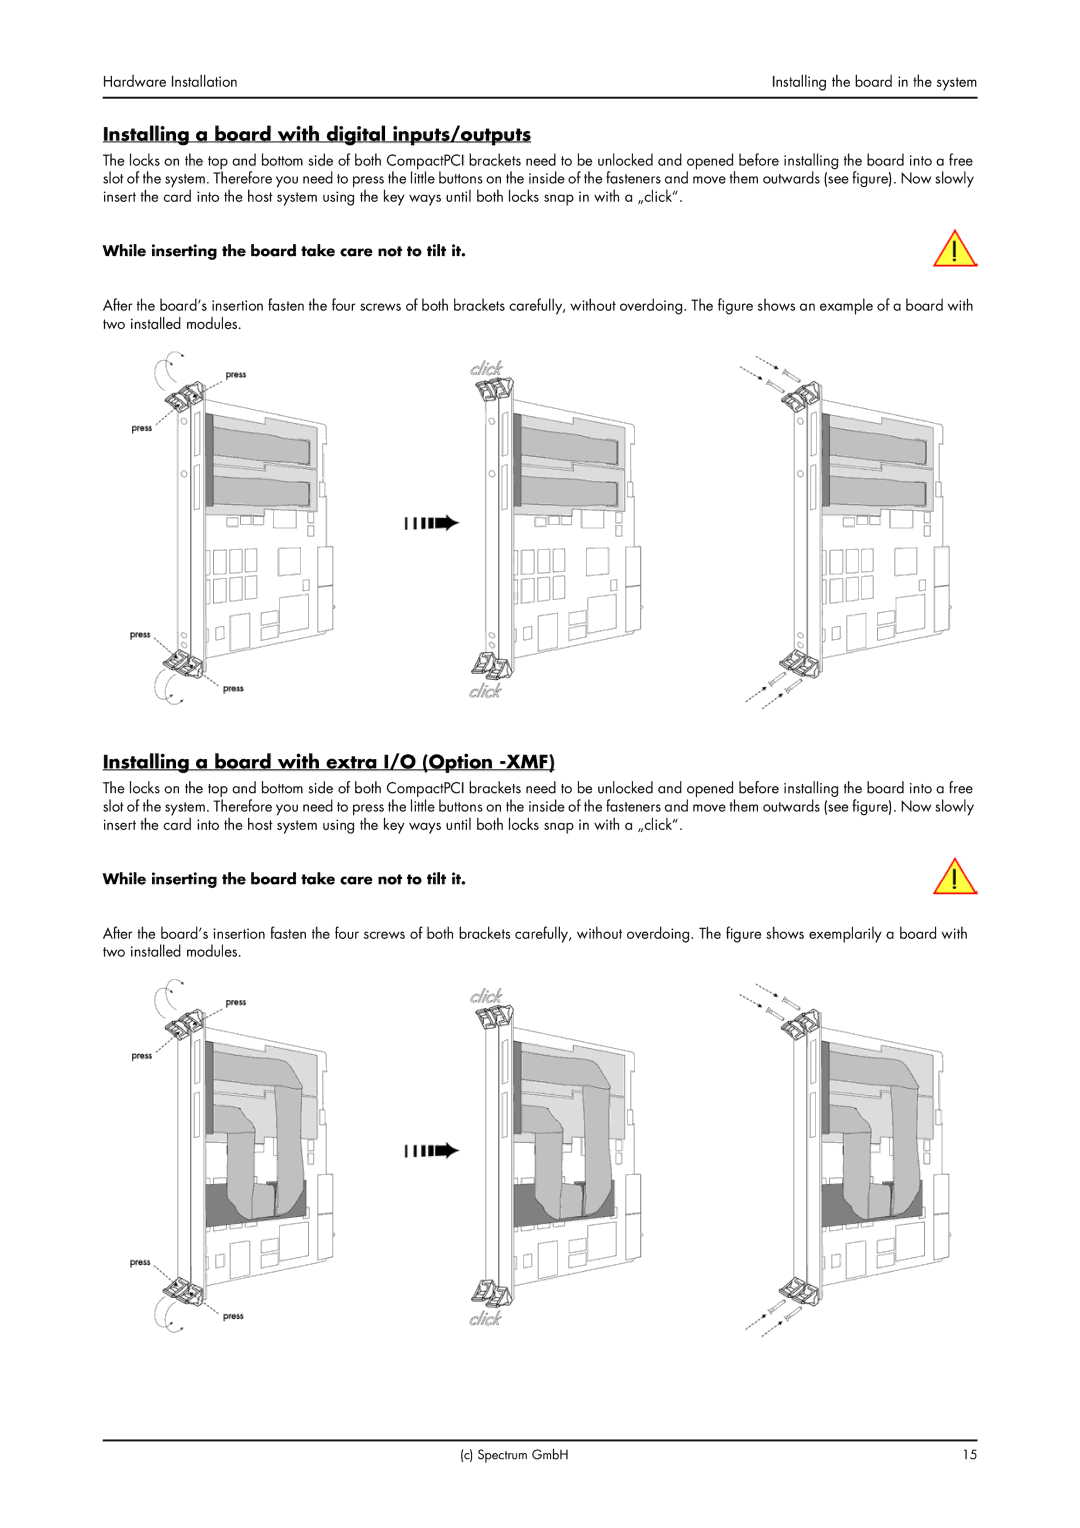
Installing a board with digital inputs/outputs
The locks on the top and bottom side of both CompactPCI brackets need to be unlocked and opened before installing the board into a free slot of the system. Therefore you need to press the little buttons on the inside of the fasteners and move them outwards (see figure). Now slowly insert the card into the host system using the key ways until both locks snap in with a „click“.
While inserting the board take care not to tilt it.
After the board’s insertion fasten the four screws of both brackets carefully, without overdoing. The figure shows an example of a board with two installed modules.
Installing a board with extra I/O (Option -XMF)
The locks on the top and bottom side of both CompactPCI brackets need to be unlocked and opened before installing the board into a free slot of the system. Therefore you need to press the little buttons on the inside of the fasteners and move them outwards (see figure). Now slowly insert the card into the host system using the key ways until both locks snap in with a „click“.
While inserting the board take care not to tilt it.
After the board’s insertion fasten the four screws of both brackets carefully, without overdoing. The figure shows exemplarily a board with two installed modules.
(c) Spectrum GmbH | 15 |