Synchronization (Option) | The setup order for the different synchronization options |
|
|
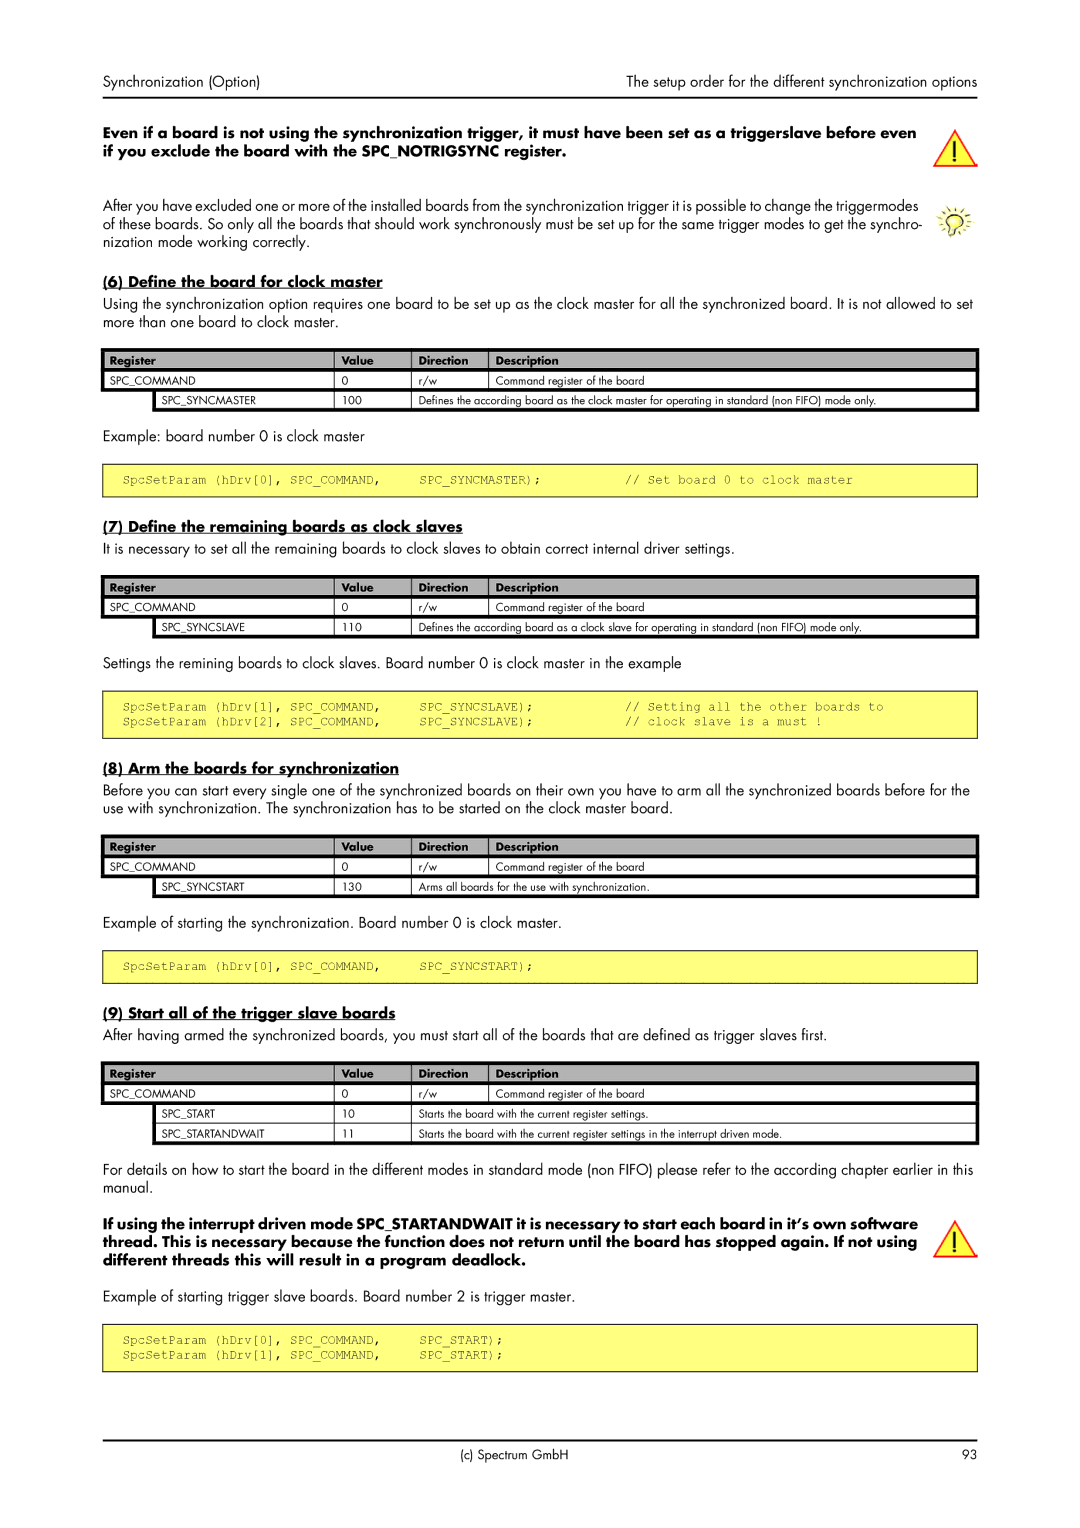
Even if a board is not using the synchronization trigger, it must have been set as a triggerslave before even if you exclude the board with the SPC_NOTRIGSYNC register.
After you have excluded one or more of the installed boards from the synchronization trigger it is possible to change the triggermodes of these boards. So only all the boards that should work synchronously must be set up for the same trigger modes to get the synchro- nization mode working correctly.
(6) Define the board for clock master
Using the synchronization option requires one board to be set up as the clock master for all the synchronized board. It is not allowed to set more than one board to clock master.
Register | Value | Direction | Description |
| |
SPC_COMMAND | 0 | r/w | Command register of the board | ||
| SPC_SYNCMASTER | 100 | Defines the according board as the clock master for operating in standard (non FIFO) mode only. | ||
Example: board number 0 is clock master |
|
|
| ||
|
|
|
|
|
|
SpcSetParam (hDrv[0], SPC_COMMAND, | SPC_SYNCMASTER); | // Set board 0 to clock master | |||
|
|
|
|
|
|
(7) Define the remaining boards as clock slaves
It is necessary to set all the remaining boards to clock slaves to obtain correct internal driver settings.
Register | Value | Direction | Description |
| |
SPC_COMMAND | 0 | r/w | Command register of the board | ||
| SPC_SYNCSLAVE | 110 | Defines the according board as a clock slave for operating in standard (non FIFO) mode only. | ||
Settings the remining boards to clock slaves. Board number 0 is clock master in the example | |||||
|
|
|
|
|
|
SpcSetParam (hDrv[1], SPC_COMMAND, | SPC_SYNCSLAVE); | // Setting all the other boards to | |||
SpcSetParam (hDrv[2], SPC_COMMAND, | SPC_SYNCSLAVE); | // clock slave is a must ! | |||
(8) Arm the boards for synchronization
Before you can start every single one of the synchronized boards on their own you have to arm all the synchronized boards before for the use with synchronization. The synchronization has to be started on the clock master board.
Register | Value | Direction | Description | |
SPC_COMMAND | 0 | r/w | Command register of the board | |
| SPC_SYNCSTART | 130 | Arms all boards for the use with synchronization. | |
Example of starting the synchronization. Board number 0 is clock master.
SpcSetParam (hDrv[0], SPC_COMMAND, | SPC_SYNCSTART); |
|
|
(9) Start all of the trigger slave boards
After having armed the synchronized boards, you must start all of the boards that are defined as trigger slaves first.
Register | Value | Direction | Description | |
SPC_COMMAND | 0 | r/w | Command register of the board | |
| SPC_START | 10 | Starts the board with the current register settings. | |
| SPC_STARTANDWAIT | 11 | Starts the board with the current register settings in the interrupt driven mode. | |
For details on how to start the board in the different modes in standard mode (non FIFO) please refer to the according chapter earlier in this manual.
If using the interrupt driven mode SPC_STARTANDWAIT it is necessary to start each board in it’s own software thread. This is necessary because the function does not return until the board has stopped again. If not using different threads this will result in a program deadlock.
Example of starting trigger slave boards. Board number 2 is trigger master.
SpcSetParam | (hDrv[0], | SPC_COMMAND, | SPC_START); |
SpcSetParam | (hDrv[1], | SPC_COMMAND, | SPC_START); |
|
|
|
|
(c) Spectrum GmbH | 93 |
