Installing Your Telephone
Ô NOTE Ô
•If you mounted the base on the wall, place the handset with the keypad facing out so the charging contacts make a clean connection to charge the battery pack.
•Using a pencil eraser, clean the charging contacts on the handset and base about once a month.
•If the battery pack becomes weak during a call, the handset beeps and Low Battery appears. You must recharge the battery pack before you can make another call.
•About once a month, fully discharge the battery by keeping the handset off the base until Low Battery flashes. Otherwise, the battery pack loses its ability to fully recharge.
! IMPORTANT !
Be sure the battery pack is properly connected before you try to charge it. The CHARGE/IN USE indicator lights when the handset is on the base, even if the battery pack is not connected.
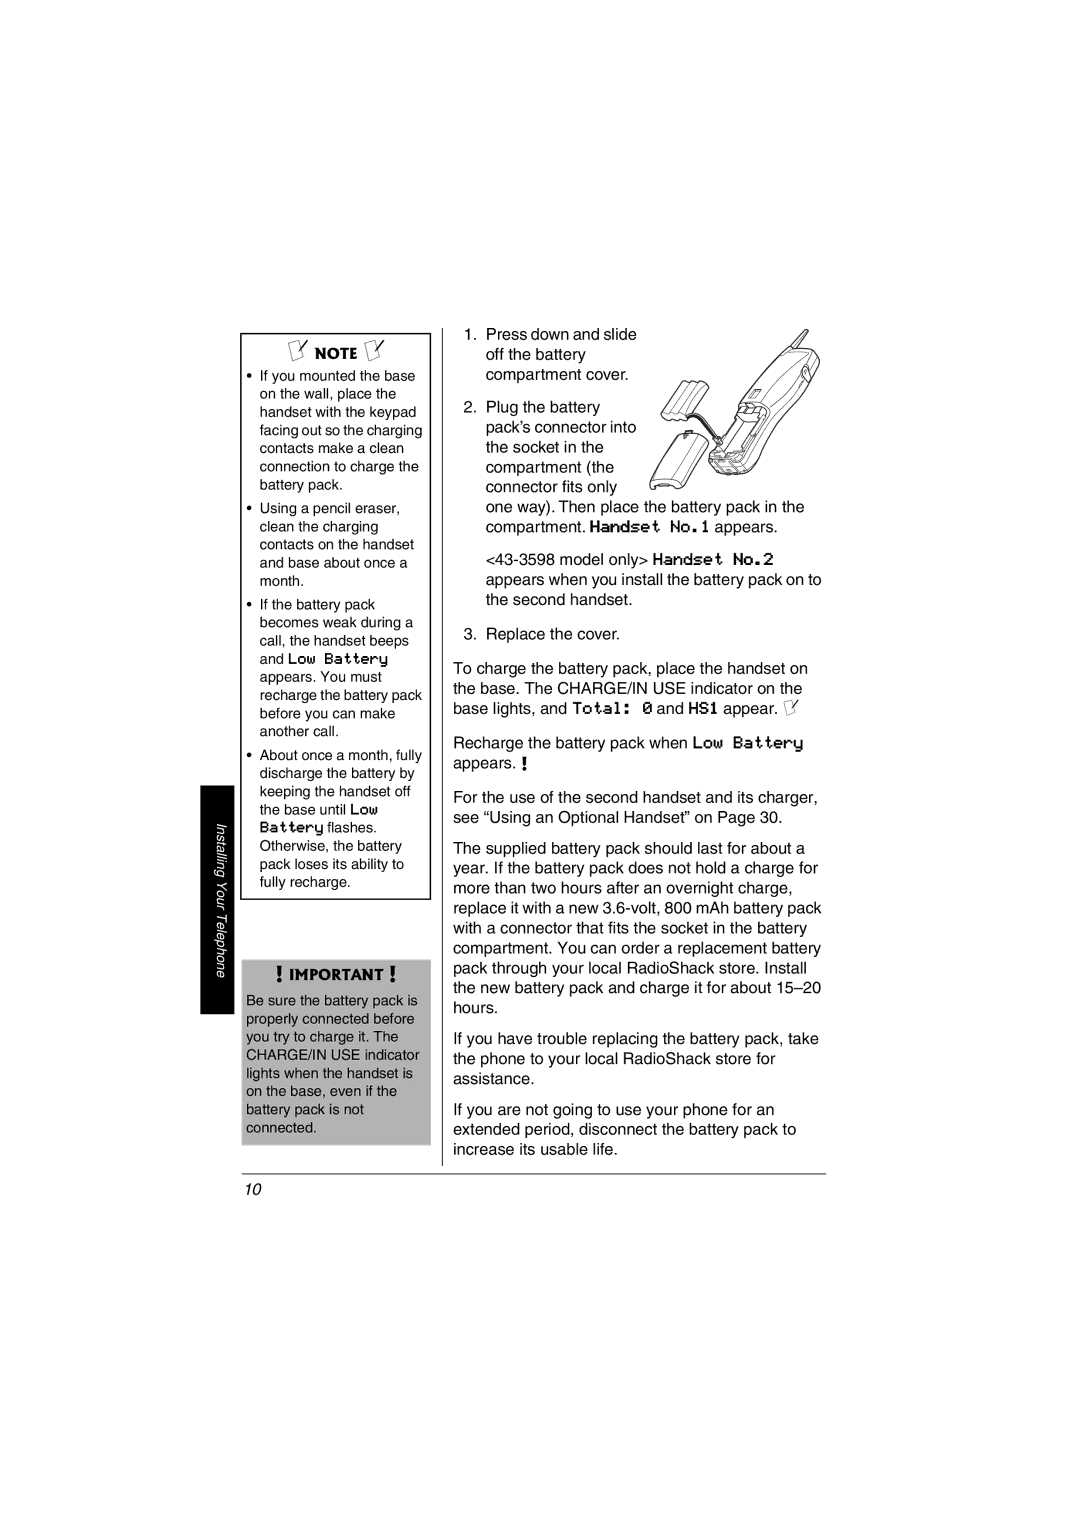
1. Press down and slide off the battery compartment cover.
2. Plug the battery pack’s connector into
the socket in the
compartment (the connector fits only
one way). Then place the battery pack in the compartment. Handset No.1 appears.
3. Replace the cover.
To charge the battery pack, place the handset on the base. The CHARGE/IN USE indicator on the base lights, and Total: 0 and HS1 appear. Ô
Recharge the battery pack when Low Battery appears. !
For the use of the second handset and its charger, see “Using an Optional Handset” on Page 30.
The supplied battery pack should last for about a year. If the battery pack does not hold a charge for more than two hours after an overnight charge, replace it with a new
If you have trouble replacing the battery pack, take the phone to your local RadioShack store for assistance.
If you are not going to use your phone for an extended period, disconnect the battery pack to increase its usable life.
10
