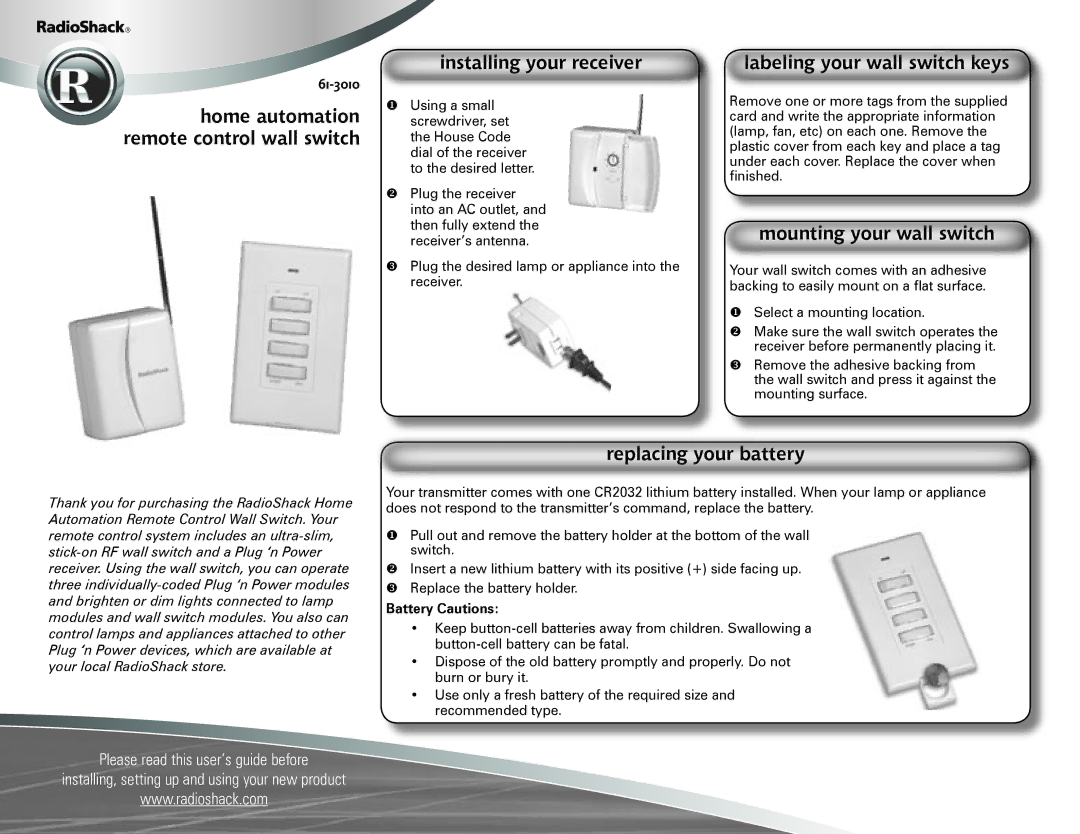
home automation remote control wall switch
installing your receiver
Using a small screwdriver, set the House Code dial of the receiver to the desired letter.
Plug the receiver into an AC outlet, and then fully extend the receiver’s antenna.
Plug the desired lamp or appliance into the receiver.
labeling your wall switch keys
Remove one or more tags from the supplied card and write the appropriate information (lamp, fan, etc) on each one. Remove the plastic cover from each key and place a tag under each cover. Replace the cover when finished.
mounting your wall switch
Your wall switch comes with an adhesive backing to easily mount on a flat surface.
Select a mounting location.
Make sure the wall switch operates the receiver before permanently placing it.
Remove the adhesive backing from the wall switch and press it against the mounting surface.
Thank you for purchasing the RadioShack Home Automation Remote Control Wall Switch. Your remote control system includes an
replacing your battery
Your transmitter comes with one CR2032 lithium battery installed. When your lamp or appliance does not respond to the transmitter’s command, replace the battery.
Pull out and remove the battery holder at the bottom of the wall switch.
Insert a new lithium battery with its positive (+) side facing up. Replace the battery holder.
Battery Cautions:
•Keep
•Dispose of the old battery promptly and properly. Do not burn or bury it.
•Use only a fresh battery of the required size and recommended type.
Please read this user’s guide before
installing, setting up and using your new product
www.radioshack.com
