CAMCORDER CONNECTIONS
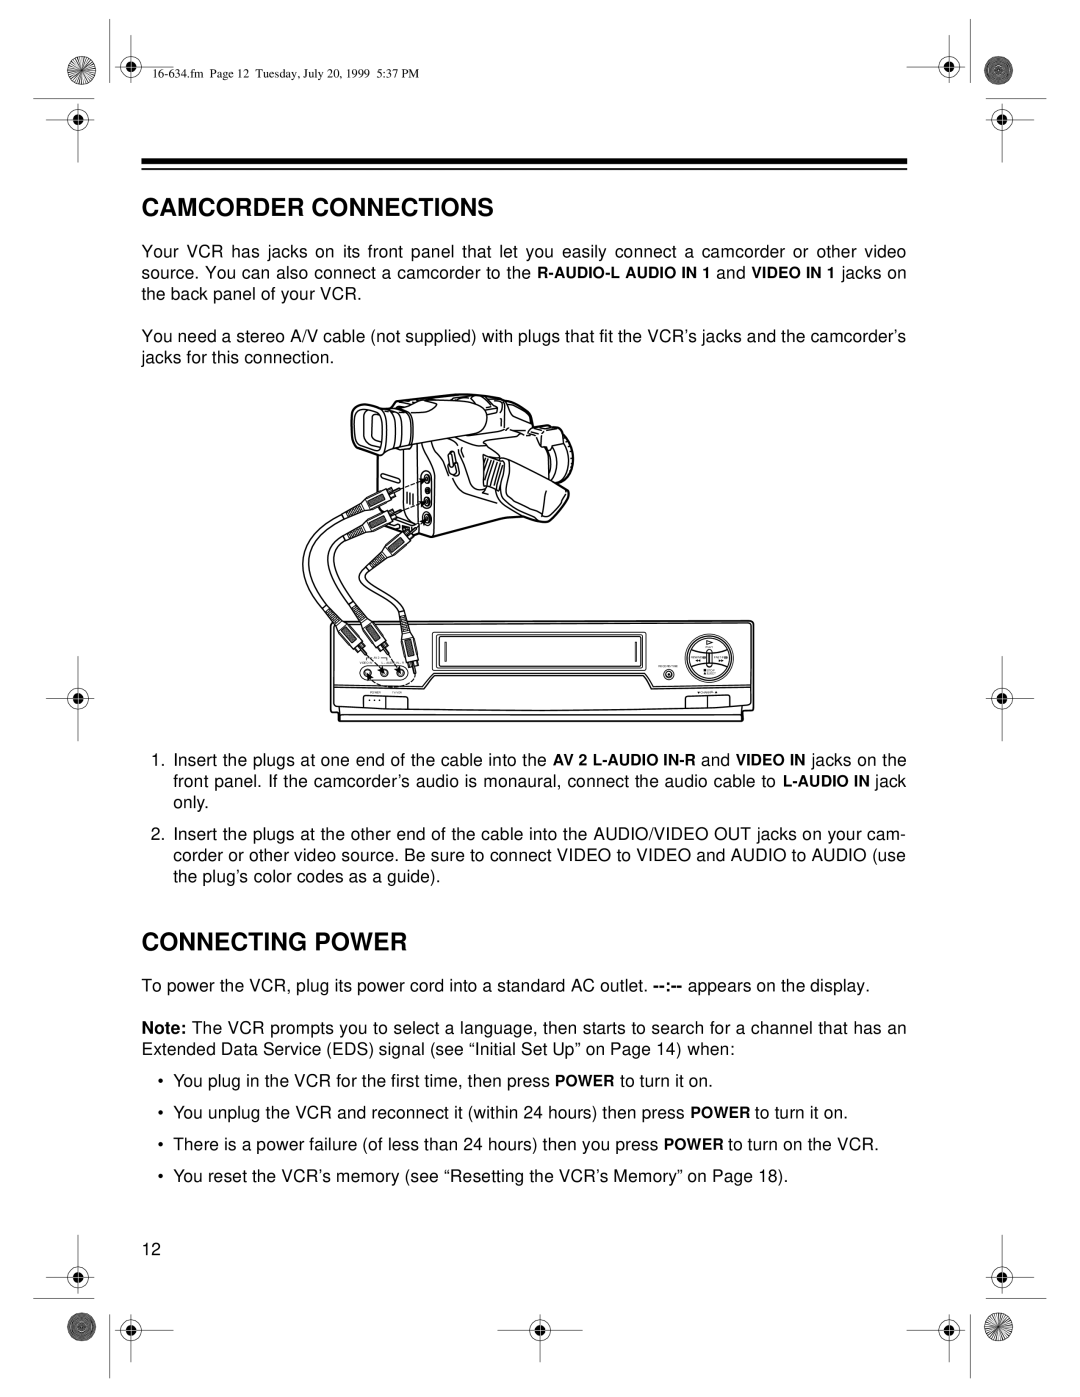
Your VCR has jacks on its front panel that let you easily connect a camcorder or other video source. You can also connect a camcorder to the
You need a stereo A/V cable (not supplied) with plugs that fit the VCR’s jacks and the camcorder’s jacks for this connection.
![]() AV 2
AV 2
VIDEO IN | L – AUDIO IN – R |
POWER TV/VCR
PLAY
REWIND![]()
![]()
RECORD/TIME
![]() STOP
STOP
![]() EJECT
EJECT
1.Insert the plugs at one end of the cable into the AV 2
2.Insert the plugs at the other end of the cable into the AUDIO/VIDEO OUT jacks on your cam- corder or other video source. Be sure to connect VIDEO to VIDEO and AUDIO to AUDIO (use the plug’s color codes as a guide).
CONNECTING POWER
To power the VCR, plug its power cord into a standard AC outlet.
Note: The VCR prompts you to select a language, then starts to search for a channel that has an Extended Data Service (EDS) signal (see “Initial Set Up” on Page 14) when:
•You plug in the VCR for the first time, then press POWER to turn it on.
•You unplug the VCR and reconnect it (within 24 hours) then press POWER to turn it on.
•There is a power failure (of less than 24 hours) then you press POWER to turn on the VCR.
•You reset the VCR’s memory (see “Resetting the VCR’s Memory” on Page 18).
12