PREPARATION
Note: If the scanner’s display locks up or does not work properly after you connect a power source, you might need to reset or ini- tialize the scanner.
Important: If you have problems, first try to reset the scanner (see “Resetting the Scanner” on Page 26). If that does not work, you can initialize the scanner (see “Initializing the Scanner” on Page 26); however, this clears all information stored in your scanner’s memory.
INSTALLING BATTERIES
You can power your scanner with four AA batteries (not sup- plied). For the best performance and longest life, we recom- mend RadioShack alkaline batteries. Or, you can use rechargeable
Cautions:
•Use only fresh batteries of the required size and recom- mended type.
•Do not mix old and new batteries, different types of batteries (standard, alkaline, or rechargeable), or rechargeable bat- teries of different capacities.
Follow these steps to install batteries.
1. Slide the battery compartment cover in the direction of the arrow to remove it.
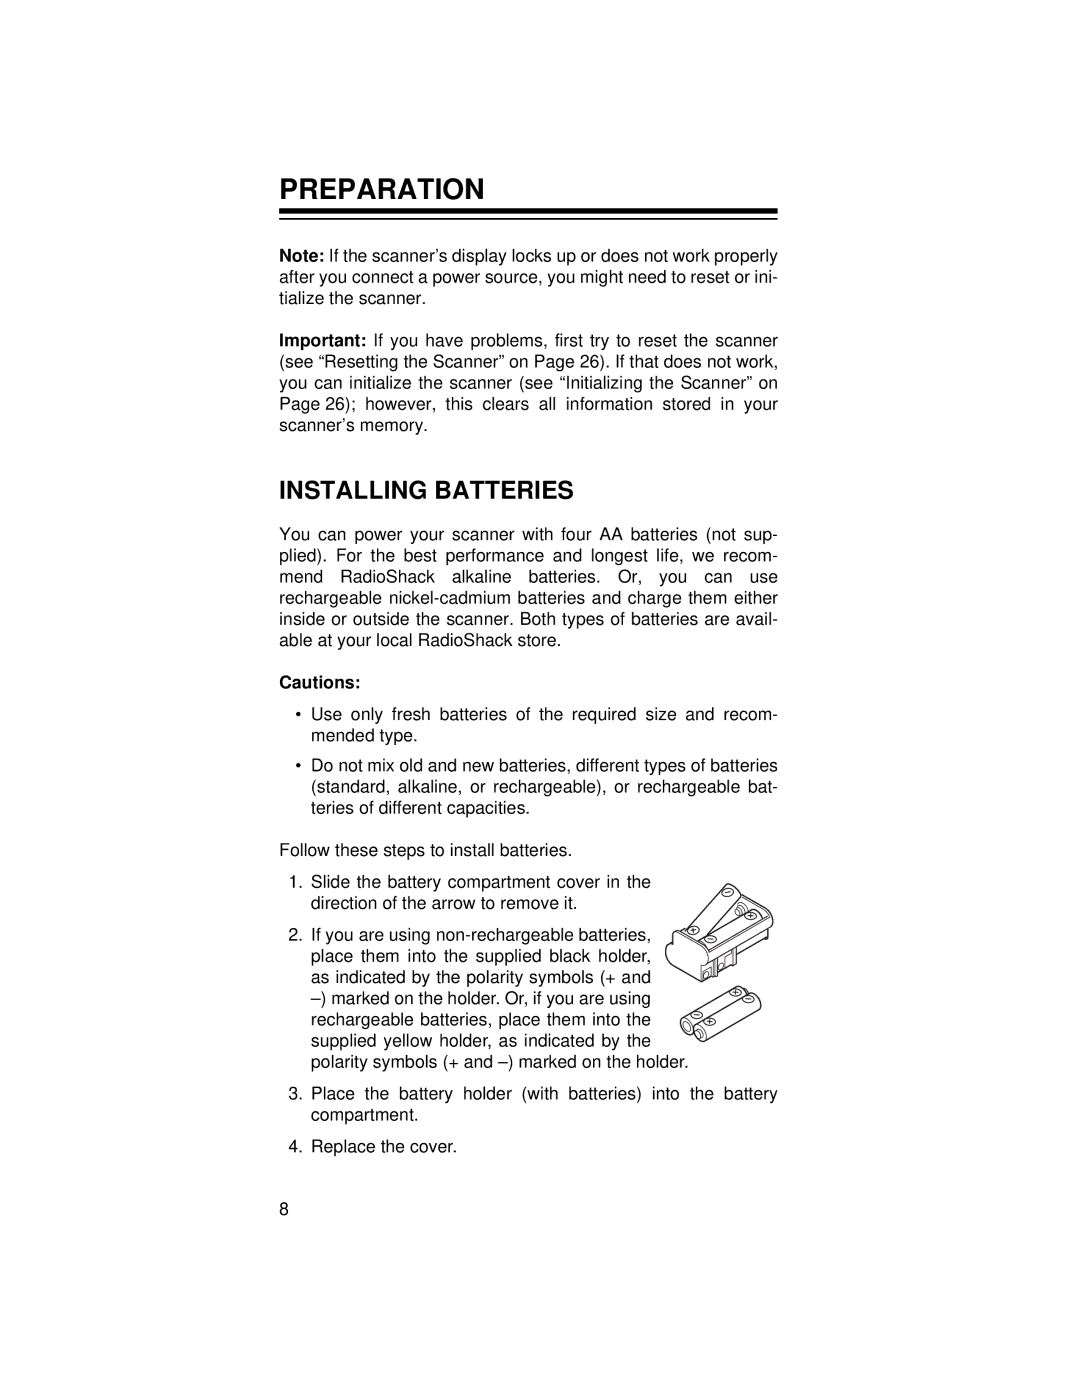
2. If you are using
as indicated by the polarity symbols (+ and
3.Place the battery holder (with batteries) into the battery compartment.
4.Replace the cover.
8
