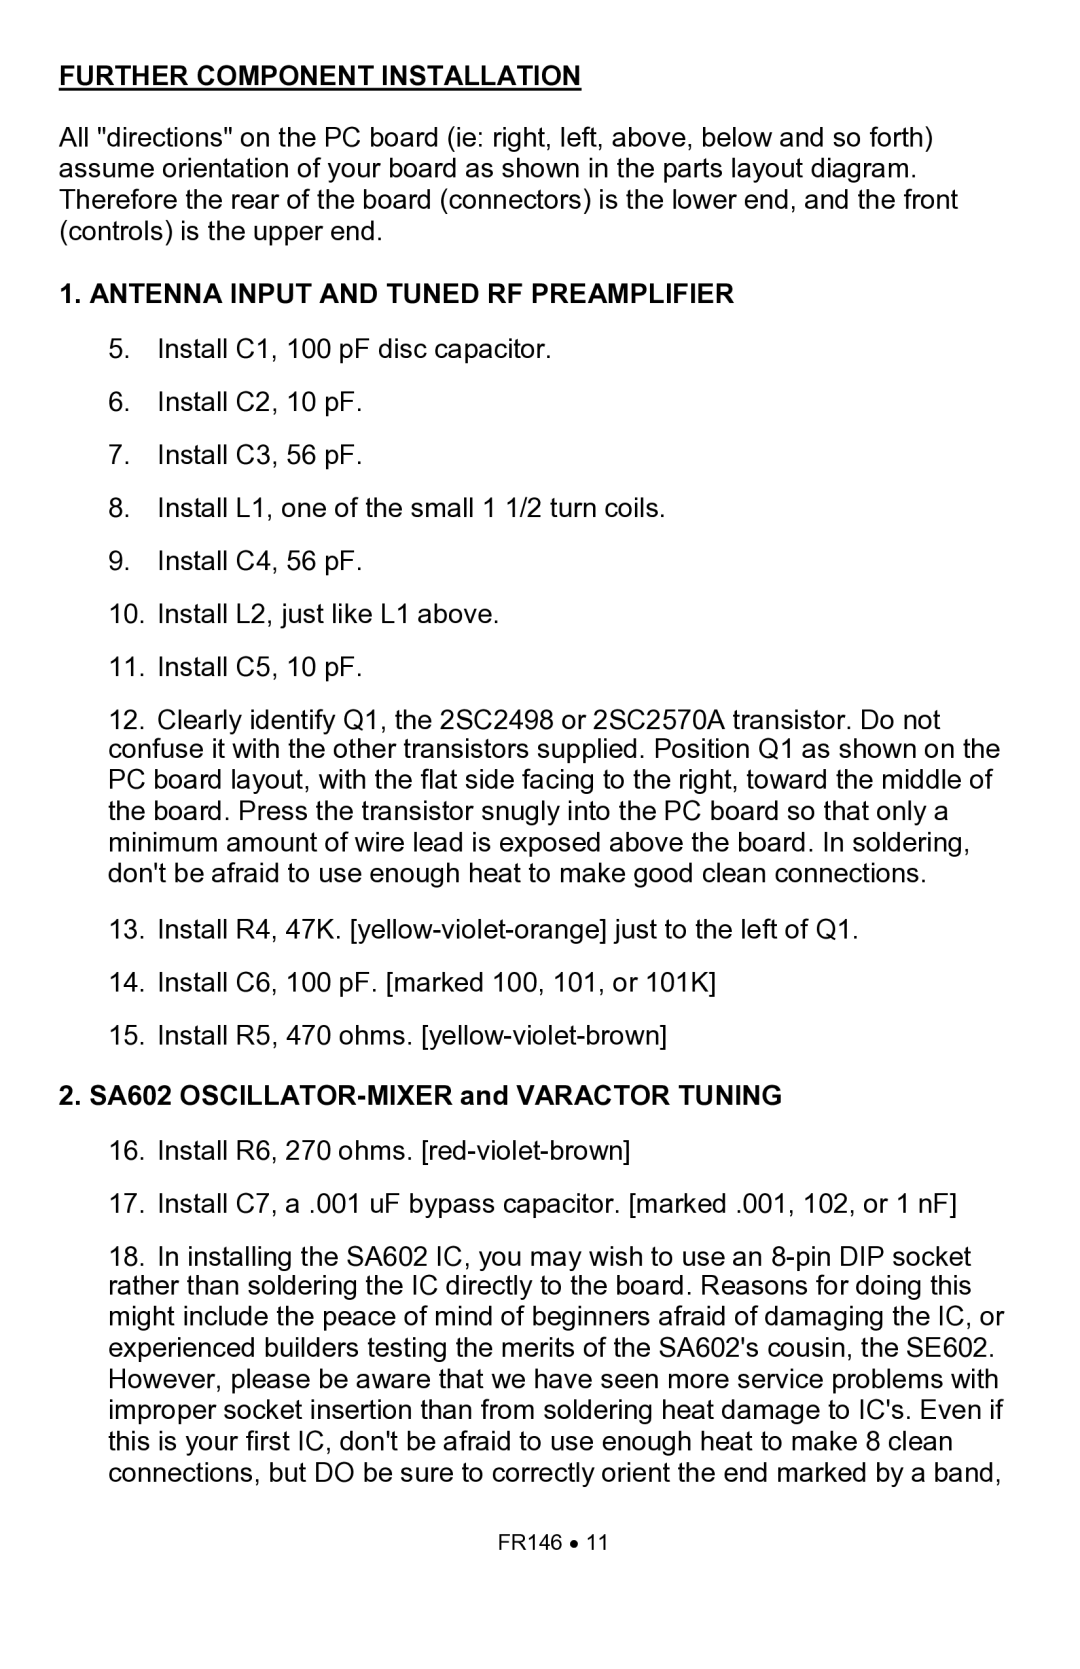
FR146 specifications
The Ramsey Electronics FR146 is a versatile RF transmitter that has gained popularity among hobbyists and professionals alike for its reliability and performance. This compact and efficient device operates in the 146 MHz frequency range, making it suitable for various applications, including remote control systems, wireless audio, and telemetry. Its lightweight design and user-friendly interface make it an excellent choice for both beginners and seasoned RF enthusiasts.One of the standout features of the FR146 is its ability to deliver a stable and clean signal. It employs advanced modulation techniques to ensure high-quality transmissions, minimizing interference and distortion. The device supports AM modulation, which is ideal for long-range communication due to its excellent propagation characteristics. This feature is particularly useful in outdoor environments where signals can travel considerable distances.
Another significant advantage of the FR146 is its user-adjustable output power. Users can easily modify the transmitter's power settings to suit specific needs, whether they require low power for short-range applications or higher power for extended reach. This flexibility allows for greater versatility in operation and makes it suitable for various scenarios.
The FR146 also comes equipped with a built-in tone generator, which can be used to encode audio signals. This feature allows for the integration of sound with the RF transmission, making it a perfect choice for projects that require audio broadcasting. Furthermore, the device includes a frequency stabilization circuit, ensuring that the transmitter maintains a consistent frequency even under varying temperature and voltage conditions.
In terms of construction, the FR146 is designed for durability and ease of use. It features a robust enclosure that protects the internal components from environmental factors. The device is straightforward to set up, often requiring only a few simple connections for operation. Its lightweight design enables easy mobility, making it suitable for portable applications.
Overall, the Ramsey Electronics FR146 stands out for its combination of advanced features, robust performance, and ease of use. Whether you are working on a personal project, conducting experiments, or managing professional tasks, the FR146 offers a reliable and effective solution for your RF transmission needs. Its adaptability across different applications makes it a valuable addition to any electronics enthusiast's toolkit.
