CHARGING BATTERY
qCharging the Battery
Charge the battery prior to use.
•Initial charge time: 12 hours
•Recharge time: up to 12 hours, even if the light turns green. Recommended maximum charging time is 24 hours.
•Always charge the battery immediately after riding.
•Fully charge battery before storing for extended periods of time.
•Unplug charger from the wall outlet when not in use.
•Failure to recharge battery periodically may result in a battery that will not accept a charge.
•Make sure scooter power switch is turned OFF when unit is not in use. If the power switch is left on for an extended period of time, the battery may reach a stage at which it will no longer hold a charge.
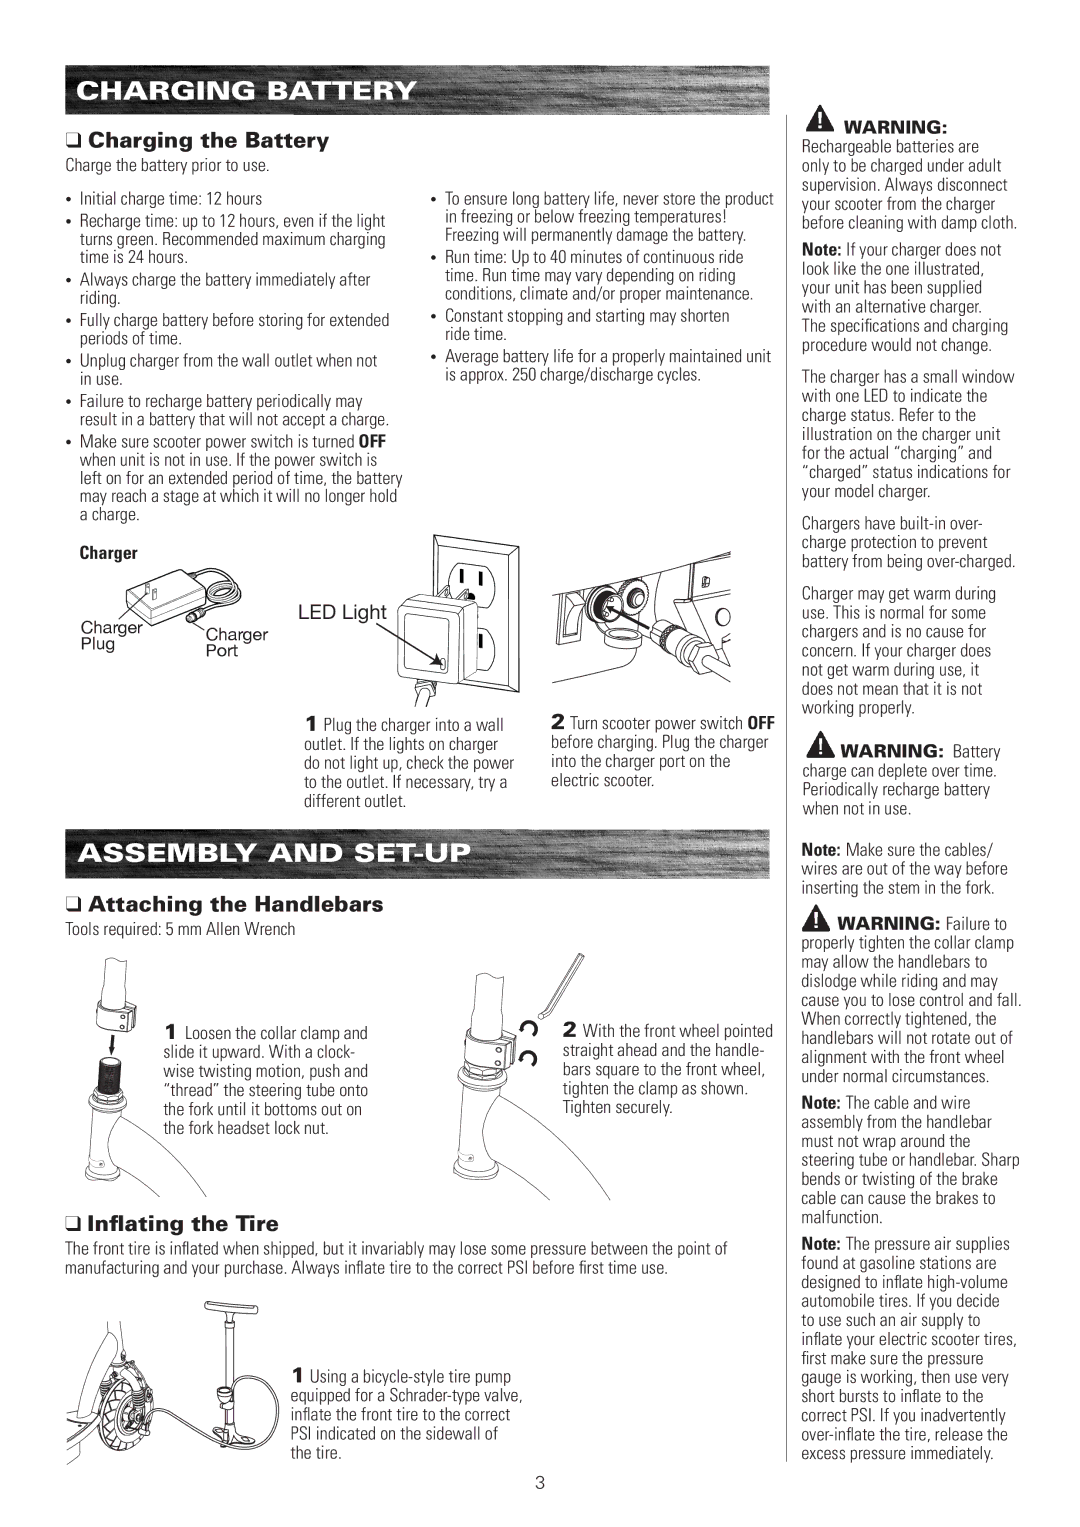
Charger
•To ensure long battery life, never store the product in freezing or below freezing temperatures! Freezing will permanently damage the battery.
•Run time: Up to 40 minutes of continuous ride time. Run time may vary depending on riding conditions, climate and/or proper maintenance.
•Constant stopping and starting may shorten ride time.
•Average battery life for a properly maintained unit is approx. 250 charge/discharge cycles.
WARNING: Rechargeable batteries are only to be charged under adult supervision. Always disconnect your scooter from the charger before cleaning with damp cloth.
Note: If your charger does not look like the one illustrated, your unit has been supplied with an alternative charger. The specifications and charging procedure would not change.
The charger has a small window with one LED to indicate the charge status. Refer to the illustration on the charger unit for the actual “charging” and “charged” status indications for your model charger.
Chargers have
Charger ![]() Charger
Charger
PlugPort
LED Light
Charger may get warm during use. This is normal for some chargers and is no cause for concern. If your charger does not get warm during use, it does not mean that it is not working properly.
1 Plug the charger into a wall outlet. If the lights on charger do not light up, check the power to the outlet. If necessary, try a different outlet.
ASSEMBLY AND SET-UP
qAttaching the Handlebars
Tools required: 5 mm Allen Wrench
2 Turn scooter power switch OFF before charging. Plug the charger into the charger port on the electric scooter.
![]() WARNING: Battery charge can deplete over time. Periodically recharge battery when not in use.
WARNING: Battery charge can deplete over time. Periodically recharge battery when not in use.
Note: Make sure the cables/ wires are out of the way before inserting the stem in the fork.
WARNING: Failure to properly tighten the collar clamp may allow the handlebars to dislodge while riding and may cause you to lose control and fall.
1 Loosen the collar clamp and | 2 With the front wheel pointed |
slide it upward. With a clock- | straight ahead and the handle- |
wise twisting motion, push and | bars square to the front wheel, |
“thread” the steering tube onto | tighten the clamp as shown. |
the fork until it bottoms out on | Tighten securely. |
the fork headset lock nut. |
|
qInflating the Tire
The front tire is inflated when shipped, but it invariably may lose some pressure between the point of manufacturing and your purchase. Always inflate tire to the correct PSI before first time use.
1 Using a
When correctly tightened, the handlebars will not rotate out of alignment with the front wheel under normal circumstances.
Note: The cable and wire assembly from the handlebar must not wrap around the steering tube or handlebar. Sharp bends or twisting of the brake cable can cause the brakes to malfunction.
Note: The pressure air supplies found at gasoline stations are designed to inflate
3