PRE-RIDE CHECKLIST
q Brake
Check the brakes for proper function. When you squeeze the lever, the brake should provide positive braking action. Make sure that brakes are not rubbing.
q Frame, Fork and Handlebars
Check for cracks or broken connections. Although broken frames are rare, it is possible for an aggressive rider to run into a curb or wall and wreck, bend or break a frame. Get into the habit of inspecting your scooter on a regular basis.
q Tires
Periodically inspect the tires for excess wear and regularly check the front tire pressure.
USAGE
q Hardware
Check all parts such as nuts, bolts, cables, fasteners, etc. to ensure they are secure and assembled correctly. If the unit is damaged do not ride. Reference “Safety Warnings” on page 1 of this manual.
q Laws and Regulations
Always check and obey any local laws or regulations.
q Insurance
Do not assume that your existing insurance policies necessarily provide coverage for scooter use. Check with your insurance company for information regarding insurance.
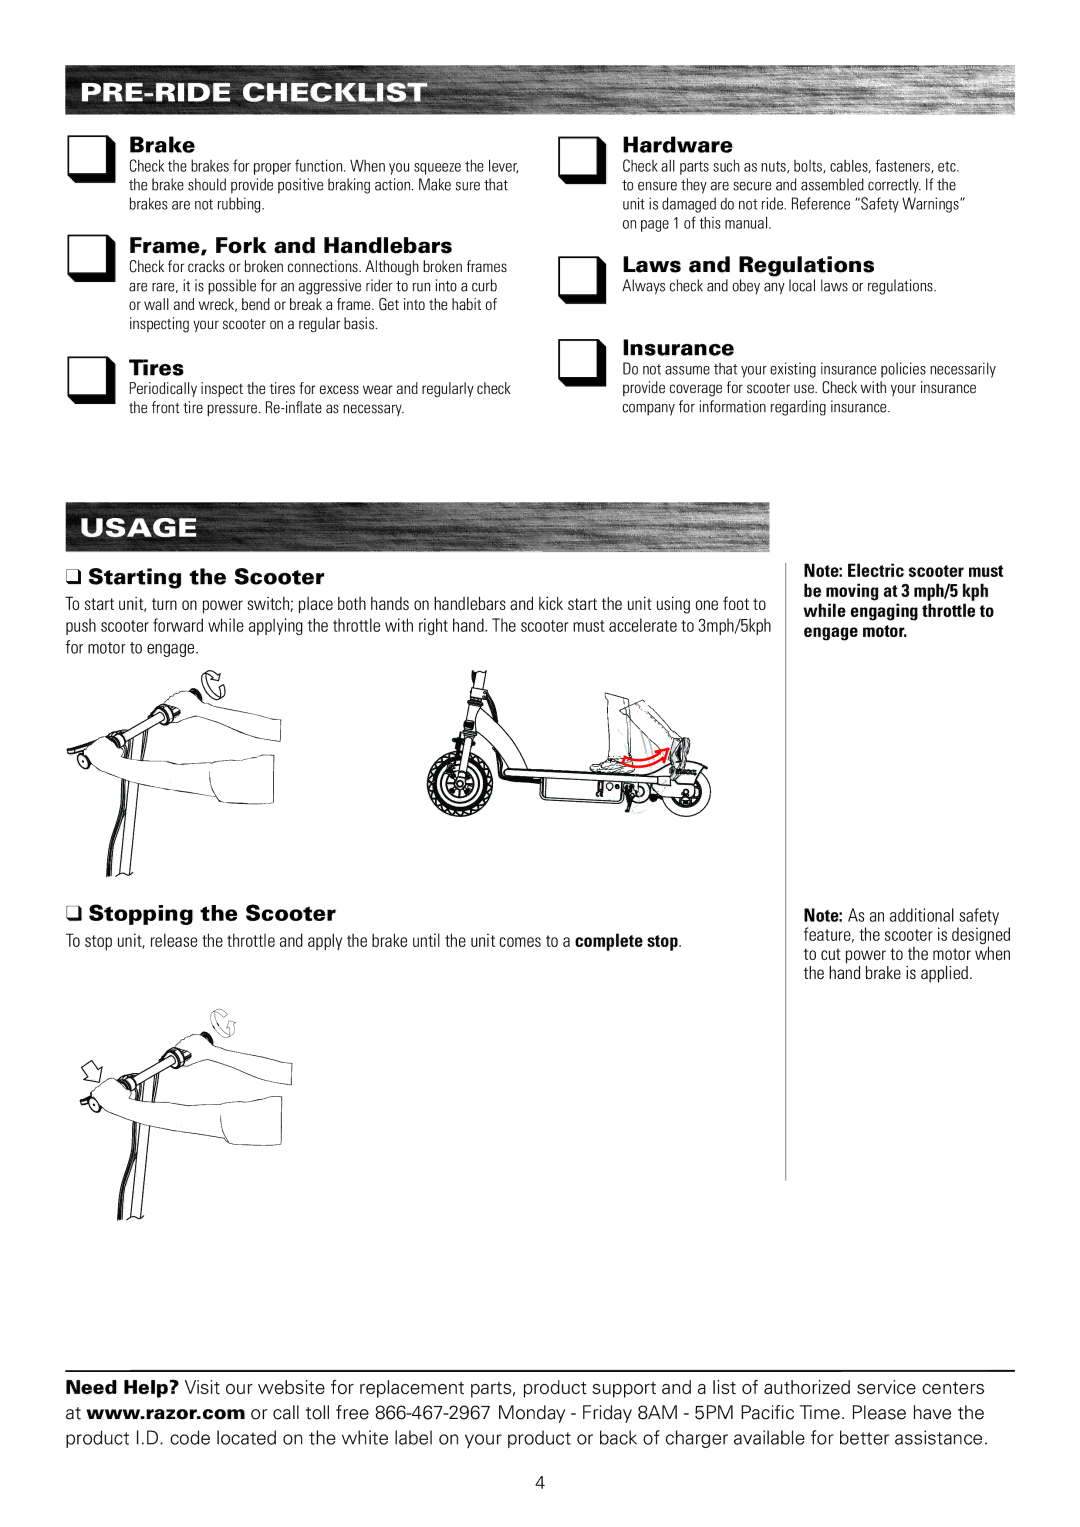
qStarting the Scooter
To start unit, turn on power switch; place both hands on handlebars and kick start the unit using one foot to push scooter forward while applying the throttle with right hand. The scooter must accelerate to 3mph/5kph for motor to engage.
Note: Electric scooter must be moving at 3 mph/5 kph while engaging throttle to engage motor.
qStopping the Scooter
To stop unit, release the throttle and apply the brake until the unit comes to a complete stop.
Note: As an additional safety feature, the scooter is designed to cut power to the motor when the hand brake is applied.
Need Help? Visit our website for replacement parts, product support and a list of authorized service centers at www.razor.com or call toll free
4
