GETTING STARTED
MOUNTING INSTRUCTIONS:
1.Prepare cabinet
•Remove items from counter and cabinet.
•Clean underside of cabinet where TV is to be mounted.
2.Cut out the mounting guide and screw guide
•Cut out the guides on the lines indicated.
•The size of the mounting guide and the screw hole positions are identical to the top of the mounting bracket.
3.Position mounting guide
•Position the mounting guide on the underside of cabinet 3/4 inch back from the cabinet’s front edge.
•Position the mounting guide in the desired location and tape it to the bottom of the cabinet. Be sure the location is a flat surface. Some kitchen cabinets have front overhangs as shown here. If the thickness of the overhang exceeds 3/4 inch, tape the mounting guide as close to the cabinet’s front edge as possible. The farther back you mount the TV, the less you will be able to swivel it to the left and right (if cabinet is near wall). The TV will protrude about 3" from the cabinet when the mounting guide is positioned 3/4" back from the cabinet’s front edge.
4.Drill holes in cabinet
•Drill
5.Remove mounting guide and drill shavings
•Remove the mounting guide and clean the drill shavings from inside and under the cabinet.
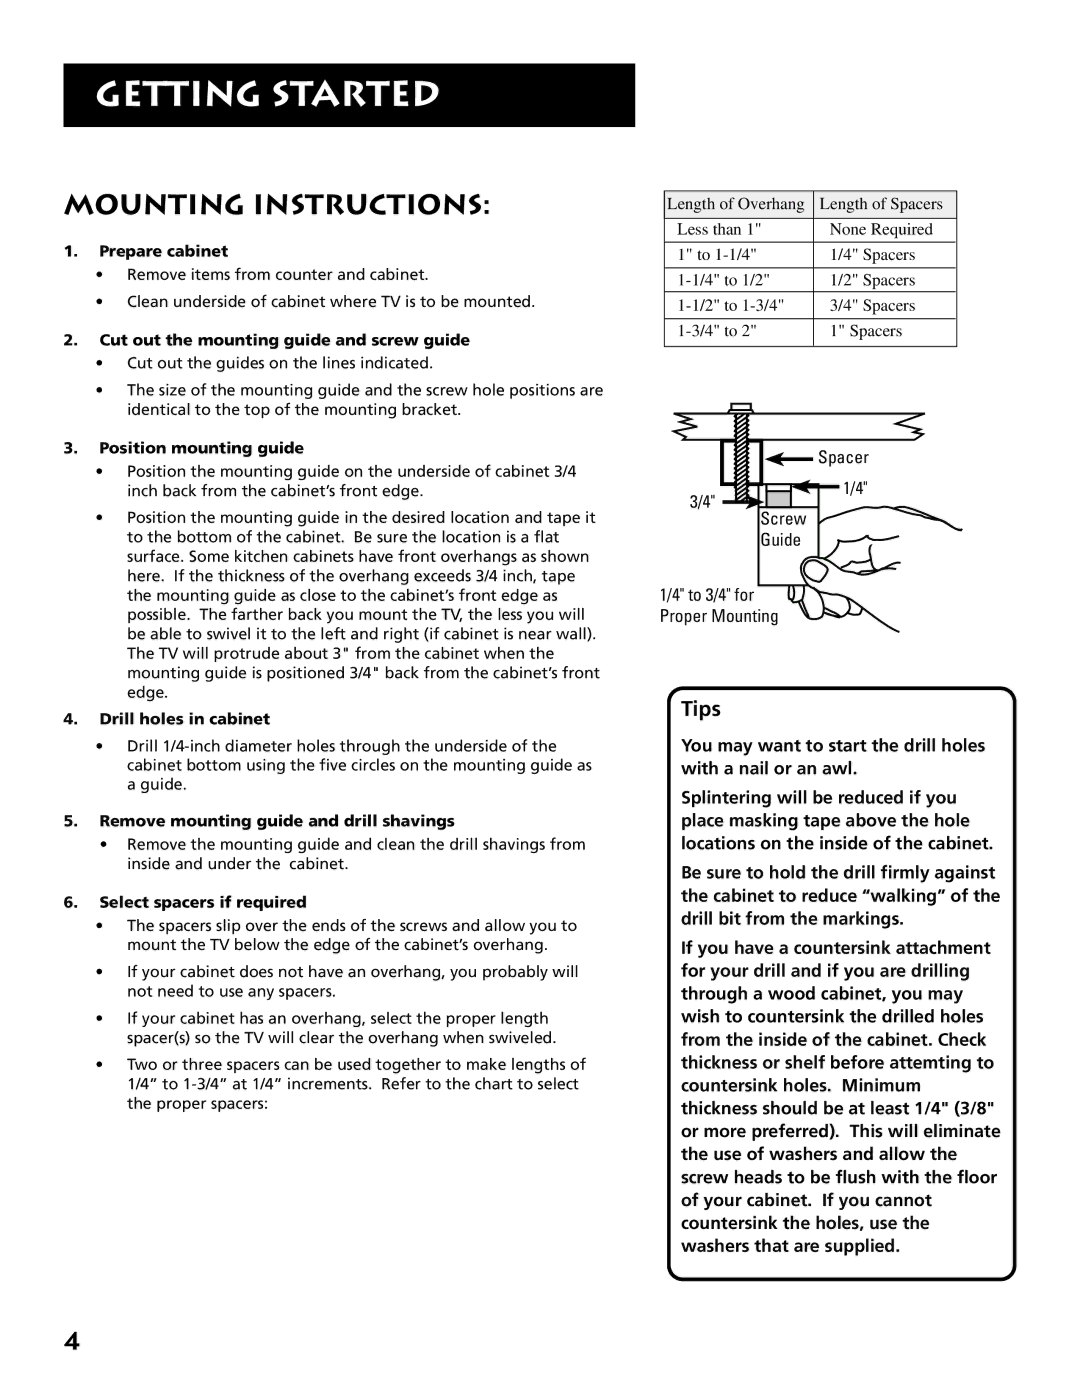
6.Select spacers if required
•The spacers slip over the ends of the screws and allow you to mount the TV below the edge of the cabinet’s overhang.
•If your cabinet does not have an overhang, you probably will not need to use any spacers.
•If your cabinet has an overhang, select the proper length spacer(s) so the TV will clear the overhang when swiveled.
•Two or three spacers can be used together to make lengths of 1/4” to
Length of Overhang | Length of Spacers |
|
|
Less than 1" | None Required |
|
|
1" to | 1/4" Spacers |
|
|
1/2" Spacers | |
|
|
3/4" Spacers | |
|
|
1" Spacers | |
|
|
![]() Spacer
Spacer
![]()
![]()
![]()
![]() 1/4" 3/4"
1/4" 3/4" ![]()
![]()
Screw
Guide
1/4" to 3/4" for Proper Mounting
Tips
You may want to start the drill holes with a nail or an awl.
Splintering will be reduced if you place masking tape above the hole locations on the inside of the cabinet.
Be sure to hold the drill firmly against the cabinet to reduce “walking” of the drill bit from the markings.
If you have a countersink attachment for your drill and if you are drilling through a wood cabinet, you may wish to countersink the drilled holes from the inside of the cabinet. Check thickness or shelf before attemting to countersink holes. Minimum thickness should be at least 1/4" (3/8" or more preferred). This will eliminate the use of washers and allow the screw heads to be flush with the floor of your cabinet. If you cannot countersink the holes, use the washers that are supplied.
4