Using the TV’s Menu System
0 Go Back
1 Host Name
2 IP Address
3 Proxy Server
4 Reset All
Main Menu ![]() Connections
Connections ![]() Ethernet Setup
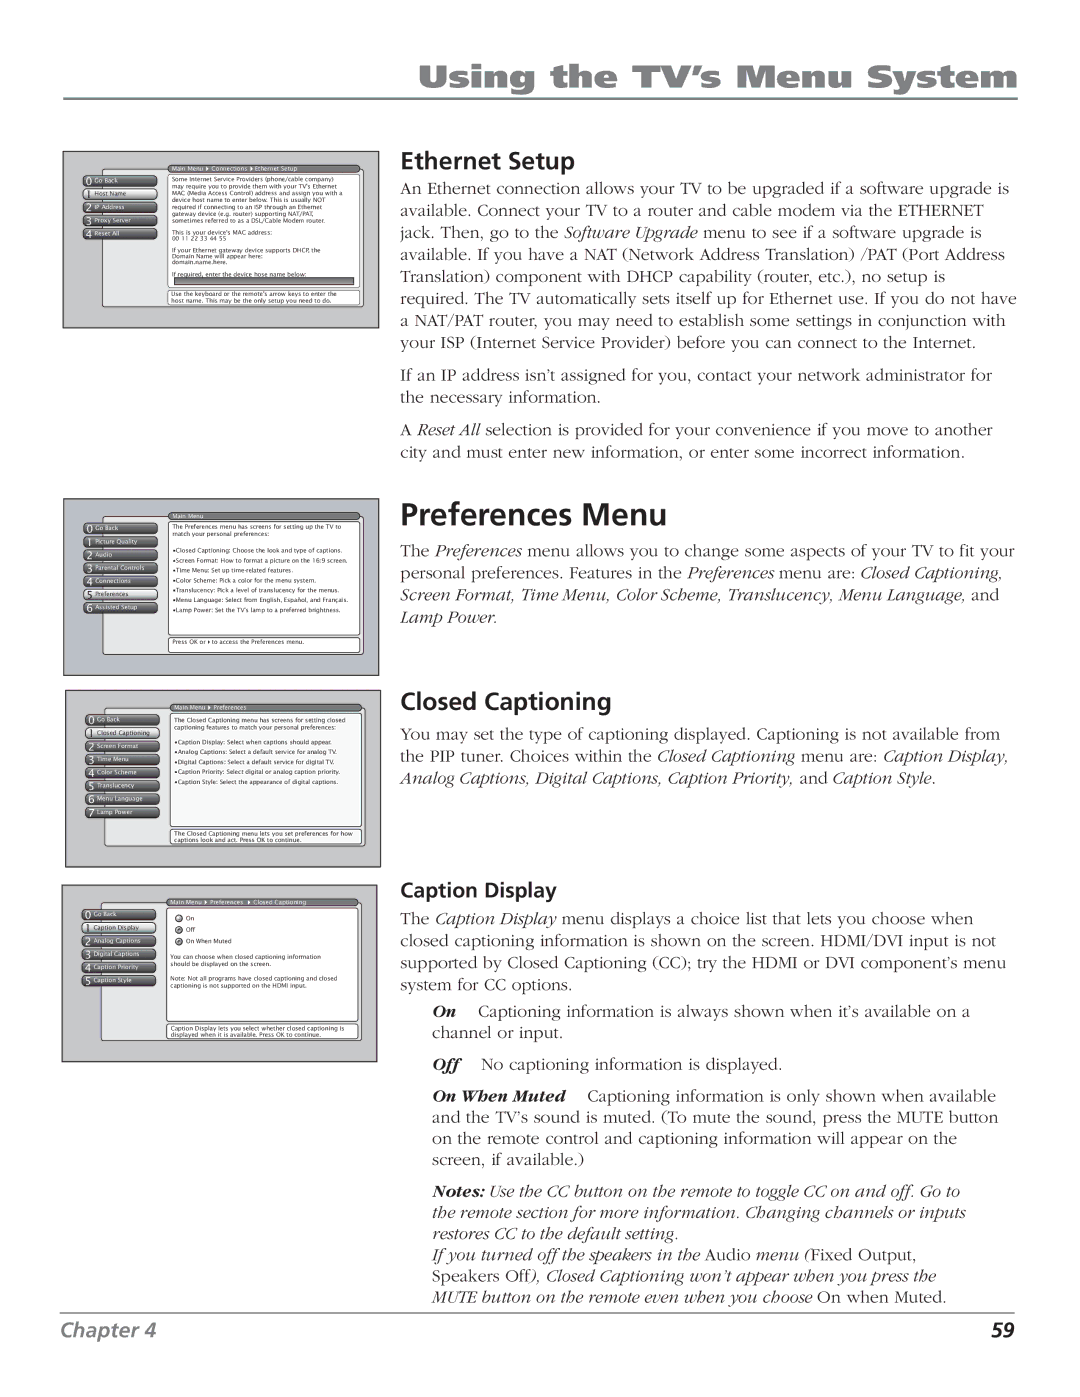
Ethernet Setup
Some Internet Service Providers (phone/cable company) may require you to provide them with your TV's Ethernet MAC (Media Access Control) address and assign you with a device host name to enter below. This is usually NOT required if connecting to an ISP through an Ethernet gateway device (e.g. router) supporting NAT/PAT, sometimes referred to as a DSL/Cable Modem router.
This is your device's MAC address: 00 11 22 33 44 55
If your Ethernet gateway device supports DHCP, the Domain Name will appear here: domain.name.here.
If required, enter the device hose name below:
Use the keyboard or the remote's arrow keys to enter the host name. This may be the only setup you need to do.
Ethernet Setup
An Ethernet connection allows your TV to be upgraded if a software upgrade is available. Connect your TV to a router and cable modem via the ETHERNET jack. Then, go to the Software Upgrade menu to see if a software upgrade is available. If you have a NAT (Network Address Translation) /PAT (Port Address Translation) component with DHCP capability (router, etc.), no setup is required. The TV automatically sets itself up for Ethernet use. If you do not have a NAT/PAT router, you may need to establish some settings in conjunction with your ISP (Internet Service Provider) before you can connect to the Internet.
If an IP address isn’t assigned for you, contact your network administrator for the necessary information.
A Reset All selection is provided for your convenience if you move to another city and must enter new information, or enter some incorrect information.
0 Go Back
1 Picture Quality
2Audio
3 Parental Controls
4Connections
5Preferences
6 Assisted Setup
Main Menu
The Preferences menu has screens for setting up the TV to match your personal preferences:
•Closed Captioning: Choose the look and type of captions.
•Screen Format: How to format a picture on the 16:9 screen.
•Time Menu: Set up
•Color Scheme: Pick a color for the menu system.
•Translucency: Pick a level of translucency for the menus.
•Menu Language: Select from English, Español, and Français.
•Lamp Power: Set the TV's lamp to a preferred brightness.
Press OK or to access the Preferences menu.
Preferences Menu
The Preferences menu allows you to change some aspects of your TV to fit your personal preferences. Features in the Preferences menu are: Closed Captioning, Screen Format, Time Menu, Color Scheme, Translucency, Menu Language, and Lamp Power.
0 Go Back
1 TextClosedhereCaptioning
2 Screen Format
3 Time Menu
4 Color Scheme
5Translucency
6 Menu Language
7 Lamp Power
Main Menu ![]() Preferences
Preferences
The Closed Captioning menu has screens for setting closed captioning features to match your personal preferences:
•Caption Display: Select when captions should appear.
•Analog Captions: Select a default service for analog TV.
•Digital Captions: Select a default service for digital TV.
•Caption Priority: Select digital or analog caption priority.
•Caption Style: Select the appearance of digital captions.
The Closed Captioning menu lets you set preferences for how captions look and act. Press OK to continue.
Closed Captioning
You may set the type of captioning displayed. Captioning is not available from the PIP tuner. Choices within the Closed Captioning menu are: Caption Display, Analog Captions, Digital Captions, Caption Priority, and Caption Style.
0 Go Back
1 TextCaptionhereDisplay
2 Analog Captions
3 Digital Captions
4 Caption Priority
5 Caption Style
Main Menu ![]() Preferences
Preferences ![]() Closed Captioning
Closed Captioning
On
Off
On When Muted
You can choose when closed captioning information should be displayed on the screen.
Note: Not all programs have closed captioning and closed captioning is not supported on the HDMI input.
Caption Display lets you select whether closed captioning is displayed when it is available. Press OK to continue.
Caption Display
The Caption Display menu displays a choice list that lets you choose when closed captioning information is shown on the screen. HDMI/DVI input is not supported by Closed Captioning (CC); try the HDMI or DVI component’s menu system for CC options.
On Captioning information is always shown when it’s available on a channel or input.
Off No captioning information is displayed.
On When Muted Captioning information is only shown when available and the TV’s sound is muted. (To mute the sound, press the MUTE button on the remote control and captioning information will appear on the screen, if available.)
Notes: Use the CC button on the remote to toggle CC on and off. Go to the remote section for more information. Changing channels or inputs restores CC to the default setting.
If you turned off the speakers in the Audio menu (Fixed Output, Speakers Off), Closed Captioning won’t appear when you press the MUTE button on the remote even when you choose On when Muted.
Chapter 4 | 59 |