Analog CC Type – This option lets you select the captioning mode used for displaying captioning information, when available. If you are unsure of the differences among the modes, you may prefer to leave the closed captioned mode set to CC1, which displays complete text of the program in the primary language in your area.
Digital CC Type – This option lets you select a closed caption service mode (1.6) for digital channels, if available.
Digital CC Preset – This option lets you select between Default and Custom options, if available. Custom changes according to what you set for the options below.
Digital CC Color – This option allows you to choose the color of the closed caption text: White, Red, Green, Blue, Yellow, Magenta, Cyan or Black.
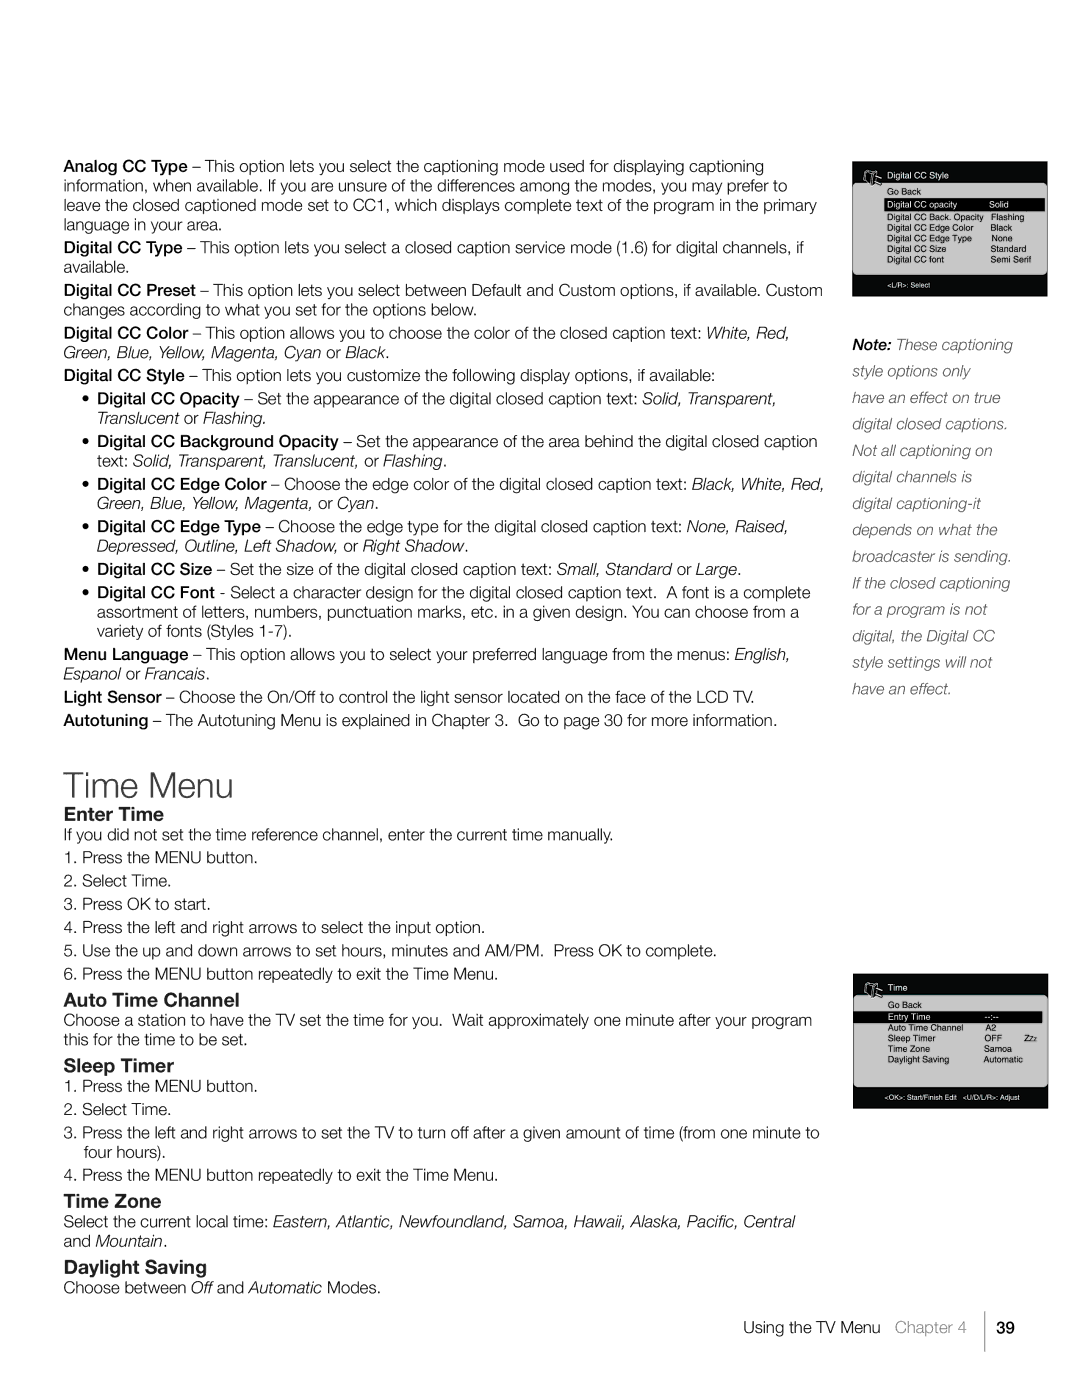
Digital CC Style – This option lets you customize the following display options, if available:
•Digital CC Opacity – Set the appearance of the digital closed caption text: Solid, Transparent, Translucent or Flashing.
•Digital CC Background Opacity – Set the appearance of the area behind the digital closed caption text: Solid, Transparent, Translucent, or Flashing.
•Digital CC Edge Color – Choose the edge color of the digital closed caption text: Black, White, Red, Green, Blue, Yellow, Magenta, or Cyan.
•Digital CC Edge Type – Choose the edge type for the digital closed caption text: None, Raised, Depressed, Outline, Left Shadow, or Right Shadow.
•Digital CC Size – Set the size of the digital closed caption text: Small, Standard or Large.
•Digital CC Font - Select a character design for the digital closed caption text. A font is a complete assortment of letters, numbers, punctuation marks, etc. in a given design. You can choose from a variety of fonts (Styles
Menu Language – This option allows you to select your preferred language from the menus: English, Espanol or Francais.
Light Sensor – Choose the On/Off to control the light sensor located on the face of the LCD TV. Autotuning – The Autotuning Menu is explained in Chapter 3. Go to page 30 for more information.
Note: These captioning style options only have an effect on true digital closed captions. Not all captioning on digital channels is digital
Time Menu
Enter Time
If you did not set the time reference channel, enter the current time manually.
1.Press the MENU button.
2.Select Time.
3.Press OK to start.
4.Press the left and right arrows to select the input option.
5.Use the up and down arrows to set hours, minutes and AM/PM. Press OK to complete.
6.Press the MENU button repeatedly to exit the Time Menu.
Auto Time Channel
Choose a station to have the TV set the time for you. Wait approximately one minute after your program this for the time to be set.
Sleep Timer
1.Press the MENU button.
2.Select Time.
3.Press the left and right arrows to set the TV to turn off after a given amount of time (from one minute to four hours).
4.Press the MENU button repeatedly to exit the Time Menu.
Time Zone
Select the current local time: Eastern, Atlantic, Newfoundland, Samoa, Hawaii, Alaska, Pacific, Central and Mountain.
Daylight Saving
Choose between Off and Automatic Modes.
Using the TV Menu Chapter 4 39