Chapter 1: Getting Started
VIDEO AUDIO
Step 5: Auto Channel Search
Perform an Auto Channel Search (described in the Channel menu section).
Step 6 (optional): Connect other components to your TV
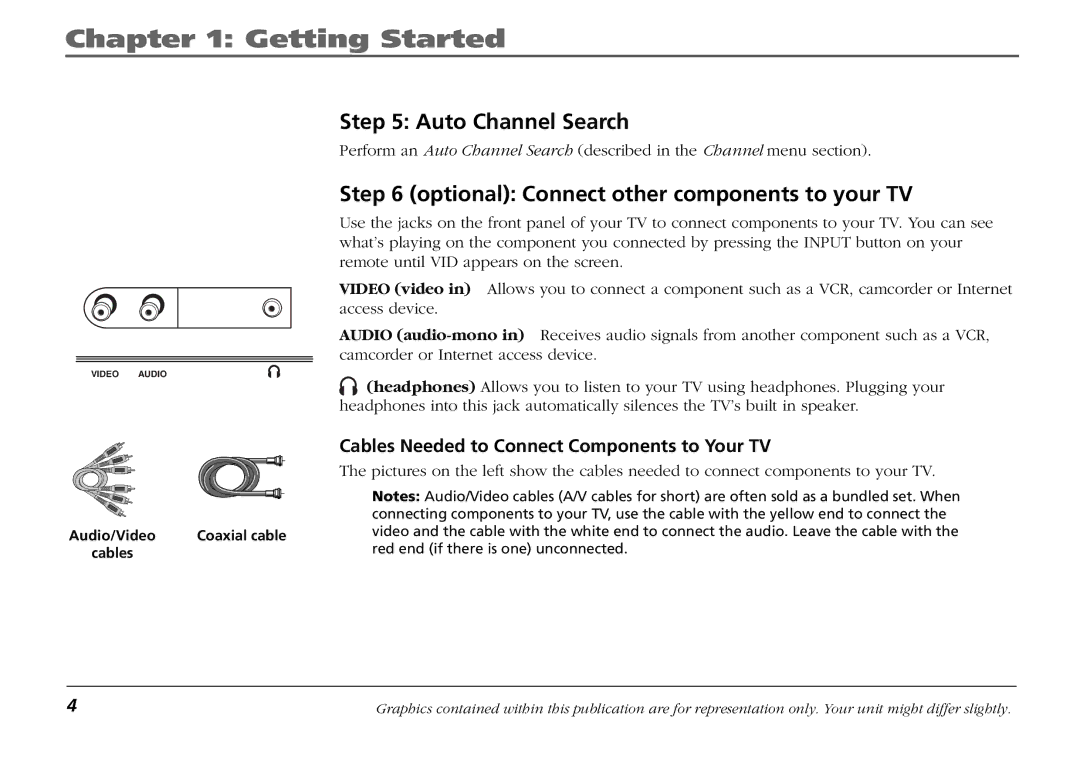
Use the jacks on the front panel of your TV to connect components to your TV. You can see what’s playing on the component you connected by pressing the INPUT button on your remote until VID appears on the screen.
VIDEO (video in) Allows you to connect a component such as a VCR, camcorder or Internet access device.
AUDIO
![]()
![]() (headphones) Allows you to listen to your TV using headphones. Plugging your headphones into this jack automatically silences the TV’s built in speaker.
(headphones) Allows you to listen to your TV using headphones. Plugging your headphones into this jack automatically silences the TV’s built in speaker.
|
| Cables Needed to Connect Components to Your TV |
|
| The pictures on the left show the cables needed to connect components to your TV. |
|
| Notes: Audio/Video cables (A/V cables for short) are often sold as a bundled set. When |
|
| connecting components to your TV, use the cable with the yellow end to connect the |
Audio/Video | Coaxial cable | video and the cable with the white end to connect the audio. Leave the cable with the |
cables |
| red end (if there is one) unconnected. |
4 | Graphics contained within this publication are for representation only. Your unit might differ slightly. |
