3 START-UP
3.1Connections, Jumper Settings
1.Connect your RIGEL board to the PC host via a serial cable.
2.Connect the board to a power supply.
The red LED will come on if power is connected correctly
3.Check to make sure jumpers are the correct position. There are two jumpers, one in position P0.4 the other in P0.6. This is the default configuration for the
3.2Software Initialization
Run the READS166 host driver by selecting Start Programs READS166. You may also start READS166 by double clicking on the READS166 short cut icon if installed.
3.3Serial Number
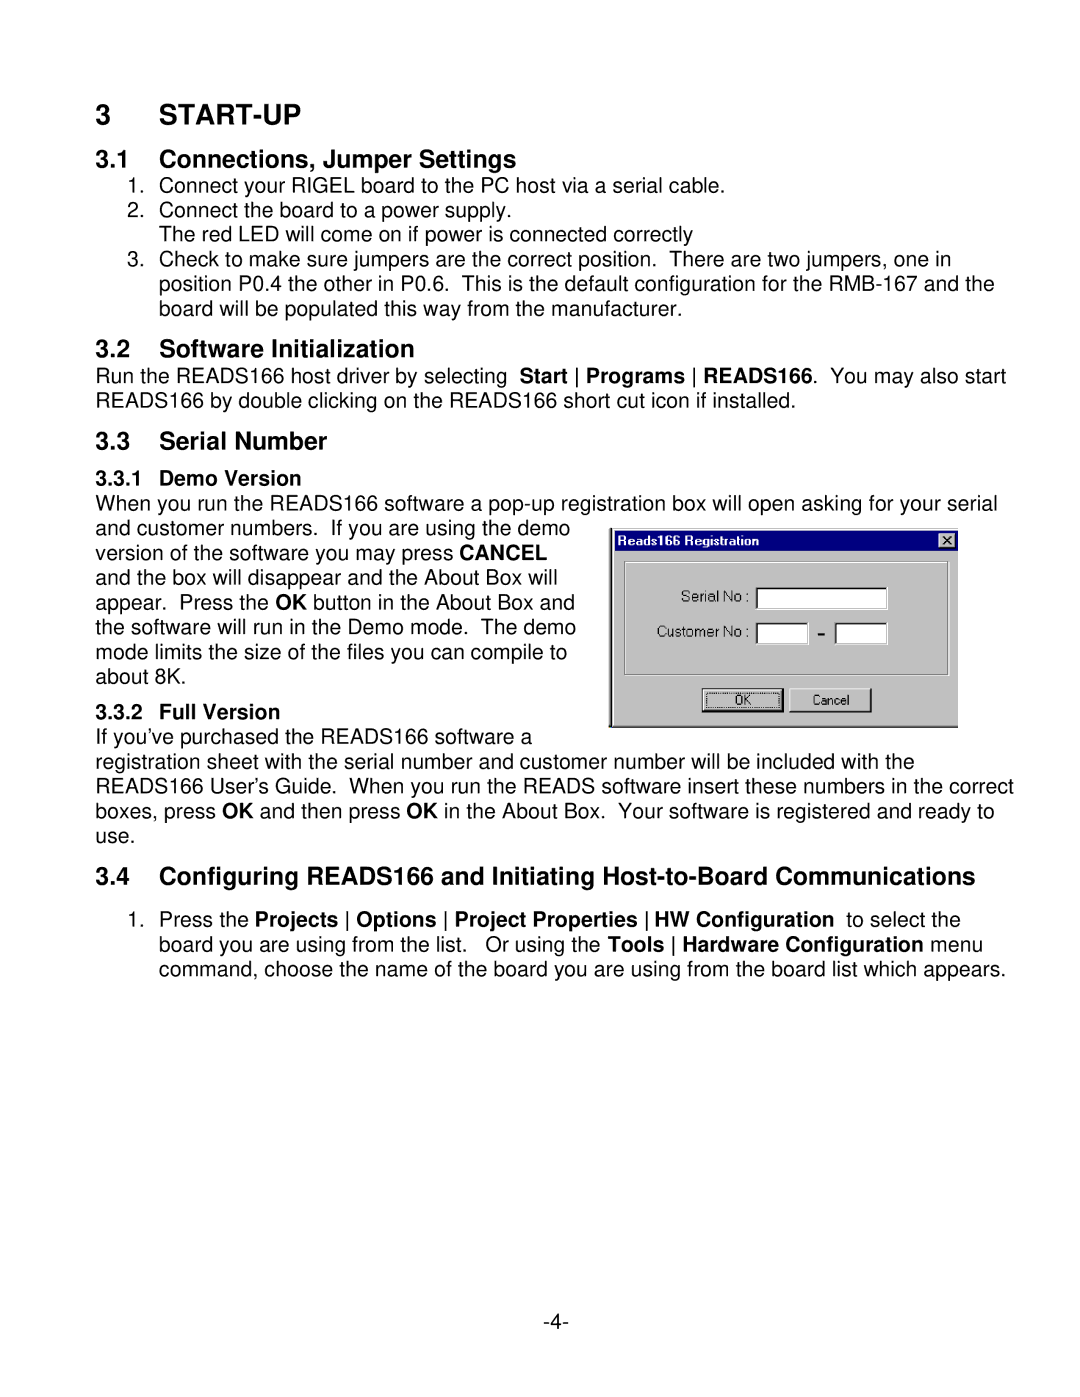
3.3.1 Demo Version
When you run the READS166 software a
version of the software you may press CANCEL and the box will disappear and the About Box will appear. Press the OK button in the About Box and the software will run in the Demo mode. The demo mode limits the size of the files you can compile to about 8K.
3.3.2 Full Version
If you’ve purchased the READS166 software a
registration sheet with the serial number and customer number will be included with the READS166 User’s Guide. When you run the READS software insert these numbers in the correct boxes, press OK and then press OK in the About Box. Your software is registered and ready to use.
3.4Configuring READS166 and Initiating
1.Press the Projects Options Project Properties HW Configuration to select the board you are using from the list. Or using the Tools Hardware Configuration menu command, choose the name of the board you are using from the board list which appears.