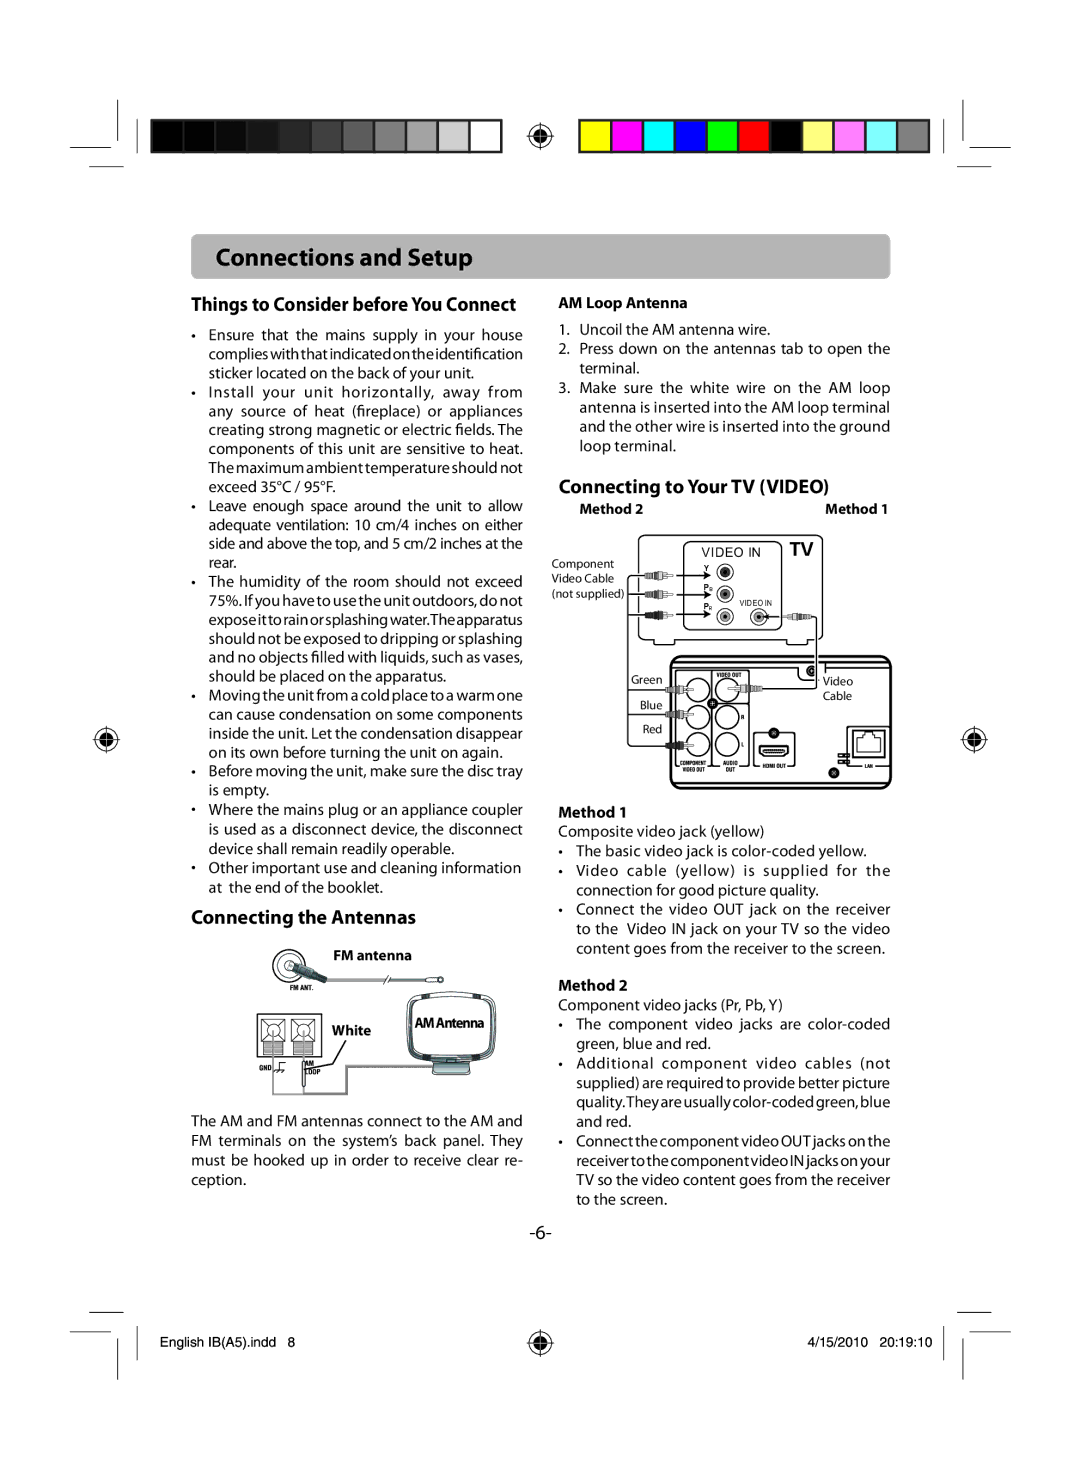
RTB1100 specifications
The RCA RTB1100 is a versatile and high-performance portable Bluetooth speaker designed to enhance your audio experience on the go. With its sleek and compact design, this speaker combines portability and powerful sound output, making it an ideal companion for music lovers and audiophiles alike.One of the standout features of the RCA RTB1100 is its Bluetooth connectivity, allowing you to wirelessly stream music from your smartphone, tablet, or laptop. With a reliable connection range, you can move about freely while enjoying high-quality sound without the hassle of tangled wires. This speaker also supports multiple device connections, making it convenient for users who want to switch between different devices effortlessly.
The RTB1100 boasts impressive sound quality, with enhanced bass response and clear treble that brings your music to life. Its built-in stereo speakers deliver rich and immersive audio, ensuring that you can enjoy your favorite tracks in any setting, whether at home, outdoors, or during a gathering with friends. The sound clarity is further supported by advanced audio processing technologies that optimize playback quality.
This portable speaker is equipped with a long-lasting rechargeable battery, providing hours of playtime on a single charge. The extended battery life makes it perfect for outdoor excursions, beach outings, or road trips, allowing you to enjoy your music without worrying about frequent recharges. Additionally, the RTB1100 features a convenient USB charging port, making it easy to recharge when needed.
The RCA RTB1100 is also designed with user-friendliness in mind. It features intuitive control buttons for easy navigation through your music library, volume adjustments, and playback controls. Moreover, the speaker is built to withstand various environments, with a durable casing that provides some level of protection against spills and drops.
In terms of aesthetics, the RTB1100 has a modern and stylish appearance, available in various colors to suit personal tastes. Its lightweight design ensures that it is easy to carry around, allowing you to take your music wherever you go. Whether you are hosting a party, heading to the beach, or simply relaxing at home, the RCA RTB1100 is an excellent choice for anyone seeking a reliable and stylish Bluetooth speaker that delivers impressive sound quality and portability. Overall, the RCA RTB1100 stands out as a popular choice for those who appreciate good sound on the go.

