Setting Up the VCR
Startup
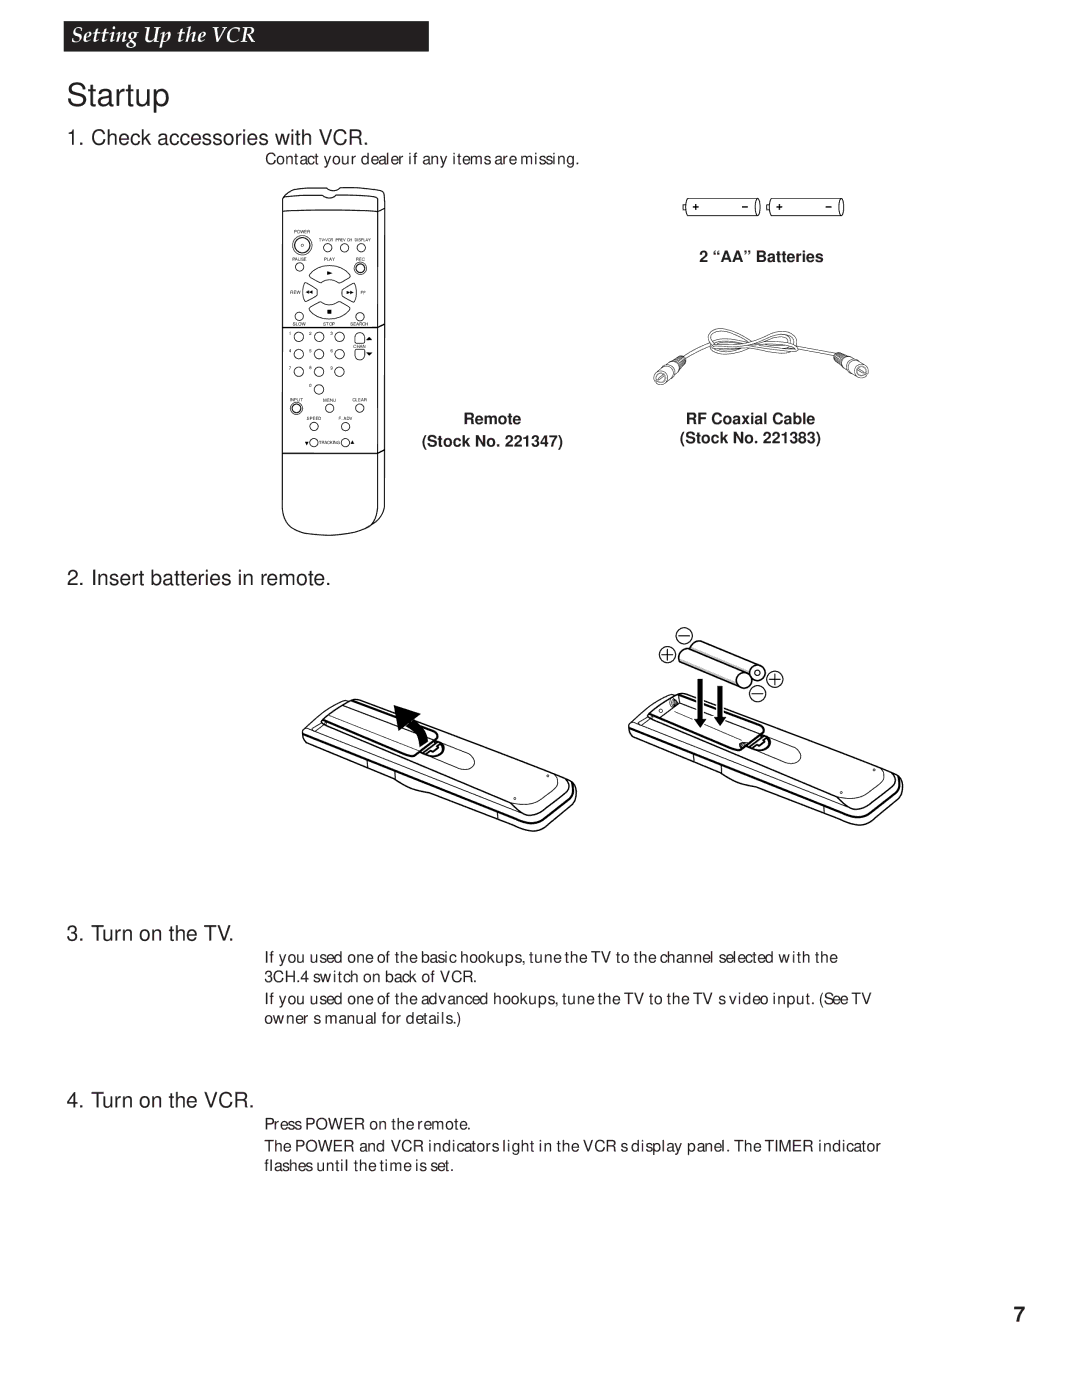
1. Check accessories with VCR.
Contact your dealer if any items are missing.
POWER |
|
| |
| TV•VCR PREV CH DISPLAY | ||
PAUSE |
| PLAY | REC |
REW |
|
| FF |
SLOW |
| STOP | SEARCH |
1 | 2 | 3 |
|
4 | 5 | 6 | CHAN |
| |||
7 | 8 | 9 |
|
| 0 |
|
|
INPUT |
| MENU | CLEAR |
| SPEED |
| F. ADV |
| TRACKING | ||
2 “AA” Batteries
Remote | RF Coaxial Cable |
(Stock No. 221347) | (Stock No. 221383) |
2. Insert batteries in remote.
3. Turn on the TV.
If you used one of the basic hookups, tune the TV to the channel selected with the 3CH.4 switch on back of VCR.
If you used one of the advanced hookups, tune the TV to the TVÕs video input. (See TV ownerÕs manual for details.)
4. Turn on the VCR.
Press POWER on the remote.
The POWER and VCR indicators light in the VCRÕs display panel. The TIMER indicator flashes until the time is set.
7
