Using On-Screen Menus
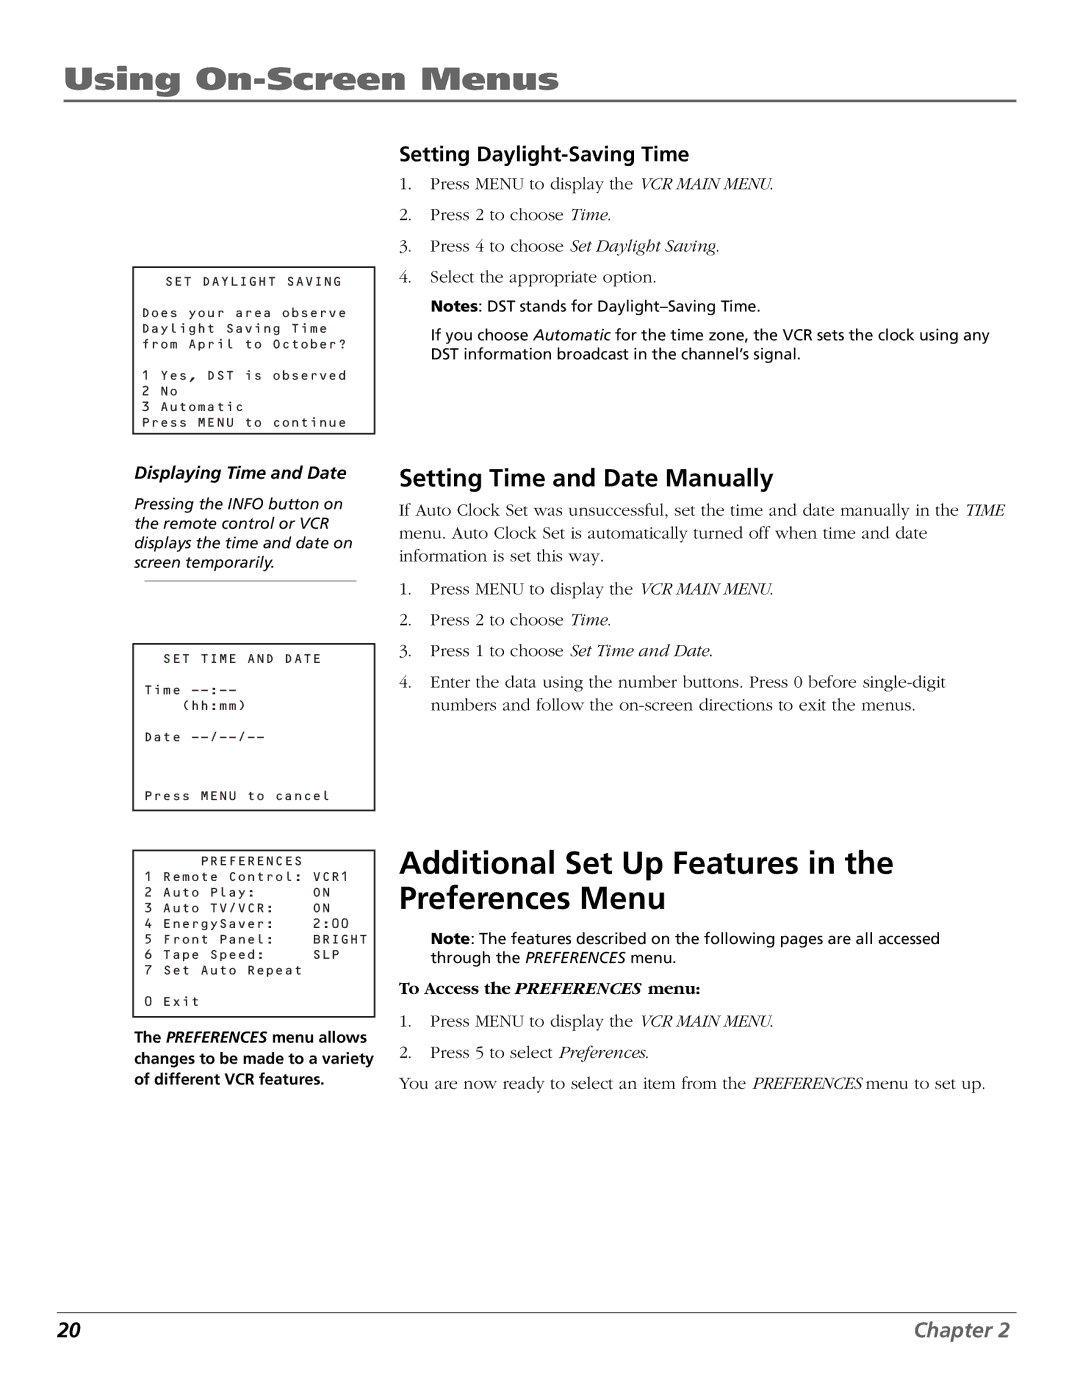
SET DAYLIGHT SAVING
Does your area observe Daylight Saving Time from April to October?
1 Yes, DST is observed
2No
3Automatic
Press MENU to continue
Setting Daylight-Saving Time
1.Press MENU to display the VCR MAIN MENU.
2.Press 2 to choose Time.
3.Press 4 to choose Set Daylight Saving.
4.Select the appropriate option.
Notes: DST stands for
If you choose Automatic for the time zone, the VCR sets the clock using any DST information broadcast in the channel’s signal.
Displaying Time and Date
Pressing the INFO button on the remote control or VCR displays the time and date on screen temporarily.
SET TIME AND DATE
Time
Date
Press MENU to cancel
| PREFERENCES |
|
1 | Remote Control: VCR1 | |
2 | Auto Play: | ON |
3 | Auto TV/VCR: | ON |
4 | EnergySaver: | 2:00 |
5 | Front Panel: | BRIGHT |
6 | Tape Speed: | SLP |
7 | Set Auto Repeat |
|
0 | Exit |
|
|
|
|
The PREFERENCES menu allows changes to be made to a variety of different VCR features.
Setting Time and Date Manually
If Auto Clock Set was unsuccessful, set the time and date manually in the TIME menu. Auto Clock Set is automatically turned off when time and date information is set this way.
1.Press MENU to display the VCR MAIN MENU.
2.Press 2 to choose Time.
3.Press 1 to choose Set Time and Date.
4.Enter the data using the number buttons. Press 0 before
Additional Set Up Features in the Preferences Menu
Note: The features described on the following pages are all accessed through the PREFERENCES menu.
To Access the PREFERENCES menu:
1.Press MENU to display the VCR MAIN MENU.
2.Press 5 to select Preferences.
You are now ready to select an item from the PREFERENCES menu to set up.
20 | Chapter 2 |