FIRST THINGS FIRST
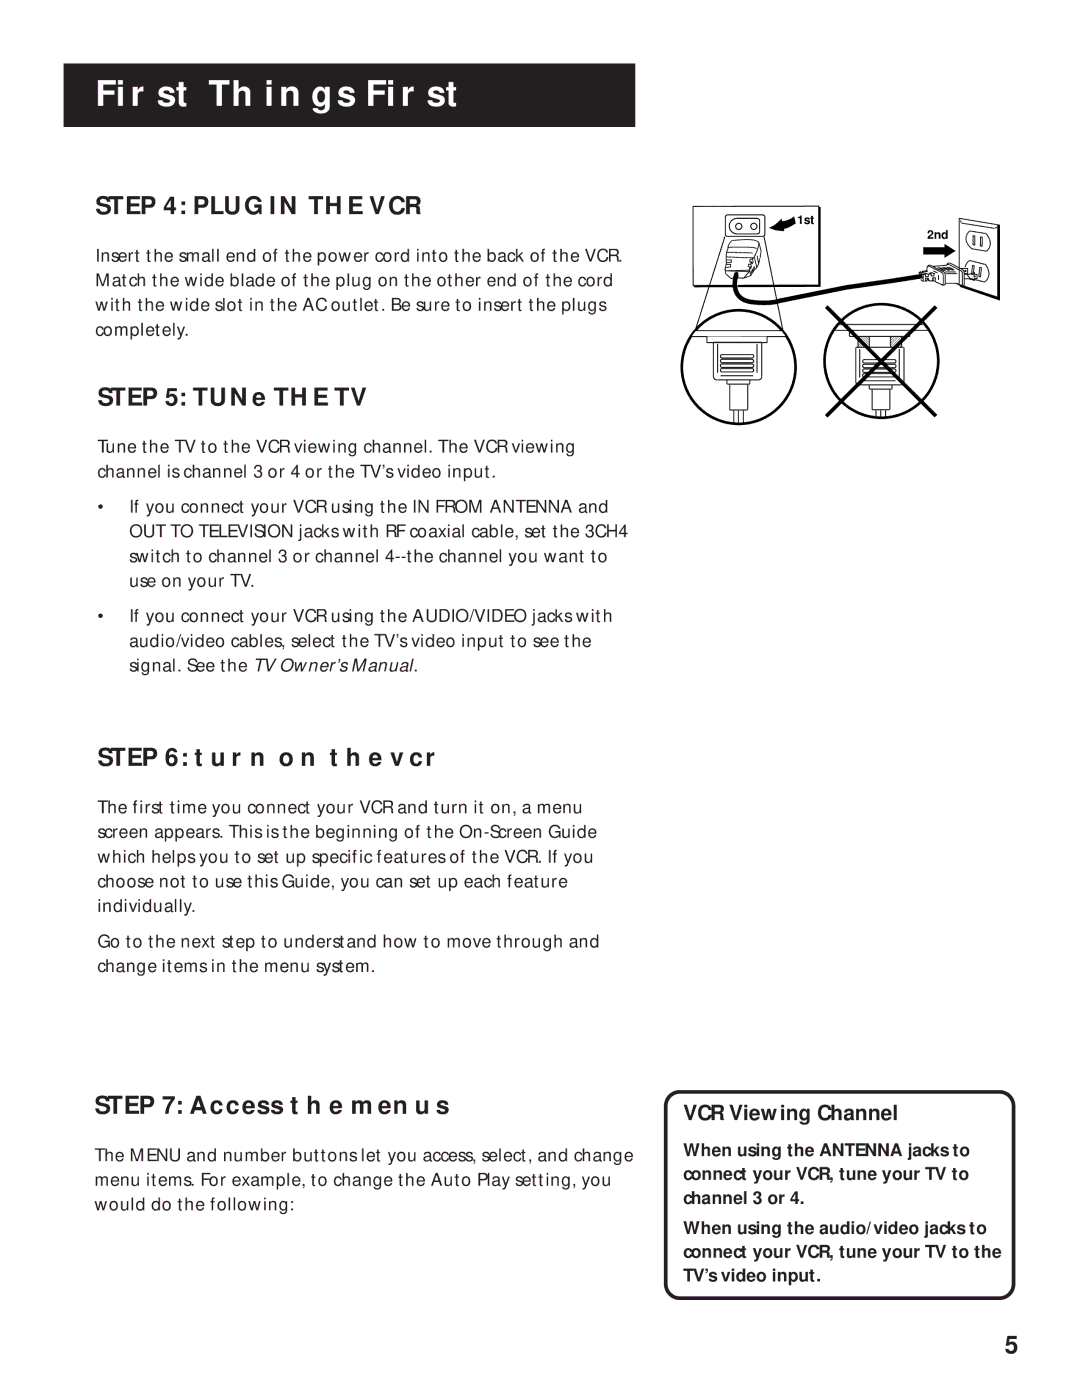
STEP 4: PLUG IN THE VCR
1st
2nd
Insert the small end of the power cord into the back of the VCR. Match the wide blade of the plug on the other end of the cord with the wide slot in the AC outlet. Be sure to insert the plugs completely.
STEP 5: TUNE THE TV
Tune the TV to the VCR viewing channel. The VCR viewing channel is channel 3 or 4 or the TV’s video input.
•If you connect your VCR using the IN FROM ANTENNA and OUT TO TELEVISION jacks with RF coaxial cable, set the 3CH4 switch to channel 3 or channel
•If you connect your VCR using the AUDIO/VIDEO jacks with audio/video cables, select the TV’s video input to see the signal. See the TV Owner’s Manual.
STEP 6: TURN ON THE VCR
The first time you connect your VCR and turn it on, a menu screen appears. This is the beginning of the
Go to the next step to understand how to move through and change items in the menu system.
STEP 7: ACCESS THE MENUS
The MENU and number buttons let you access, select, and change menu items. For example, to change the Auto Play setting, you would do the following:
VCR Viewing Channel
When using the ANTENNA jacks to connect your VCR, tune your TV to channel 3 or 4.
When using the audio/video jacks to connect your VCR, tune your TV to the TV’s video input.
5