RECORDING MODE
FLASH COMPENSATION
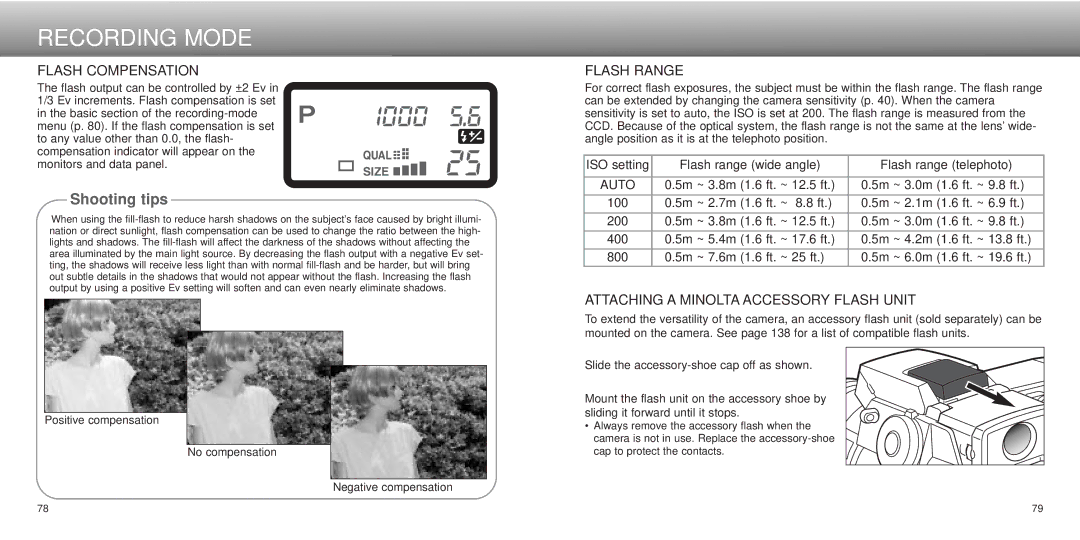
The flash output can be controlled by ±2 Ev in 1/3 Ev increments. Flash compensation is set in the basic section of the
Shooting tips
When using the
Positive compensation
No compensation
Negative compensation
FLASH RANGE
For correct flash exposures, the subject must be within the flash range. The flash range can be extended by changing the camera sensitivity (p. 40). When the camera sensitivity is set to auto, the ISO is set at 200. The flash range is measured from the CCD. Because of the optical system, the flash range is not the same at the lens’ wide- angle position as it is at the telephoto position.
ISO setting | Flash range (wide angle) | Flash range (telephoto) | |||||
|
|
|
|
|
| ||
AUTO | 0.5m | ~ 3.8m (1.6 ft. ~ | 12.5 ft.) | 0.5m | ~ 3.0m (1.6 ft. ~ 9.8 ft.) | ||
|
|
|
|
|
|
|
|
100 | 0.5m | ~ 2.7m | (1.6 ft. ~ | 8.8 ft.) | 0.5m | ~ 2.1m | (1.6 ft. ~ 6.9 ft.) |
|
|
|
|
|
|
|
|
200 | 0.5m | ~ 3.8m | (1.6 ft. ~ | 12.5 ft.) | 0.5m | ~ 3.0m | (1.6 ft. ~ 9.8 ft.) |
|
|
|
|
|
|
|
|
400 | 0.5m | ~ 5.4m | (1.6 ft. ~ | 17.6 ft.) | 0.5m | ~ 4.2m | (1.6 ft. ~ 13.8 ft.) |
|
|
|
|
|
|
|
|
800 | 0.5m | ~ 7.6m | (1.6 ft. ~ | 25 ft.) | 0.5m | ~ 6.0m | (1.6 ft. ~ 19.6 ft.) |
ATTACHING A MINOLTA ACCESSORY FLASH UNIT
To extend the versatility of the camera, an accessory flash unit (sold separately) can be mounted on the camera. See page 138 for a list of compatible flash units.
Slide the
Mount the flash unit on the accessory shoe by sliding it forward until it stops.
•Always remove the accessory flash when the camera is not in use. Replace the
78 | 79 |