BASIC OPERATION
SETTING THE CAMERA TO RECORD IMAGES AUTOMATICALLY
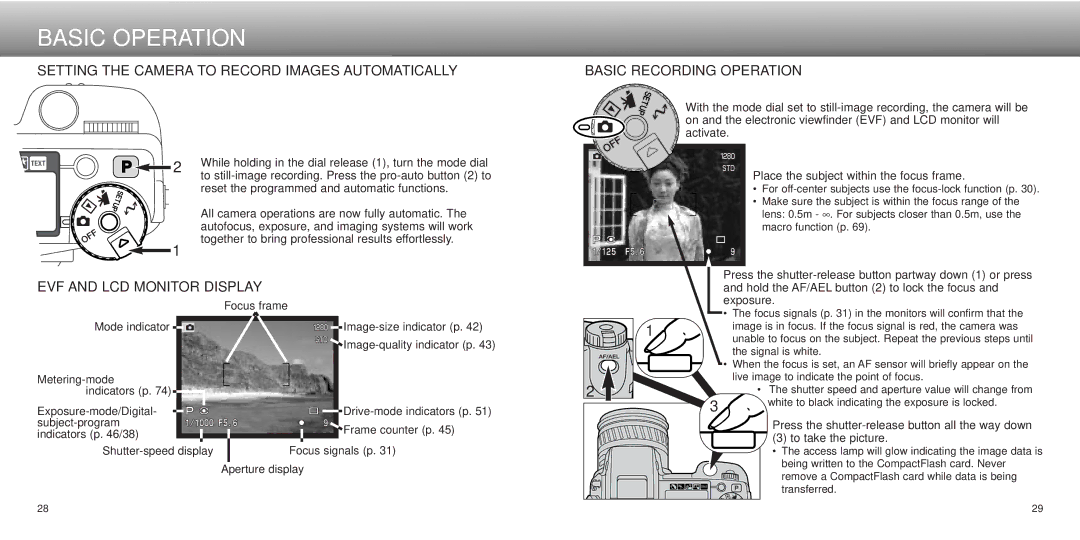
2 | While holding in the dial release (1), turn the mode dial |
| to |
reset the programmed and automatic functions.
All camera operations are now fully automatic. The autofocus, exposure, and imaging systems will work together to bring professional results effortlessly.
1
EVF AND LCD MONITOR DISPLAY
Focus frame
BASIC RECORDING OPERATION
With the mode dial set to
Place the subject within the focus frame.
•For
•Make sure the subject is within the focus range of the lens: 0.5m - ∞ . For subjects closer than 0.5m, use the macro function (p. 69).
Press the
• The focus signals (p. 31) in the monitors will confirm that the |
Mode indicator ![]()
![]()
indicators (p. 74) ![]()
![]()
![]()
![]()
![]()
![]() Image-quality
Image-quality
![]()
![]()
![]() Frame counter (p. 45)
Frame counter (p. 45)
Focus signals (p. 31)
Aperture display
1
2 ![]()
3
image is in focus. If the focus signal is red, the camera was |
unable to focus on the subject. Repeat the previous steps until |
the signal is white. |
• When the focus is set, an AF sensor will briefly appear on the |
live image to indicate the point of focus. |
• The shutter speed and aperture value will change from |
white to black indicating the exposure is locked. |
Press the
(3) to take the picture.
•The access lamp will glow indicating the image data is being written to the CompactFlash card. Never
remove a CompactFlash card while data is being transferred.
28 | 29 |
