RECORDING MODE
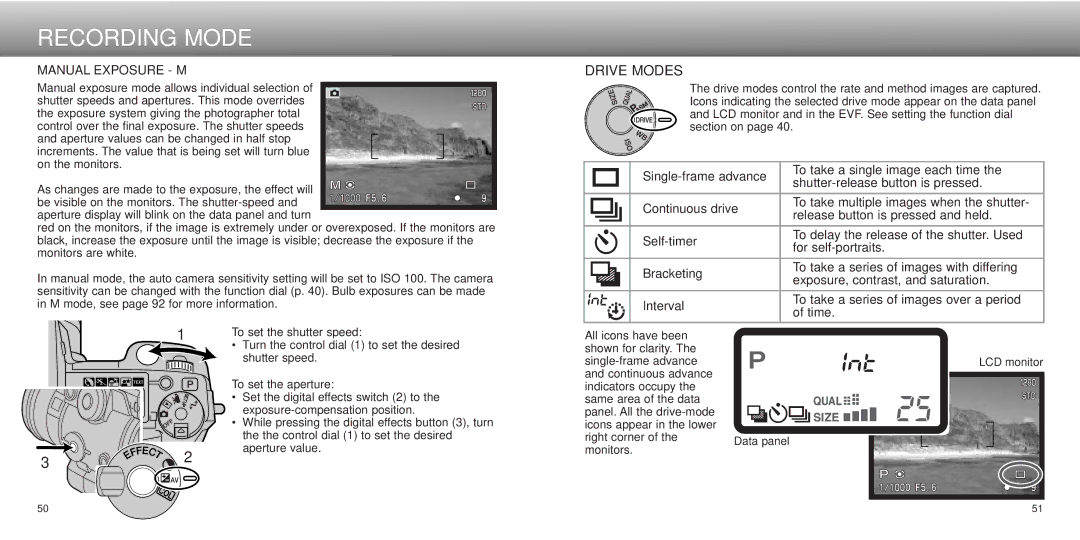
MANUAL EXPOSURE - M
Manual exposure mode allows individual selection of shutter speeds and apertures. This mode overrides the exposure system giving the photographer total control over the final exposure. The shutter speeds and aperture values can be changed in half stop increments. The value that is being set will turn blue on the monitors.
As changes are made to the exposure, the effect will be visible on the monitors. The
red on the monitors, if the image is extremely under or overexposed. If the monitors are black, increase the exposure until the image is visible; decrease the exposure if the monitors are white.
In manual mode, the auto camera sensitivity setting will be set to ISO 100. The camera sensitivity can be changed with the function dial (p. 40). Bulb exposures can be made in M mode, see page 92 for more information.
DRIVE MODES
The drive modes control the rate and method images are captured. Icons indicating the selected drive mode appear on the data panel and LCD monitor and in the EVF. See setting the function dial section on page 40.
| To take a single image each time the | |
| ||
|
| |
|
|
|
| Continuous drive | To take multiple images when the shutter- |
| release button is pressed and held. | |
|
| |
|
|
|
| To delay the release of the shutter. Used | |
| for | |
|
| |
|
|
|
| Bracketing | To take a series of images with differing |
| exposure, contrast, and saturation. | |
|
| |
|
|
|
| Interval | To take a series of images over a period |
| of time. | |
|
| |
|
|
|
| 1 |
3 | 2 |
| |
50 |
|
To set the shutter speed:
•Turn the control dial (1) to set the desired shutter speed.
To set the aperture:
•Set the digital effects switch (2) to the
•While pressing the digital effects button (3), turn the the control dial (1) to set the desired aperture value.
All icons have been shown for clarity. The
right corner of the Data panel monitors.
LCD monitor
51 |