RECORDING MODE
CUSTOM WHITE BALANCE
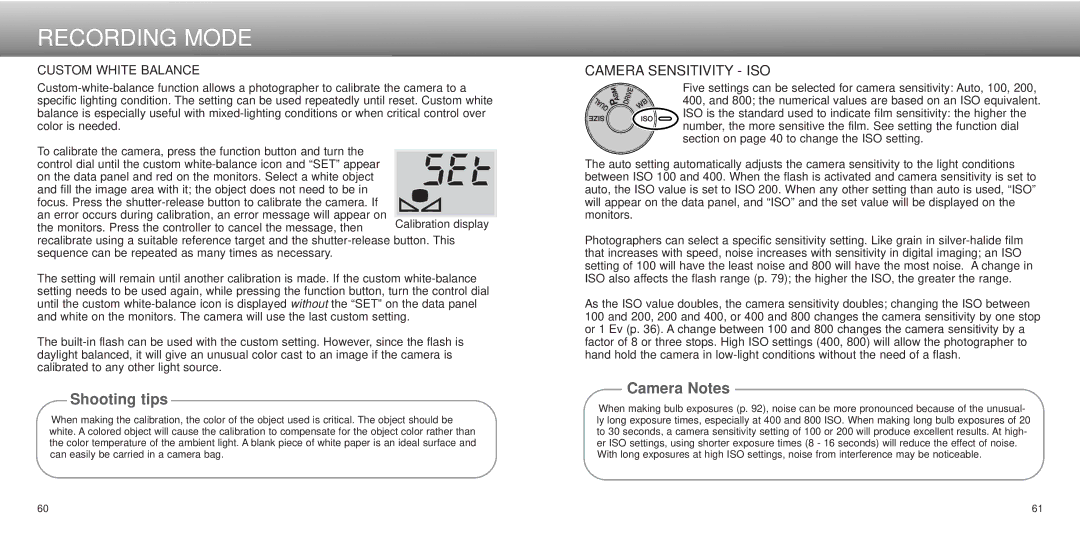
To calibrate the camera, press the function button and turn the
control dial until the custom
focus. Press the
recalibrate using a suitable reference target and the
The setting will remain until another calibration is made. If the custom
The
Shooting tips
When making the calibration, the color of the object used is critical. The object should be white. A colored object will cause the calibration to compensate for the object color rather than the color temperature of the ambient light. A blank piece of white paper is an ideal surface and can easily be carried in a camera bag.
CAMERA SENSITIVITY - ISO
Five settings can be selected for camera sensitivity: Auto, 100, 200, 400, and 800; the numerical values are based on an ISO equivalent. ISO is the standard used to indicate film sensitivity: the higher the number, the more sensitive the film. See setting the function dial section on page 40 to change the ISO setting.
The auto setting automatically adjusts the camera sensitivity to the light conditions between ISO 100 and 400. When the flash is activated and camera sensitivity is set to auto, the ISO value is set to ISO 200. When any other setting than auto is used, “ISO” will appear on the data panel, and “ISO” and the set value will be displayed on the monitors.
Photographers can select a specific sensitivity setting. Like grain in
As the ISO value doubles, the camera sensitivity doubles; changing the ISO between 100 and 200, 200 and 400, or 400 and 800 changes the camera sensitivity by one stop or 1 Ev (p. 36). A change between 100 and 800 changes the camera sensitivity by a factor of 8 or three stops. High ISO settings (400, 800) will allow the photographer to hand hold the camera in
Camera Notes
When making bulb exposures (p. 92), noise can be more pronounced because of the unusual- ly long exposure times, especially at 400 and 800 ISO. When making long bulb exposures of 20 to 30 seconds, a camera sensitivity setting of 100 or 200 will produce excellent results. At high- er ISO settings, using shorter exposure times (8 - 16 seconds) will reduce the effect of noise. With long exposures at high ISO settings, noise from interference may be noticeable.
60 | 61 |
