WHP140 specifications
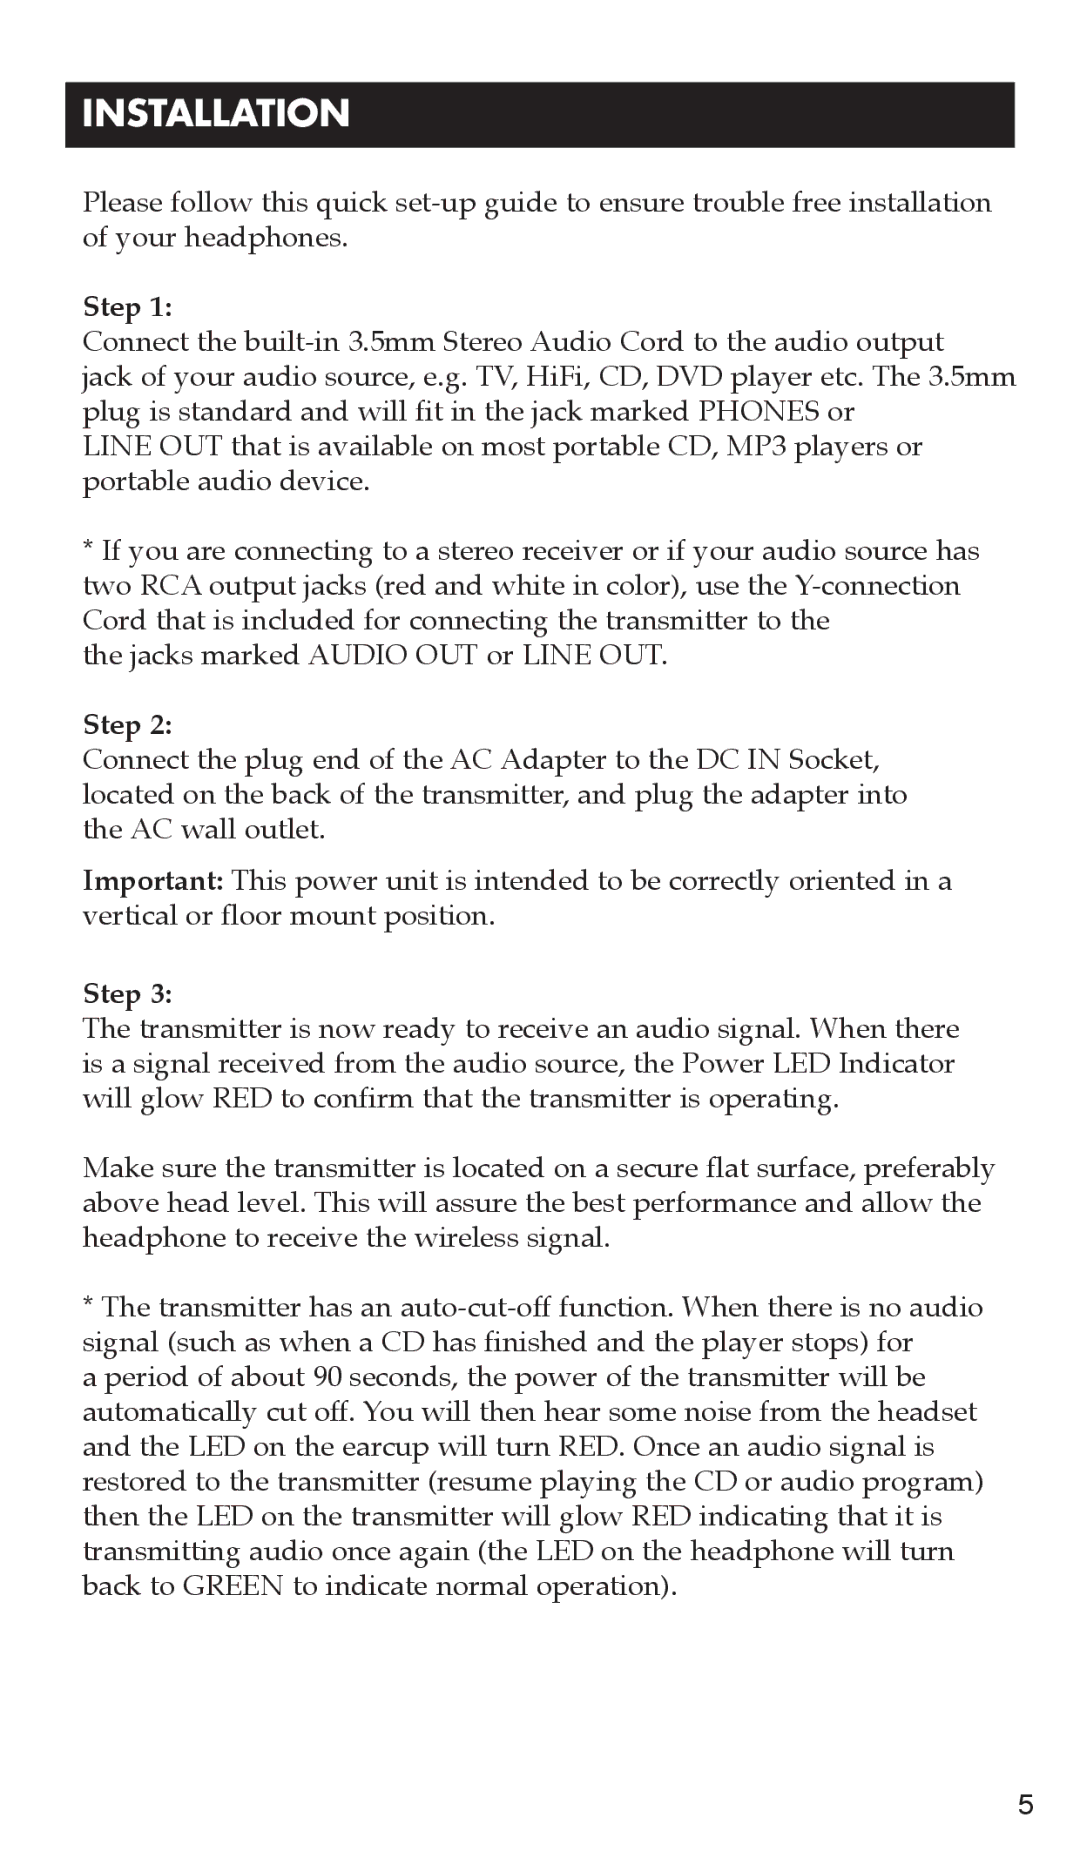
The RCA WHP140 is a versatile, robust, and affordable wireless headphone model designed to provide users with excellent audio performance and comfort. With its user-friendly features and sleek design, the WHP140 has become a popular choice for both casual listeners and audiophiles.One of the primary features of the RCA WHP140 is its wireless technology. Utilizing infrared transmission, these headphones offer a solid connection within a range of up to 100 feet, providing users the freedom to move around without being tethered to their audio source. This distance makes the WHP140 an ideal choice for home use, whether you’re watching TV, listening to music, or playing video games.
Comfort is another strong point of the WHP140. The headphones come with soft, cushioned ear pads designed for long listening sessions without causing discomfort. The adjustable headband ensures a secure fit for different head sizes, allowing users to enjoy their audio content for hours on end.
In terms of audio performance, the RCA WHP140 features dynamic sound quality with deep bass and clear treble. Equipped with a built-in amplifier, the headphones enhance the audio experience, making them suitable for a wide range of genres, from classical to rock. The headphones also handle various volume levels efficiently, ensuring that every detail of the audio is captured without distortion.
The RCA WHP140 is powered by rechargeable batteries, which can easily be charged through the included base station. This station not only serves as a charging dock but also as a transmitter for audio signals. The battery life of the WHP140 is impressive, providing up to 8 hours of continuous playtime on a single charge. Additionally, the headphones come with a low battery indicator to keep users informed.
In summary, the RCA WHP140 wireless headphones combine ease of use, comfort, and quality audio performance, making them an excellent choice for anyone looking for an affordable yet high-performing wireless headphone solution. The integration of infrared technology, exceptional battery life, and a comfortable design makes the WHP140 a noteworthy option for diverse listening environments. Whether you’re at home or on the go, these headphones deliver a seamless auditory experience tailored to modern audio needs.