8 Chapter 4: Trimmer/Edger Operation

Trimming

Advancing Trimmer Line

Replacing Trimmer/Edger Line

To reduce excessive line wear and improve trimming performance, follow the steps below to trim grass and weeds.

1.Remove any string, wire, or other ma- terials that could become entangled in the trimmer/edger from the trim- ming area.

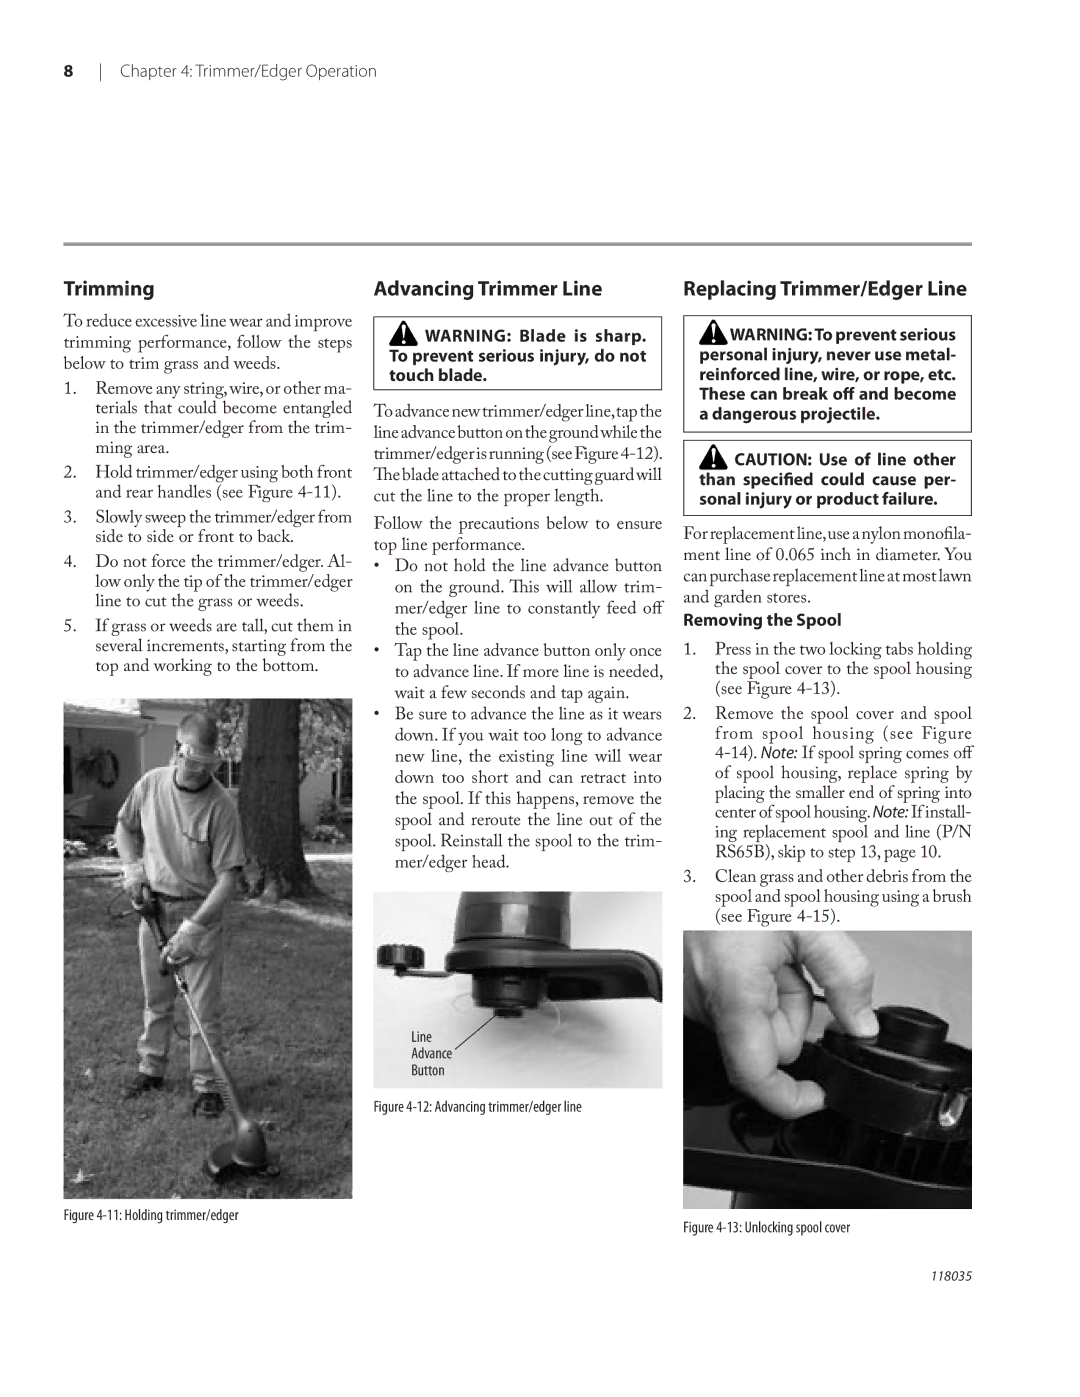
2.Hold trimmer/edger using both front and rear handles (see Figure 4-11).

3.Slowly sweep the trimmer/edger from side to side or front to back.

4.Do not force the trimmer/edger. Al- low only the tip of the trimmer/edger line to cut the grass or weeds.

5.If grass or weeds are tall, cut them in several increments, starting from the top and working to the bottom.

WARNING: Blade is sharp. To prevent serious injury, do not touch blade.

To advance new trimmer/edger line,tap the line advance button on the ground while the trimmer/edger is running (see Figure 4-12). The blade attached to the cutting guard will cut the line to the proper length.

Follow the precautions below to ensure top line performance.

Do not hold the line advance button on the ground. This will allow trim- mer/edger line to constantly feed off the spool.

Tap the line advance button only once to advance line. If more line is needed, wait a few seconds and tap again.

Be sure to advance the line as it wears down. If you wait too long to advance new line, the existing line will wear down too short and can retract into the spool. If this happens, remove the spool and reroute the line out of the spool. Reinstall the spool to the trim- mer/edger head.

Line

Advance

Button

Figure 4-12: Advancing trimmer/edger line

WARNING: To prevent serious personal injury, never use metal- reinforced line, wire, or rope, etc. These can break off and become a dangerous projectile.

CAUTION: Use of line other than specified could cause per- sonal injury or product failure.

For replacement line,use a nylon monofila- ment line of 0.065 inch in diameter. You can purchase replacement line at most lawn and garden stores.

Removing the Spool

1.Press in the two locking tabs holding the spool cover to the spool housing (see Figure 4-13).

2.Remove the spool cover and spool from spool housing (see Figure 4-14). Note: If spool spring comes off of spool housing, replace spring by placing the smaller end of spring into center of spool housing.Note: If install- ing replacement spool and line (P/N RS65B), skip to step 13, page 10.

3.Clean grass and other debris from the spool and spool housing using a brush (see Figure 4-15).

Figure 4-11: Holding trimmer/edger

Figure 4-13: Unlocking spool cover

118035

Page 12
Image 12
Remington ST3812B, ST4514B owner manual Trimming Advancing Trimmer Line, Trimmer/Edger Operation, Removing the Spool

ST3812B, ST4514B specifications

The Remington ST3812B and ST4514B are two innovative hair styling tools designed to cater to various hair types and styling preferences. These hair straighteners combine advanced technologies to ensure an efficient, safe, and stylish experience for users.

The Remington ST3812B, often celebrated for its compact design, features ceramic plates that provide even heat distribution, minimizing the chances of hot spots that can damage hair. With a fast heat-up time of just 30 seconds, this straightener is perfect for those with busy schedules who need a quick styling solution. The straightener offers multiple temperature settings, allowing users to choose the best heat level for their specific hair type, whether it be fine, thick, or somewhere in between. This feature not only promotes hair health but also enhances styling versatility.

In addition, the ST3812B is equipped with a safety lock feature that secures the plates together for easy storage and transportation. The ergonomic design ensures comfortable handling, making it easier to create those coveted sleek and straight styles without causing unnecessary strain on the wrists.

On the other hand, the Remington ST4514B caters to a broader audience with its larger plates, which are ideal for users with long or thick hair. This model integrates a unique Digital Heat Control technology, enabling precise temperature adjustments based on the specific needs of the hair. With a maximum heat setting of 230 degrees Celsius, the ST4514B is designed to tame even the most unruly locks while ensuring minimal damage.

Additionally, the ST4514B features a floating plate design, which adjusts to different hair sections for enhanced styling. This flexibility allows the straightener to glide effortlessly through the hair, reducing tugging and breakage. For users concerned about hair health, the inclusion of protective ceramic materials helps to smooth the hair cuticle, leaving a shiny and well-finished look.

Both models come with a 60-minute auto shut-off function, providing peace of mind to users who may forget to turn off their devices after use. This added safety feature is especially advantageous for those with hectic lifestyles.

In summary, both the Remington ST3812B and ST4514B are exceptional hair straighteners that boast a range of features aimed at delivering professional results at home. With their combination of innovative technologies, safety features, and user-friendly designs, they stand out as reliable choices for anyone looking to achieve salon-quality hair styling with ease.