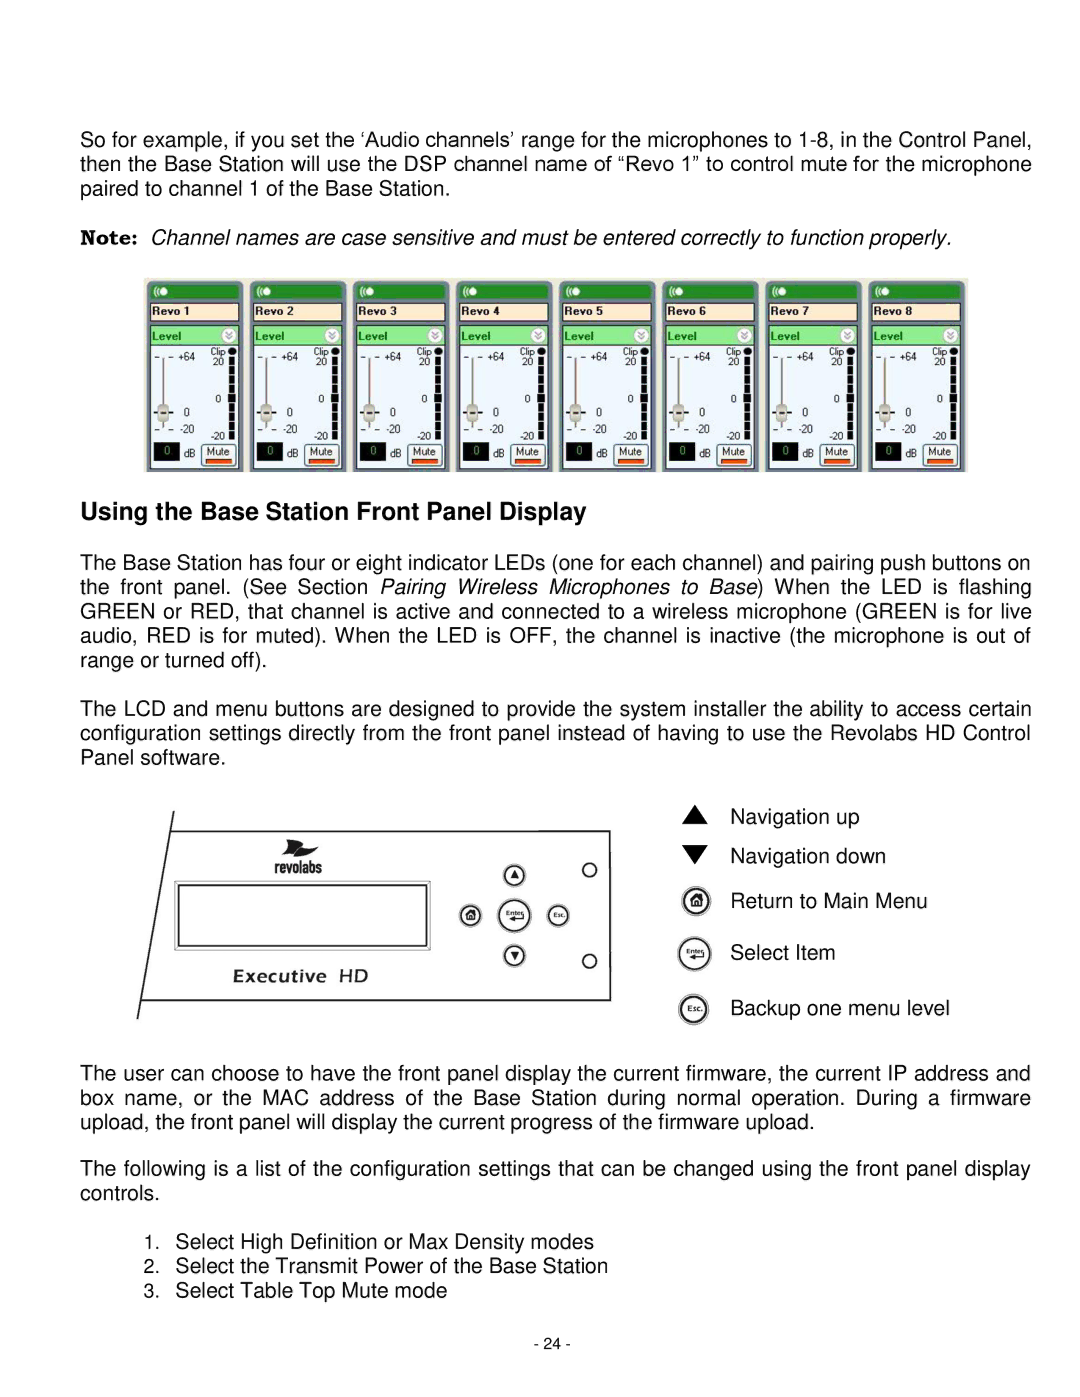
So for example, if you set the ‗Audio channels‘ range for the microphones to
Note: Channel names are case sensitive and must be entered correctly to function properly.
Using the Base Station Front Panel Display
The Base Station has four or eight indicator LEDs (one for each channel) and pairing push buttons on the front panel. (See Section Pairing Wireless Microphones to Base) When the LED is flashing GREEN or RED, that channel is active and connected to a wireless microphone (GREEN is for live audio, RED is for muted). When the LED is OFF, the channel is inactive (the microphone is out of range or turned off).
The LCD and menu buttons are designed to provide the system installer the ability to access certain configuration settings directly from the front panel instead of having to use the Revolabs HD Control Panel software.
Navigation up
Navigation down
Return to Main Menu
Select Item
Backup one menu level
The user can choose to have the front panel display the current firmware, the current IP address and box name, or the MAC address of the Base Station during normal operation. During a firmware upload, the front panel will display the current progress of the firmware upload.
The following is a list of the configuration settings that can be changed using the front panel display controls.
1.Select High Definition or Max Density modes
2.Select the Transmit Power of the Base Station
3.Select Table Top Mute mode
-24 -
