
GEN15ADC-E, GEN16AD-E, GEN20AD-E, Rheem / Ruud standby generator specifications
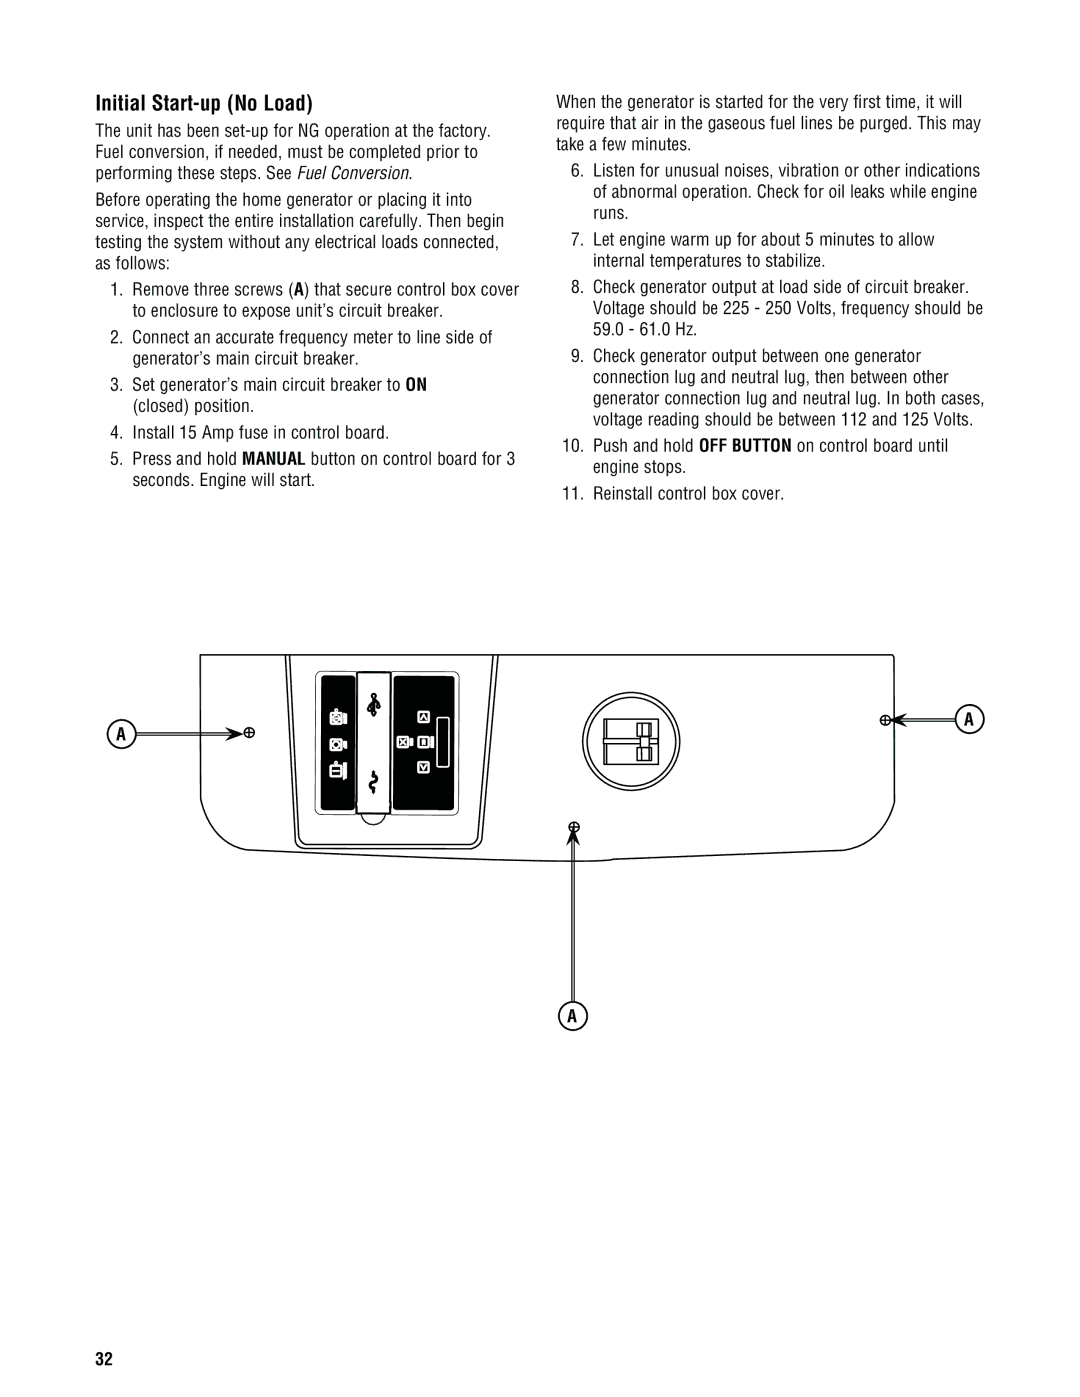
The Rheem GEN16AD-E, GEN20AD-E, and GEN15ADC-E models are part of Rheem and Ruud's innovative line of standby generators, designed to provide reliable power solutions for both residential and commercial applications. These generators deliver robust performance, ensuring uninterrupted power supply during outages and emergencies.The GEN16AD-E and GEN20AD-E generators are particularly noteworthy for their advanced features and technologies. They are equipped with automatic voltage regulation, which helps maintain a steady power supply and protects your appliances from voltage fluctuations. These models also feature a state-of-the-art controller with an LCD display, allowing users to monitor generator performance and status easily. Moreover, they come with a durable, weather-resistant enclosure that is built to withstand various environmental conditions, ensuring longevity and reliability.
Both the GEN16AD-E and GEN20AD-E models incorporate cutting-edge noise reduction technologies, making them some of the quietest generators on the market. This is a significant advantage for residential areas, where noise levels must be kept to a minimum for the comfort of families and neighbors alike. Additionally, their compact design allows for easy installation in limited spaces, making them versatile for various property layouts.
The Rheem / Ruud standby generators are also designed with fuel efficiency in mind. With advanced engine designs and power management features, these units optimize fuel consumption, providing significant cost savings over time. Automatic start systems enhance convenience, enabling the generator to kick in as soon as an outage is detected. This ensures you are never left without power, no matter the circumstances.
The GEN15ADC-E model focuses on delivering a balance of power and efficiency for smaller applications, making it ideal for homeowners looking for lower-capacity solutions without compromising on performance. It also offers features such as digital control panels for easy monitoring and maintenance.
Overall, the Rheem GEN16AD-E, GEN20AD-E, and GEN15ADC-E standby generators exemplify reliability, efficiency, and user-friendly design. With their impressive features and modern technologies, these generators are a smart investment in power security, ensuring that your home or business stays operational even during unexpected power outages. Their strong reputation in the market reflects the commitment of Rheem and Ruud to provide high-quality products that meet the diverse needs of their customers.