258/258XL Power Pipe Cutters
Operating Instructions
![]() WARNING
WARNING
Keep fingers and hands away from cutter wheel. Do not reach across cutter or pipe. Keep hands and feet clear of pipe.
Cutter is designed for use with RIDGID 700 Power Drive. Power Drive must be secured by the reac- tion arm.
Be sure cutter is on a flat, level surface and the pipe is properly supported by pipe stands.
1.Be sure pipe is properly supported by pipe supports and will not pinch and damage the cutter wheel.
2.Mark the pipe at the desired length for cutting (use chalk or pipe marker).
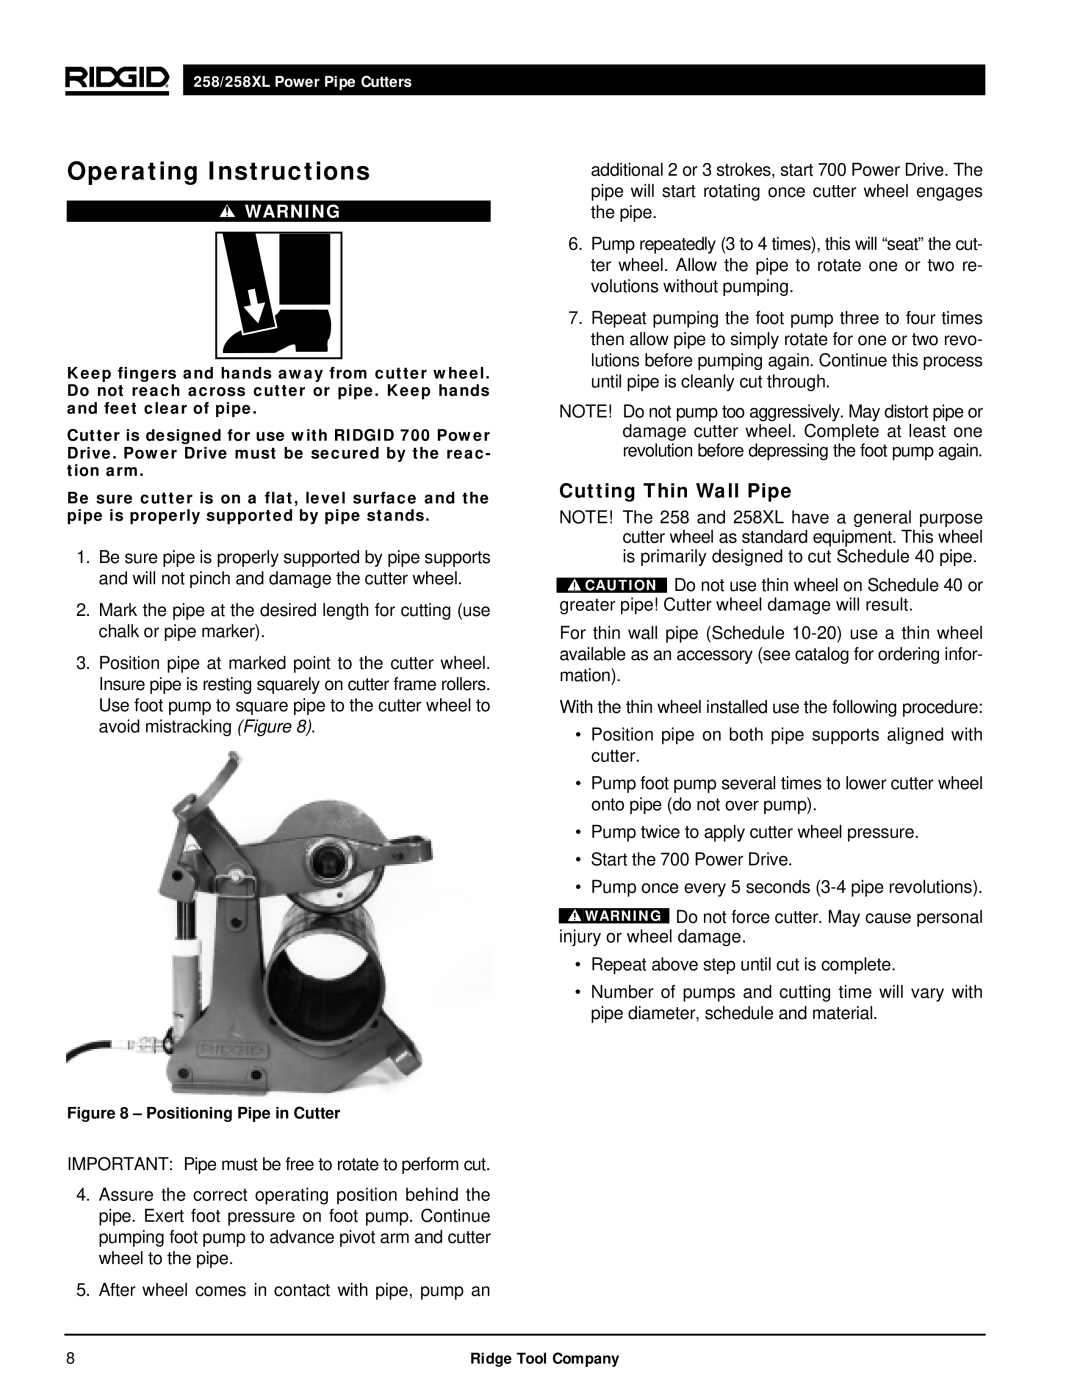
3.Position pipe at marked point to the cutter wheel. Insure pipe is resting squarely on cutter frame rollers. Use foot pump to square pipe to the cutter wheel to avoid mistracking (Figure 8).
Figure 8 – Positioning Pipe in Cutter
IMPORTANT: Pipe must be free to rotate to perform cut.
4.Assure the correct operating position behind the pipe. Exert foot pressure on foot pump. Continue pumping foot pump to advance pivot arm and cutter wheel to the pipe.
5.After wheel comes in contact with pipe, pump an
additional 2 or 3 strokes, start 700 Power Drive. The pipe will start rotating once cutter wheel engages the pipe.
6.Pump repeatedly (3 to 4 times), this will “seat” the cut- ter wheel. Allow the pipe to rotate one or two re- volutions without pumping.
7.Repeat pumping the foot pump three to four times then allow pipe to simply rotate for one or two revo- lutions before pumping again. Continue this process until pipe is cleanly cut through.
NOTE! Do not pump too aggressively. May distort pipe or damage cutter wheel. Complete at least one revolution before depressing the foot pump again.
Cutting Thin Wall Pipe
NOTE! The 258 and 258XL have a general purpose cutter wheel as standard equipment. This wheel is primarily designed to cut Schedule 40 pipe.
![]() CAUTION Do not use thin wheel on Schedule 40 or greater pipe! Cutter wheel damage will result.
CAUTION Do not use thin wheel on Schedule 40 or greater pipe! Cutter wheel damage will result.
For thin wall pipe (Schedule
With the thin wheel installed use the following procedure:
•Position pipe on both pipe supports aligned with cutter.
•Pump foot pump several times to lower cutter wheel onto pipe (do not over pump).
•Pump twice to apply cutter wheel pressure.
•Start the 700 Power Drive.
•Pump once every 5 seconds
![]() WARNING Do not force cutter. May cause personal injury or wheel damage.
WARNING Do not force cutter. May cause personal injury or wheel damage.
•Repeat above step until cut is complete.
•Number of pumps and cutting time will vary with pipe diameter, schedule and material.
8 | Ridge Tool Company |