258/258XL Power Pipe Cutters
Pipe Cutter Inspection |
| Pipe Cutter and Work Area |
| |||||||||||
|
|
|
|
|
|
| ||||||||
|
| WARNING |
|
|
|
|
|
|
|
|
|
|
| |
|
|
|
|
|
|
|
|
|
|
|
|
|
|
|
|
|
|
|
|
|
|
|
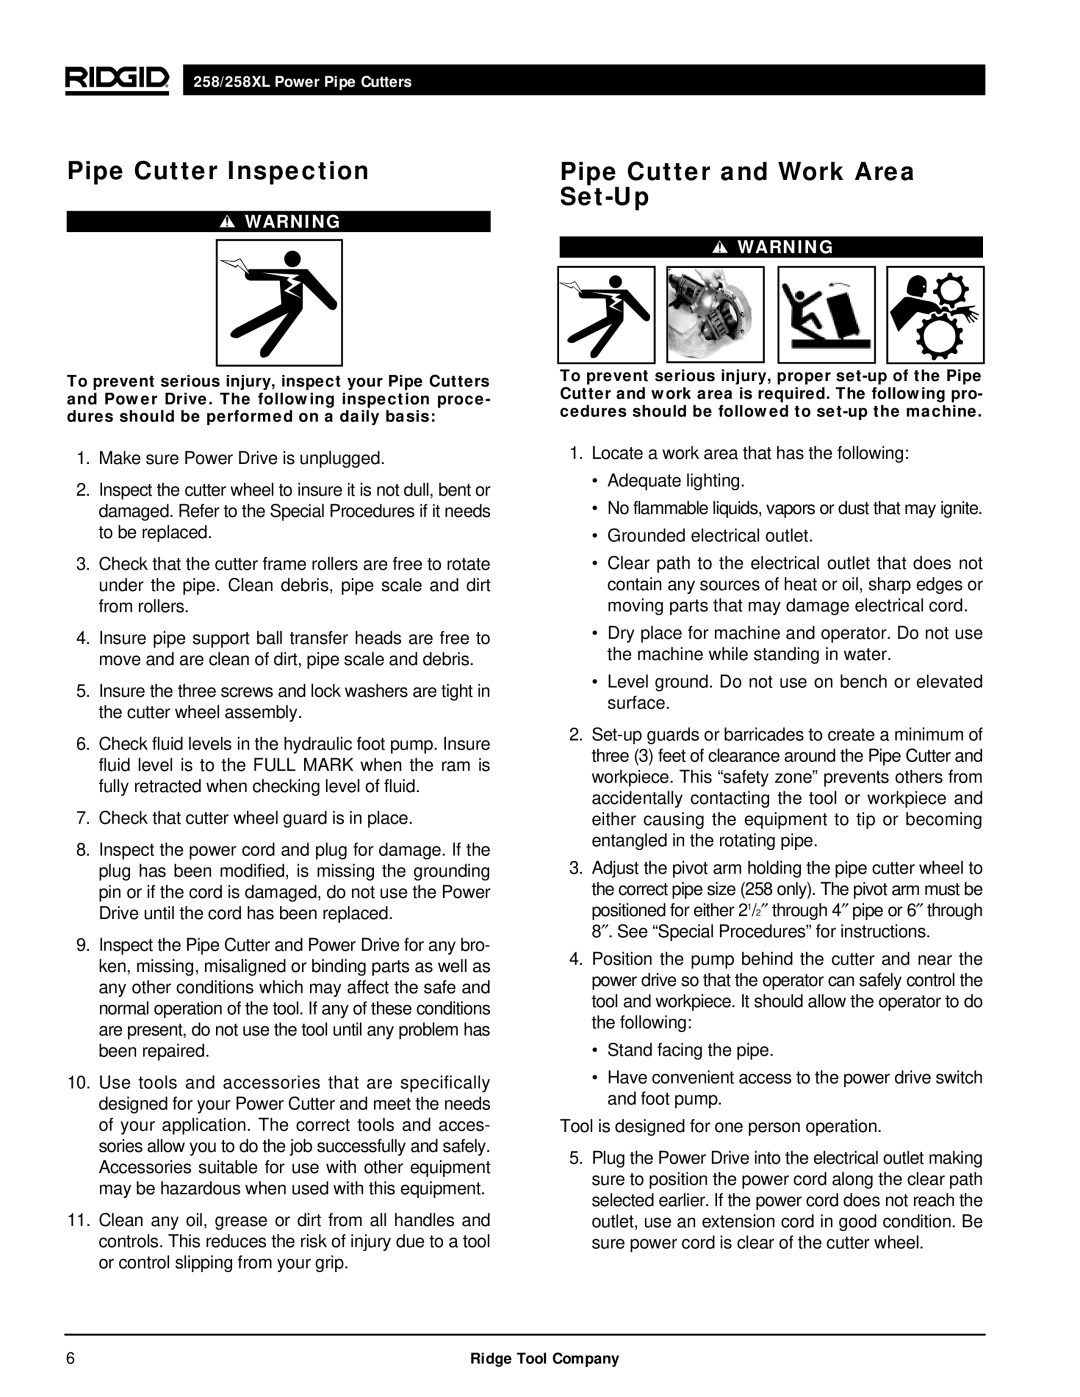
| WARNING |
| ||||
|
|
|
|
|
|
|
|
|
|
|
|
|
|
|
|
|
|
|
|
|
|
|
|
|
|
|
|
|
|
To prevent serious injury, inspect your Pipe Cutters and Power Drive. The following inspection proce- dures should be performed on a daily basis:
1.Make sure Power Drive is unplugged.
2.Inspect the cutter wheel to insure it is not dull, bent or damaged. Refer to the Special Procedures if it needs to be replaced.
3.Check that the cutter frame rollers are free to rotate under the pipe. Clean debris, pipe scale and dirt from rollers.
4.Insure pipe support ball transfer heads are free to move and are clean of dirt, pipe scale and debris.
5.Insure the three screws and lock washers are tight in the cutter wheel assembly.
6.Check fluid levels in the hydraulic foot pump. Insure fluid level is to the FULL MARK when the ram is fully retracted when checking level of fluid.
7.Check that cutter wheel guard is in place.
8.Inspect the power cord and plug for damage. If the plug has been modified, is missing the grounding pin or if the cord is damaged, do not use the Power Drive until the cord has been replaced.
9.Inspect the Pipe Cutter and Power Drive for any bro- ken, missing, misaligned or binding parts as well as any other conditions which may affect the safe and normal operation of the tool. If any of these conditions are present, do not use the tool until any problem has been repaired.
10.Use tools and accessories that are specifically designed for your Power Cutter and meet the needs of your application. The correct tools and acces- sories allow you to do the job successfully and safely. Accessories suitable for use with other equipment may be hazardous when used with this equipment.
11.Clean any oil, grease or dirt from all handles and controls. This reduces the risk of injury due to a tool or control slipping from your grip.
To prevent serious injury, proper
1.Locate a work area that has the following:
•Adequate lighting.
•No flammable liquids, vapors or dust that may ignite.
•Grounded electrical outlet.
•Clear path to the electrical outlet that does not contain any sources of heat or oil, sharp edges or moving parts that may damage electrical cord.
•Dry place for machine and operator. Do not use the machine while standing in water.
•Level ground. Do not use on bench or elevated surface.
2.
3.Adjust the pivot arm holding the pipe cutter wheel to
the correct pipe size (258 only). The pivot arm must be positioned for either 21/2″ through 4″ pipe or 6″ through 8″ . See “Special Procedures” for instructions.
4.Position the pump behind the cutter and near the power drive so that the operator can safely control the tool and workpiece. It should allow the operator to do the following:
•Stand facing the pipe.
•Have convenient access to the power drive switch and foot pump.
Tool is designed for one person operation.
5.Plug the Power Drive into the electrical outlet making sure to position the power cord along the clear path selected earlier. If the power cord does not reach the outlet, use an extension cord in good condition. Be sure power cord is clear of the cutter wheel.
6 | Ridge Tool Company |