microEXPLORERDigital Inspection Camera

Charging Procedure/ Operating Instructions

WARNING

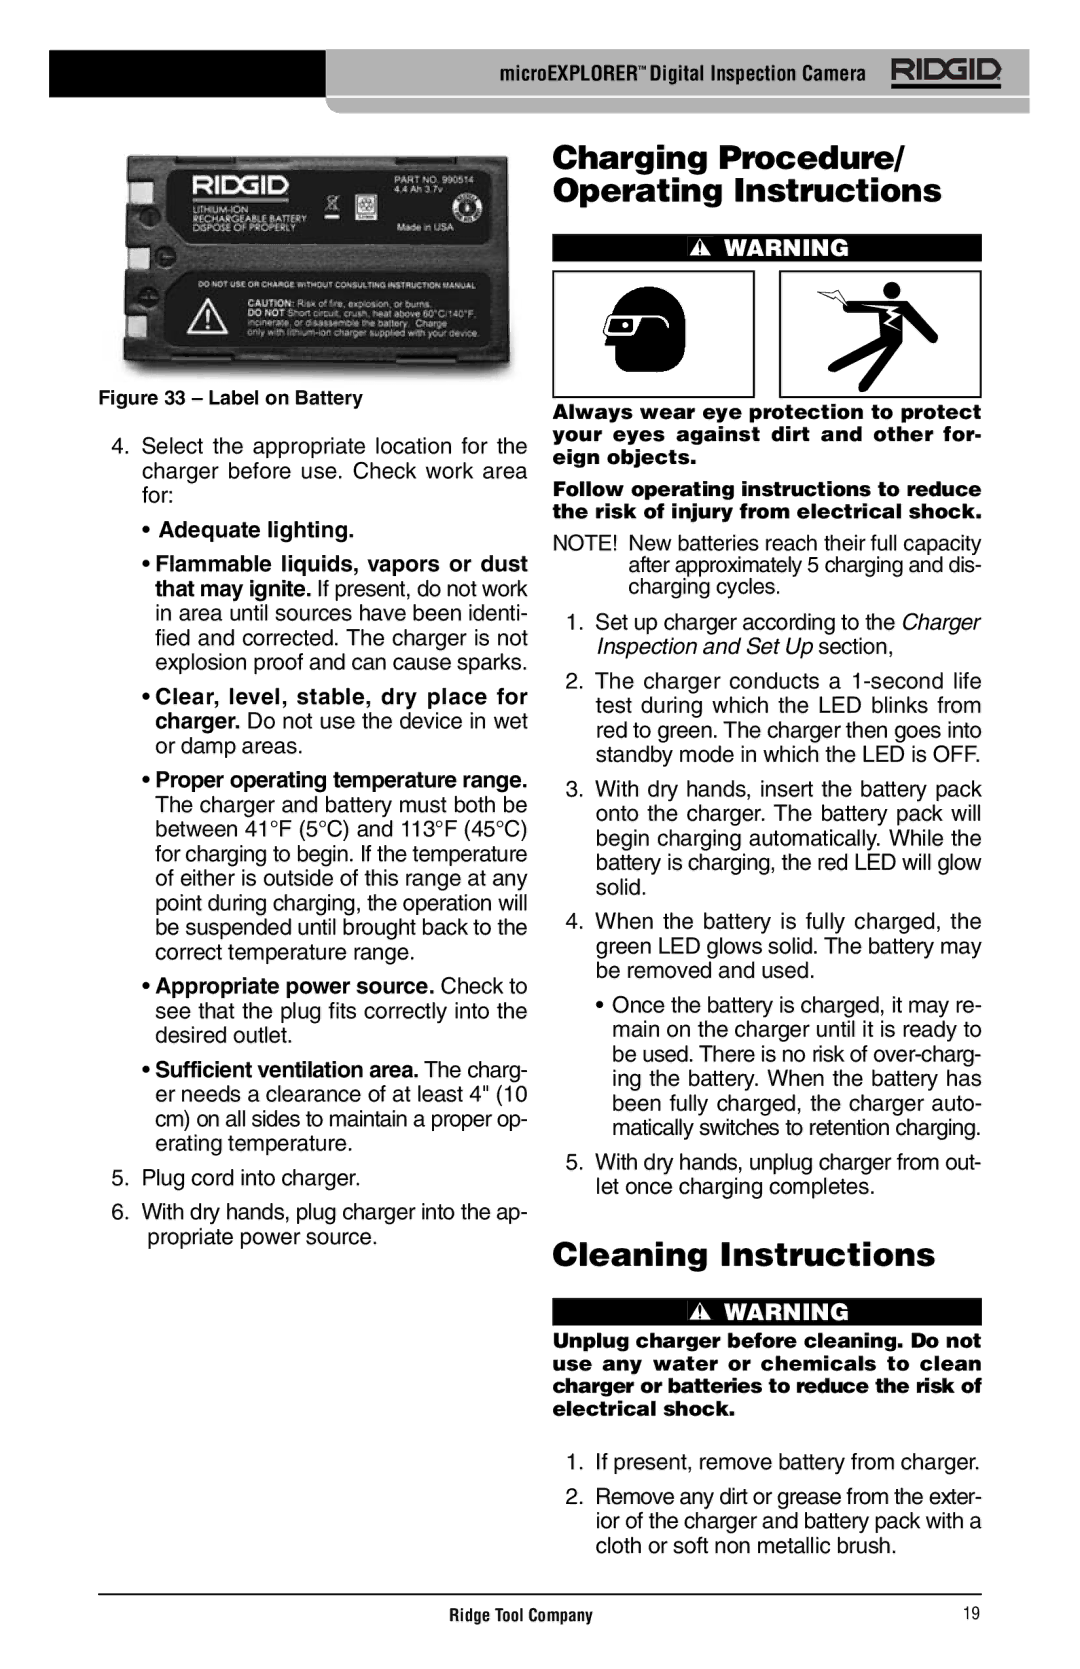
Figure 33 – Label on Battery

4.Select the appropriate location for the charger before use. Check work area for:

Adequate lighting.

Flammable liquids, vapors or dust that may ignite. If present, do not work in area until sources have been identi- fied and corrected. The charger is not explosion proof and can cause sparks.

Clear, level, stable, dry place for charger. Do not use the device in wet or damp areas.

Proper operating temperature range. The charger and battery must both be between 41°F (5°C) and 113°F (45°C) for charging to begin. If the temperature of either is outside of this range at any point during charging, the operation will be suspended until brought back to the correct temperature range.

Appropriate power source. Check to see that the plug fits correctly into the desired outlet.

Sufficient ventilation area. The charg- er needs a clearance of at least 4" (10 cm) on all sides to maintain a proper op- erating temperature.

5.Plug cord into charger.

6.With dry hands, plug charger into the ap- propriate power source.

Always wear eye protection to protect your eyes against dirt and other for- eign objects.

Follow operating instructions to reduce the risk of injury from electrical shock.

NOTE! New batteries reach their full capacity after approximately 5 charging and dis- charging cycles.

1.Set up charger according to the Charger Inspection and Set Up section,

2.The charger conducts a 1-second life test during which the LED blinks from red to green. The charger then goes into standby mode in which the LED is OFF.

3.With dry hands, insert the battery pack onto the charger. The battery pack will begin charging automatically. While the battery is charging, the red LED will glow solid.

4.When the battery is fully charged, the green LED glows solid. The battery may be removed and used.

Once the battery is charged, it may re- main on the charger until it is ready to be used. There is no risk of over-charg- ing the battery. When the battery has been fully charged, the charger auto- matically switches to retention charging.

5.With dry hands, unplug charger from out- let once charging completes.

Cleaning Instructions

WARNING

Unplug charger before cleaning. Do not use any water or chemicals to clean charger or batteries to reduce the risk of electrical shock.

1.If present, remove battery from charger.

2.Remove any dirt or grease from the exter- ior of the charger and battery pack with a cloth or soft non metallic brush.

Ridge Tool Company

19

Page 21
Image 21
RIDGID microEXPLORER manual Charging Procedure/ Operating Instructions, Adequate lighting

microEXPLORER specifications

The RIDGID microEXPLORER is a state-of-the-art inspection camera designed to provide users with a convenient and efficient way to visually inspect hard-to-reach areas. This cutting-edge tool leverages advanced imaging technology to deliver high-quality video and photos, making it an indispensable asset for professionals in plumbing, HVAC, electrical, and other maintenance fields.

One of the key features of the microEXPLORER is its 2.4-inch color LCD screen, which offers a bright, clear display for real-time viewing of inspection areas. The screen is designed to provide crisp images, ensuring that users can see details that may not be visible to the naked eye. The camera can capture and save images and video in both JPEG and AVI formats, allowing for easy documentation and sharing of findings with clients or team members.

The RIDGID microEXPLORER incorporates a 17mm camera head that is both compact and versatile. This design allows the camera to navigate tight spaces and various pipe sizes, making it ideal for plumbing inspections and HVAC applications. The camera head features an adjustable LED lighting system, ensuring that the inspection area is well-lit regardless of the surrounding lighting conditions. This functionality is crucial for obtaining clear images in dark or cramped spaces.

Equipped with a 3-foot flexible cable, the microEXPLORER can easily bend and maneuver through tight bends and curves, providing access to otherwise inaccessible areas. The cable's rigidity allows for precise positioning, enabling users to capture detailed footage from unique angles. The device's ergonomic design ensures that handling and operation are comfortable, reducing fatigue during extended use.

Another noteworthy aspect of the RIDGID microEXPLORER is its battery life. The device is powered by a rechargeable lithium-ion battery, offering significant usage time on a single charge. This long-lasting power source allows professionals to complete inspections without the interruption of frequent recharging.

In summary, the RIDGID microEXPLORER is a versatile inspection camera that combines portability, advanced imaging technology, and user-friendly features. Its compact design, high-resolution display, adjustable lighting, and flexible cable make it an essential tool for a variety of inspection tasks. Whether used for diagnosing plumbing issues, inspecting HVAC systems, or evaluating electrical components, the microEXPLORER enhances efficiency and accuracy in fieldwork, making it a valuable tool for professionals across multiple industries.