OPERATION
For further adjustments:
Unplug the router.
Unlock the locking arm if needed.
Loosen the adjustment bar knob.
Use the depth indicator to measure the desired depth of cut for cuts measurable in 1/32 in.
Tighten the adjustment bar knob.
Plunge the router to the selected depth, making sure the adjustment bar contacts the plunge base adjustment knob.
Retighten the locking arm if needed.
For finer cutting with the plunge depth adjustment knob:
Unplug the router.
Unlock the locking arm if needed.
Loosen the adjustment bar knob.
Set the plunge depth adjustment knob to the desired set- ting. Turn clockwise to lower the plunge depth adjustment knob, and counterclockwise to raise it.
NOTE: The plunge base adjustment knob provides depth of cut adjustments from
Depending on how deep the following cuts will need to be, plunge the router until the tip reaches the desired starting depth of cut using the adjustment bar as a depth stop.
NOTE: This will be the starting depth of cut for the routing work.
Lock the locking arm if needed.
Tighten the adjustment bar knob.
For successive cuts:
Unplug the router.
Adjust the adjustment bar knob to the desired height.
Loosen the locking arm if needed.
Plunge router until plunge depth adjustment knob and adjustment bar touch.
Retighten locking arm if needed.
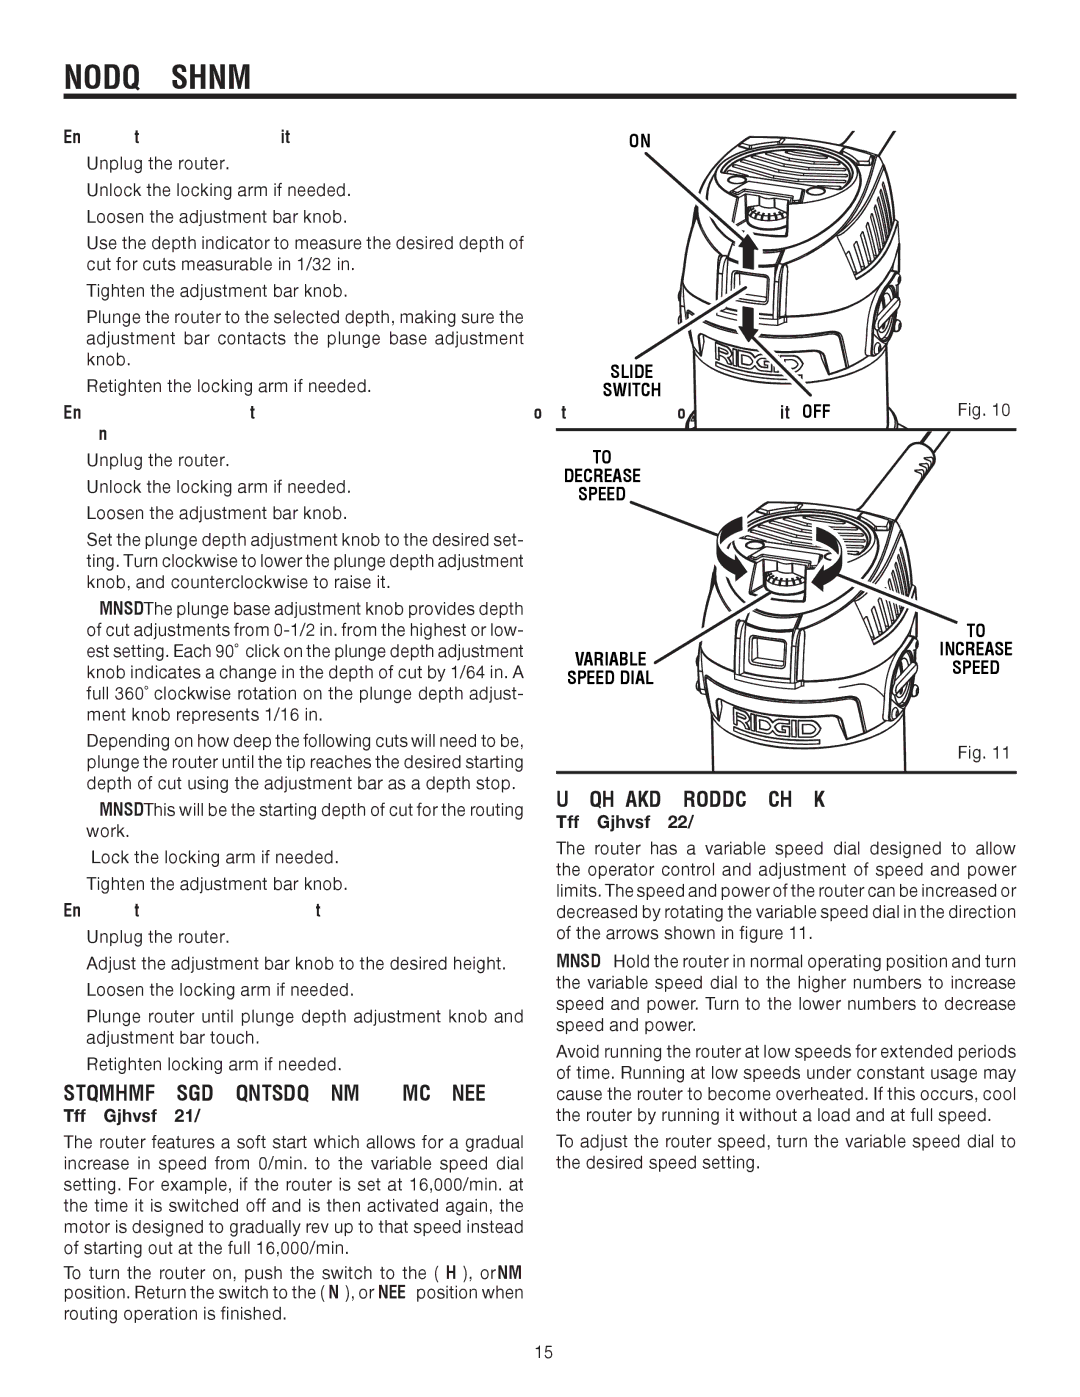
TURNING THE ROUTER ON AND OFF
See Figure 10.
The router features a soft start which allows for a gradual increase in speed from 0/min. to the variable speed dial setting. For example, if the router is set at 16,000/min. at the time it is switched off and is then activated again, the motor is designed to gradually rev up to that speed instead of starting out at the full 16,000/min.
To turn the router on, push the switch to the ( I ), or ON position. Return the switch to the ( O ), or OFF position when
routing operation is finished.
ON
SLIDE
SWITCH
OFF | Fig. 10 |
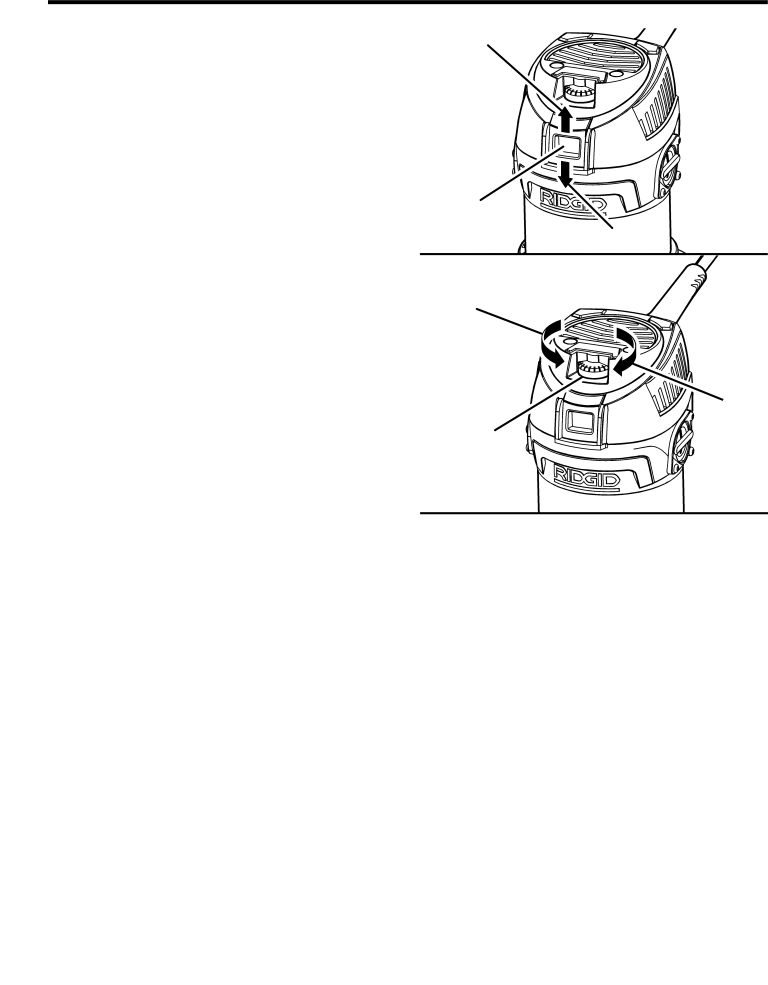
TO
DECREASE
SPEED
| TO | |
VARIABLE | INCREASE | |
SPEED | ||
SPEED DIAL | ||
| ||
| Fig. 11 |
VARIABLE SPEED DIAL
See Figure 11.
The router has a variable speed dial designed to allow the operator control and adjustment of speed and power limits. The speed and power of the router can be increased or decreased by rotating the variable speed dial in the direction of the arrows shown in figure 11.
NOTE: Hold the router in normal operating position and turn the variable speed dial to the higher numbers to increase speed and power. Turn to the lower numbers to decrease speed and power.
Avoid running the router at low speeds for extended periods of time. Running at low speeds under constant usage may cause the router to become overheated. If this occurs, cool the router by running it without a load and at full speed.
To adjust the router speed, turn the variable speed dial to the desired speed setting.
15