OPERATION
STARTING/STOPPING THE SAW
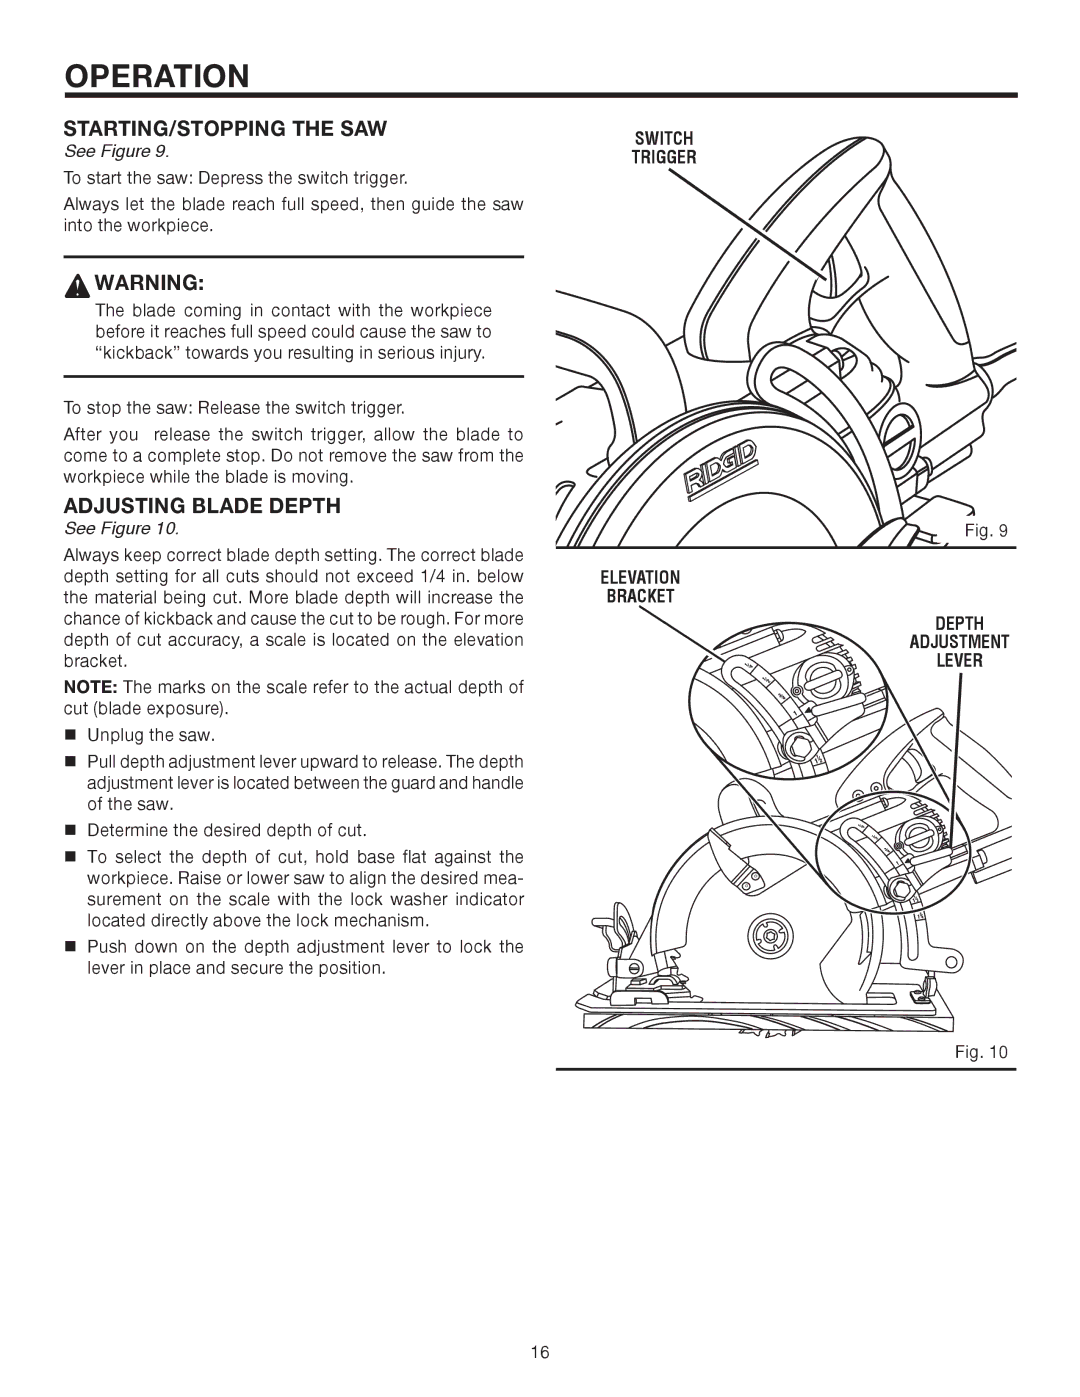
See Figure 9.
To start the saw: Depress the switch trigger.
Always let the blade reach full speed, then guide the saw into the workpiece.
![]() WARNING:
WARNING:
The blade coming in contact with the workpiece before it reaches full speed could cause the saw to “kickback” towards you resulting in serious injury.
To stop the saw: Release the switch trigger.
After you release the switch trigger, allow the blade to come to a complete stop. Do not remove the saw from the workpiece while the blade is moving.
ADJUSTING BLADE DEPTH
See Figure 10.
Always keep correct blade depth setting. The correct blade depth setting for all cuts should not exceed 1/4 in. below the material being cut. More blade depth will increase the chance of kickback and cause the cut to be rough. For more depth of cut accuracy, a scale is located on the elevation bracket.
NOTE: The marks on the scale refer to the actual depth of cut (blade exposure).
Unplug the saw.
Pull depth adjustment lever upward to release. The depth adjustment lever is located between the guard and handle of the saw.
Determine the desired depth of cut.
To select the depth of cut, hold base flat against the workpiece. Raise or lower saw to align the desired mea- surement on the scale with the lock washer indicator located directly above the lock mechanism.
Push down on the depth adjustment lever to lock the lever in place and secure the position.
SWITCH
TRIGGER
Fig. 9
ELEVATION
BRACKET
DEPTH
ADJUSTMENT LEVER
Fig. 10
16