INSTALLATION

WIRING THE SYSTEM

NOTE: See diagram on following page to help you connect your system.

CAUTION: If you do not feel comfortable with wiring your new source unit, please see

your local Authorized Rockford Fosgate Dealer for installation.

CAUTION: Before installation, disconnect the battery negative (-) terminal to prevent damage to the unit, fire and/or possible injury.

1.Install the 16-Pin Power Harness by connecting the corresponding wires to the electrical and audio system. Solder and heat shrink all connections for a reliable installation. For each connection, cut a 1" piece of heat shrink tubing and slide over one of the wires. Strip each wire 3/8" then twist together and solder. Slide the tubing over the connection and shrink the tubing with a hot air gun until no bare wire is exposed.

2.Connect the BLACK (Ground) wire to chassis ground. Prepare the chassis ground by scraping any paint from the metal surface and thoroughly clean the area of all dirt and grease. Strip the end of the wire and attach a ring connector. Fasten the wire to the chassis using a non-anodized screw and star washer.

3.Connect the YELLOW (Backup) wire to a source of constant +12V (for retaining memory on user- programmed functions).The source should always have +12V, even when the ignition is off and the car is not running.

4.Connect the RED (ACC +B) wire (Ignition) to a source of switched +12V (is on only when ignition key is in “accessory” or “run” position). Connect the RED wire to a switched +12 volt positive source.The switched signal is usually taken from the ACC (accessory) position of the ignition. If the vehicle does not have an ACC position, connect the wire to the switched ON position of the ignition.

5.Connect the ORANGE (Dimmer) wire to the lighting switch terminal.This will dim the main display by 30% when the headlights are turned on.

6.Connect the LT. BLUE (Remote B+) wire to the “Remote Turn-On” leads of the amplifier(s).This will turn-on the external amplifiers when the source unit is powered on.

7.Connect the BLUE/RED (Auto Ant.) wire to the “Power Antenna” lead.This will raise a fully automatic antenna when the source unit is powered on, but only in Tuner Mode.

8.Connect the PINK (Telephone Mute) wire for cell phone mute to the wire on the cell phone harness that provides ground when the phone rings.

9a. Connecting Speakers (Not using external amplifier)

Connect the Speaker Wires to the corresponding speaker leads by soldering and heat shrinking all connections for a reliable installation. If only one pair of speakers is utilized in the system, use only the FRONT speaker leads and heat shrink the unused REAR leads to prevent from shorting out. Be sure to maintain speaker polarity. DO NOT chassis ground any speaker leads as unstable operation may result.

9b. Connecting Speakers (Using external amplifier)

Install the Preamp Output Harness by plugging the RCA cables into the corresponding extension RCAs that feed the input of the amplifiers. Be sure to route the signal cables away from any high current wires to prevent coupling noise from radiated electrical fields into the audio signal.The FRONT OUTPUT connects to the Front speaker's amplifier.The REAR OUTPUT connects to the Rear speaker's amplifier.The SUM OUTPUT connects to the Subwoofer amplifier.

10.Connect the AUX INPUT to the external audio source (this inserts the audio before the volume control on the source unit).The input voltage this circuit can accept is 1–3V RMS.

11.Connect the CD Changer (optional) by plugging the 8-pin DIN cable into the connector located at the rear of the source unit. DO NOT connect the optional Wired Remote into this connector.

12.Connect the Wired Remote (optional) by plugging the 8-pin DIN controller cable into the pigtail connector hanging from the rear of the source unit. DO NOT connect the optional CD Changer into this connector.

13.Connect the Antenna by plugging the antenna cable into the connector located at the rear of the source unit. Be sure the antenna is securely grounded to the vehicle for proper radio reception.

7

Page 7
Image 7
Rockford Fosgate RFX9220M manual Installation Wiring the System, 9a. Connecting Speakers Not using external amplifier

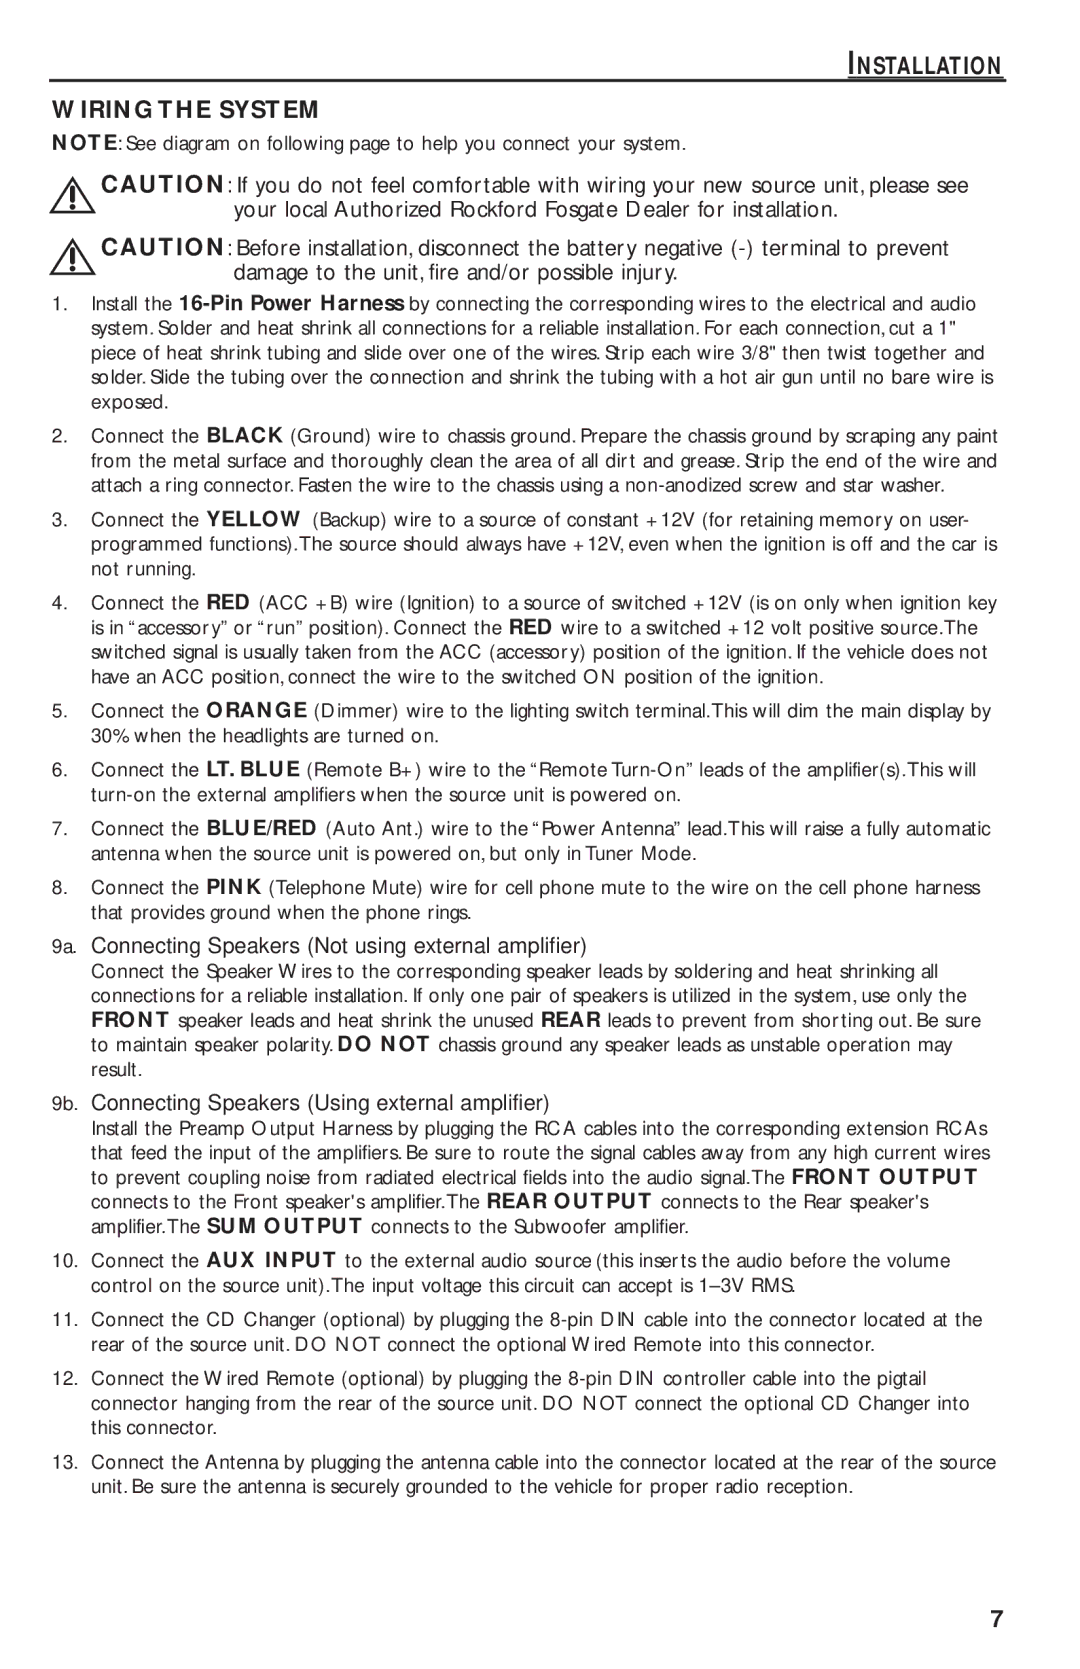
RFX9220M specifications

The Rockford Fosgate RFX9220M is a powerhouse marine-grade digital media receiver designed to elevate your audio experience while out on the water. Built for durability and performance, this receiver boasts a host of features that cater to both music enthusiasts and casual listeners alike.

One of the standout characteristics of the RFX9220M is its IPX6-rated water resistance. This means that it is specifically engineered to withstand water splashes and exposure to the elements, making it perfect for boating, jet skiing, or any marine activities. The rugged design ensures that your audio equipment remains safe while enhancing your outdoor adventures.

In terms of audio performance, the RFX9220M includes a high-efficiency built-in amplifier that delivers robust sound quality. With its peak power output, it can drive your connected speakers effectively, providing a rich sound experience. The receiver also features a variable bass boost, allowing users to customize their low-end response based on individual preferences.

The RFX9220M is equipped with Bluetooth connectivity, enabling hassle-free wireless streaming from smartphones and other compatible devices. The receiver supports hands-free calling and streaming, ensuring you can stay connected while focusing on the waves. Additionally, it is equipped with a USB port that allows for direct playback of music from flash drives, providing another option for enjoying your favorite tunes while on the water.

Users will appreciate the large, easy-to-read LCD display, which is designed for visibility whether you are in bright sunlight or under cloudy skies. The user interface is intuitive, allowing for easy navigation through various settings and playback options. The receiver also supports multiple audio formats, ensuring that your music collection, regardless of the source, can be played seamlessly.

Furthermore, the RFX9220M includes customizable equalizer settings that let you fine-tune the audio output according to your listening environment. With multiple preamp outputs, the receiver can effortlessly connect to additional amplifiers, enhancing the overall sound system for enthusiasts craving greater power and dynamism.

In summary, the Rockford Fosgate RFX9220M is an exceptional choice for anyone looking to upgrade their marine audio system. With its rugged construction, impressive sound quality, and user-friendly features, it perfectly combines functionality and style, making it a worthy investment for days spent on the water.