RVR 2000 specifications
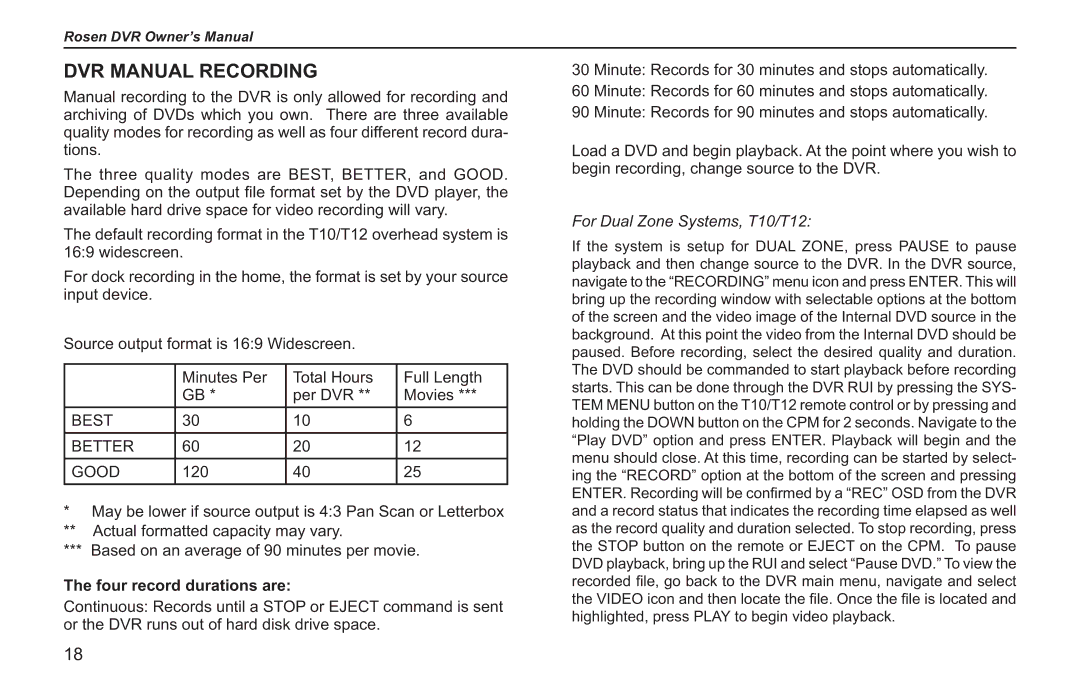
Rosen Entertainment Systems has long been recognized for its innovation in mobile entertainment, and the RVR 2000 is a standout product in its lineup. Designed to enhance the in-car entertainment experience, the RVR 2000 combines cutting-edge technology with user-friendly features, making it an excellent choice for vehicles looking to provide passengers with high-quality entertainment.One of the main features of the RVR 2000 is its high-resolution display. The system boasts a large, vibrant screen that delivers sharp images and bright colors, ensuring that movie-watching or gaming is a pleasant experience for passengers. The display is also designed for wide viewing angles, allowing everyone in the vehicle to enjoy the content without straining their necks or moving around to see the screen.
The RVR 2000 is packed with multiple connectivity options, which is a significant advantage for users with various devices. It is compatible with DVDs, USB drives, and SD cards, enabling easy access to a vast library of movies, music, and games. Additionally, the system supports HDMI input, making it easy to connect to other devices such as tablets or gaming consoles for a more immersive experience.
Another characteristic of the RVR 2000 is its intuitive interface, designed with the user in mind. The system comes with a remote control that is straightforward to use, allowing passengers to navigate through their entertainment options effortlessly. The menu system is easy to understand, making it accessible for users of all ages.
The RVR 2000 also incorporates advanced audio technologies to enhance the listening experience. With built-in speakers and the option to connect to premium sound systems, users can enjoy crisp and clear audio that complements the stunning visual display.
For those concerned about multi-user experiences, the RVR 2000 provides options for personal audio. Passengers can use wireless headphones, allowing them to enjoy their movies or games without disturbing others in the vehicle. This feature is particularly appreciated on long road trips where multiple passengers have different entertainment preferences.
In conclusion, the Rosen Entertainment Systems RVR 2000 stands out due to its exceptional display quality, versatile connectivity options, user-friendly interface, and enhanced audio capabilities. Whether you’re on a family road trip or simply commuting, the RVR 2000 ensures that every journey is filled with entertainment.
