26 |
popular home theater configuration and should be strongly considered even if the speakers are physically large and capable of playing low bass. This configuration is particularly advantageous when driving the speakers with moderate power amplifiers.
NOTE: An alternative configuration for setting up a satellite/subwoofer package as the front speakers: follow the speaker manufacturer’s instructions, connecting the
The following speaker options are available:
FRONT SPEAKERS (small/large): This menu setting determines what kind of main front left and right speakers you are using. Use the LARGE setting to have the front speakers play low bass. Use the SMALL setting to redirect normal bass away from these speakers to a subwoofer.
CENTER SPEAKER(S) (small/large/
none): Use the LARGE position (not available with SMALL front speakers) to have the cen- ter speaker play low bass. Use the SMALL po- sition if your center channel speaker has more limited low frequency capability, or if you prefer that the bass be sent to the subwoofer. Select the NONE setting if your system does not have a center channel speaker (the surround modes will automatically divide all center channel information equally between the two front speakers, creating a phantom center channel).
SURROUND SPEAKERS (small/large/
none): Select the LARGE setting (not avail- able with SMALL front speakers) to have the surround speakers play low bass. If your rear speakers have limited bass capability or if you would prefer that the bass go to a subwoofer, use the SMALL setting. If your system has no rear surround speakers, select the NONE setting (surround channels are added to the front speakers so none of the recording is lost).
CENTER BACK SPEAKER(S) (small/
large/none): Some systems have one or two additional center back surround speakers for use with 6.1 channel surround signals or 7CH stereo processing. With the
SUBWOOFER (yes/no/max): Use the YES setting if your system has a subwoofer. If your system does not have a subwoofer, select NO. Select the MAX setting to redirect all low fre- quency information from all speakers (includ- ing LARGE speakers) to the subwoofer. This will give you maximum bass performance with normal bass information being played by both the subwoofer and any LARGE speakers in the system.
CB SPKR SELECT (1 speaker/2 speak-
ers): Use the 1 SPEAKER setting if your sys- tem has a single center back surround speaker. Use the 2 SPEAKERS setting if your system has 2 center back surround speakers. If your sys- tem does not have any center back speakers, select NONE on the previously described CENTER SPEAKER setting on this menu.
NOTE: Speaker configuration is a global set- ting for all surround modes and need only be done once.
To change a setting, place the highlight on the desired line using the UP/DOWN buttons and use the +/– buttons to toggle through the available settings. To return to the MAIN menu, press the ENTER button. Press the MENU key on the remote to cancel the display and re- turn to normal operation.
TEST TONE Menu
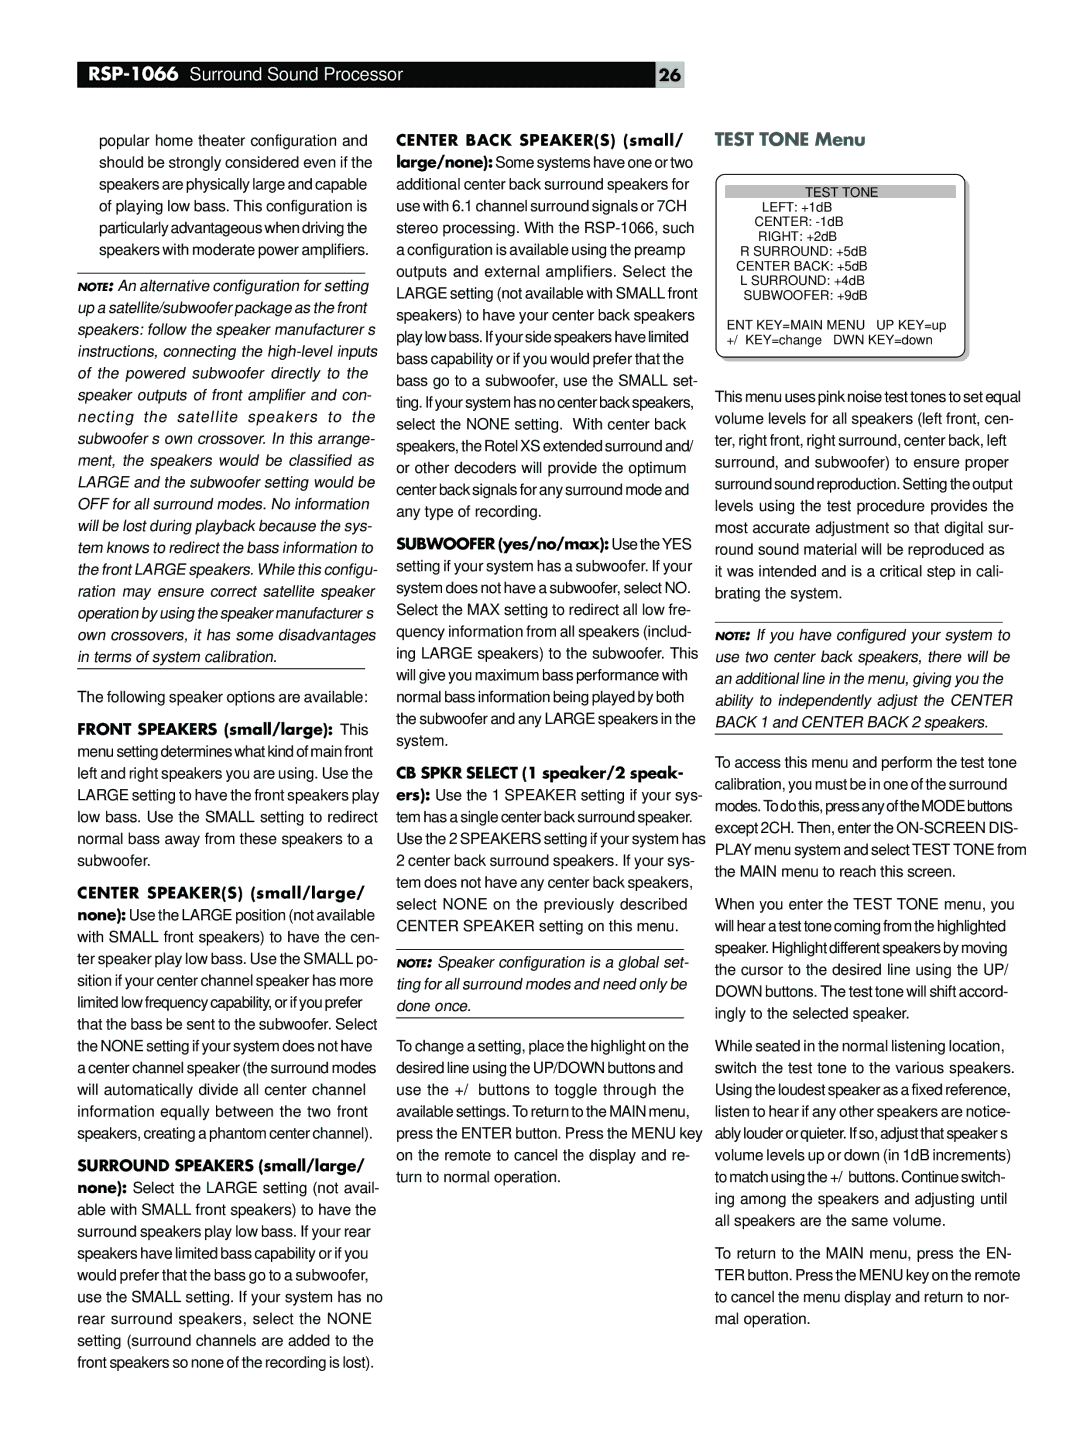
TEST TONE
LEFT: +1dB
CENTER:
RIGHT: +2dB
R SURROUND: +5dB
CENTER BACK: +5dB
L SURROUND: +4dB
SUBWOOFER: +9dB
ENT | KEY=MAIN MENU | UP KEY=up |
+/– | KEY=change | DWN KEY=down |
This menu uses pink noise test tones to set equal volume levels for all speakers (left front, cen- ter, right front, right surround, center back, left surround, and subwoofer) to ensure proper surround sound reproduction. Setting the output levels using the test procedure provides the most accurate adjustment so that digital sur- round sound material will be reproduced as it was intended and is a critical step in cali- brating the system.
NOTE: If you have configured your system to use two center back speakers, there will be an additional line in the menu, giving you the ability to independently adjust the CENTER BACK 1 and CENTER BACK 2 speakers.
To access this menu and perform the test tone calibration, you must be in one of the surround modes. To do this, press any of the MODE buttons except 2CH. Then, enter the
When you enter the TEST TONE menu, you will hear a test tone coming from the highlighted speaker. Highlight different speakers by moving the cursor to the desired line using the UP/ DOWN buttons. The test tone will shift accord- ingly to the selected speaker.
While seated in the normal listening location, switch the test tone to the various speakers. Using the loudest speaker as a fixed reference, listen to hear if any other speakers are notice- ably louder or quieter. If so, adjust that speaker’s volume levels up or down (in 1dB increments) to match using the +/– buttons. Continue switch- ing among the speakers and adjusting until all speakers are the same volume.
To return to the MAIN menu, press the EN- TER button. Press the MENU key on the remote to cancel the menu display and return to nor- mal operation.