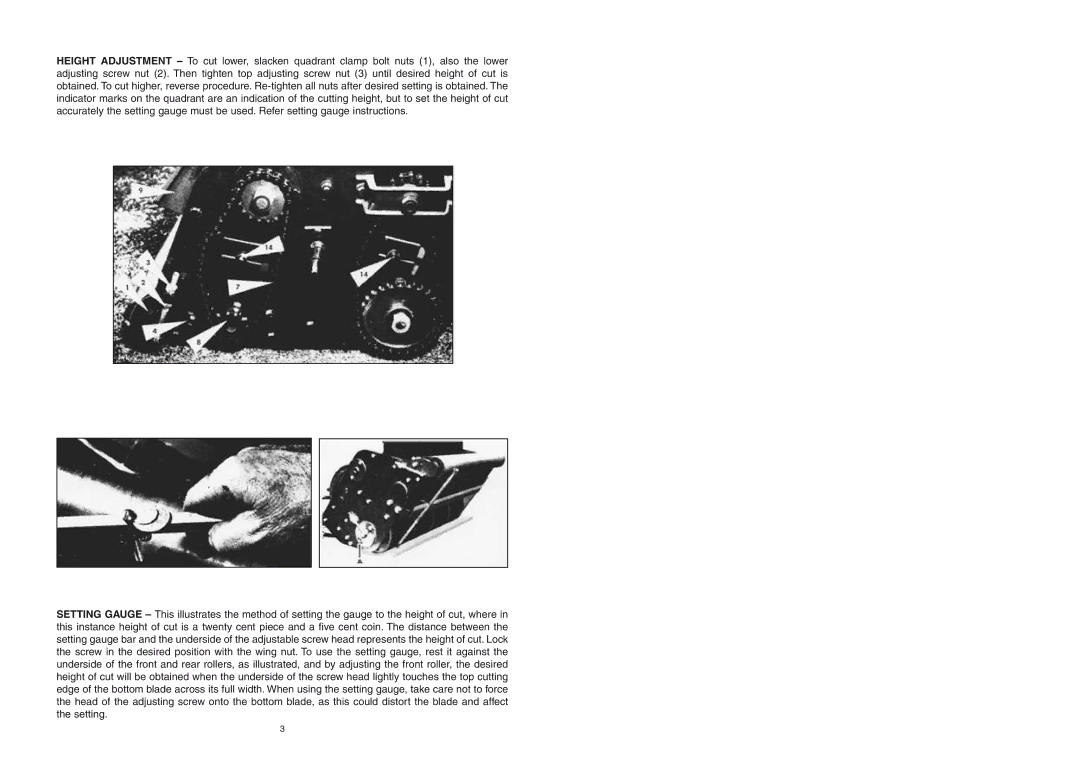
HEIGHT ADJUSTMENT – To cut lower, slacken quadrant clamp bolt nuts (1), also the lower adjusting screw nut (2). Then tighten top adjusting screw nut (3) until desired height of cut is obtained. To cut higher, reverse procedure.
SETTING GAUGE – This illustrates the method of setting the gauge to the height of cut, where in this instance height of cut is a twenty cent piece and a five cent coin. The distance between the setting gauge bar and the underside of the adjustable screw head represents the height of cut. Lock the screw in the desired position with the wing nut. To use the setting gauge, rest it against the underside of the front and rear rollers, as illustrated, and by adjusting the front roller, the desired height of cut will be obtained when the underside of the screw head lightly touches the top cutting edge of the bottom blade across its full width. When using the setting gauge, take care not to force the head of the adjusting screw onto the bottom blade, as this could distort the blade and affect the setting.
3