LUBRICATION –
Drums are fitted with special
Gear Box – use medium oil at points B, C and D. Use grease sparingly on gear teeth.
FRONT ROLLER SCRAPER – Loosen clamp bolt each end, adjust scraper to just clear the roller and
CLEANING – This mower is constructed of
WARNING – State Electricity Authority regulations provide that it is always necessary to disconnect power supply before effecting any adjustments to the machine.
ELECTRIC MOTOR
MODEL 300361 1.5 HP 240V SINGLE PHASE 7.3 AMPS.
MODEL 300433 1.5 HP 415V THREE PHASE 2.6 AMPS.
NOTE: Model No: 300361 QueenTM mower is fitted with a manual reset overload switch. The reset button is located on the mains power switch mounted on the right hand side of the handles.
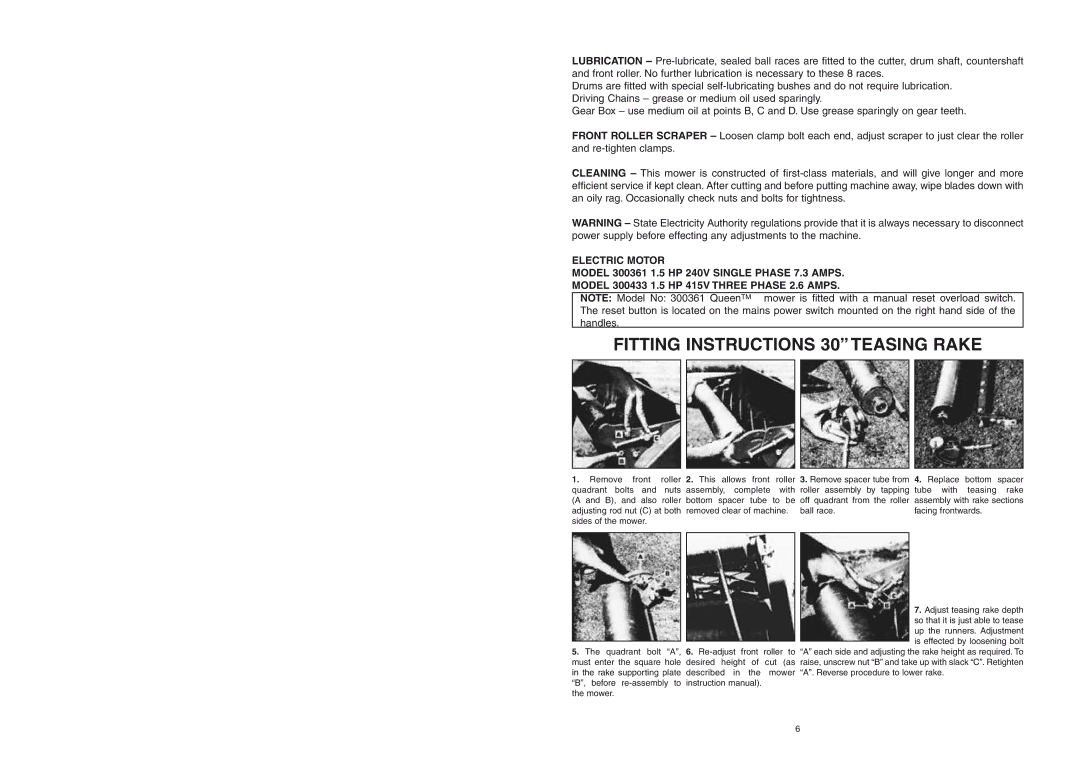
FITTING INSTRUCTIONS 30” TEASING RAKE
1. Remove front | roller | 2. This allows front roller | 3. Remove spacer tube from | 4. Replace | bottom | spacer |
quadrant bolts and | nuts | assembly, complete with | roller assembly by tapping | tube with | teasing | rake |
(A and B), and also roller | bottom spacer tube to be | off quadrant from the roller | assembly with rake sections | |||
adjusting rod nut (C) at both | removed clear of machine. | ball race. | facing frontwards. |
| ||
sides of the mower. |
|
|
|
|
|
|
7. Adjust teasing rake depth so that it is just able to tease up the runners. Adjustment is effected by loosening bolt
5.The quadrant bolt “A”, 6.
must enter the square hole | desired height | of | cut (as | raise, unscrew nut “B” and take up with slack “C”. Retighten |
in the rake supporting plate | described in | the | mower | “A”. Reverse procedure to lower rake. |
“B”, before | instruction manual). |
|
| |
the mower. |
|
|
|
|
6
